The Mixos manual
Everything in the studio, chapter by chapter — from importing a model to painting, masking, materials, decals, the AI tools and export. All in a browser tab.
Get started
Overview
Mixos is a 3D texturing studio that runs in a browser tab. You import a model, light it, paint and layer physically based materials in real time, and export clean map sets for Cinema 4D, Blender, Unreal, Unity, Godot, and more — no install, no drivers, no upload wait.
This manual covers the whole studio, chapter by chapter: the interface and viewport, then materials, painting, masks, decals and the AI tools, and finally export. Read it top to bottom the first time; afterwards each section stands on its own.
Free to author
Editing is free and needs no account. You only sign in to save a project to the cloud or to export at full resolution.
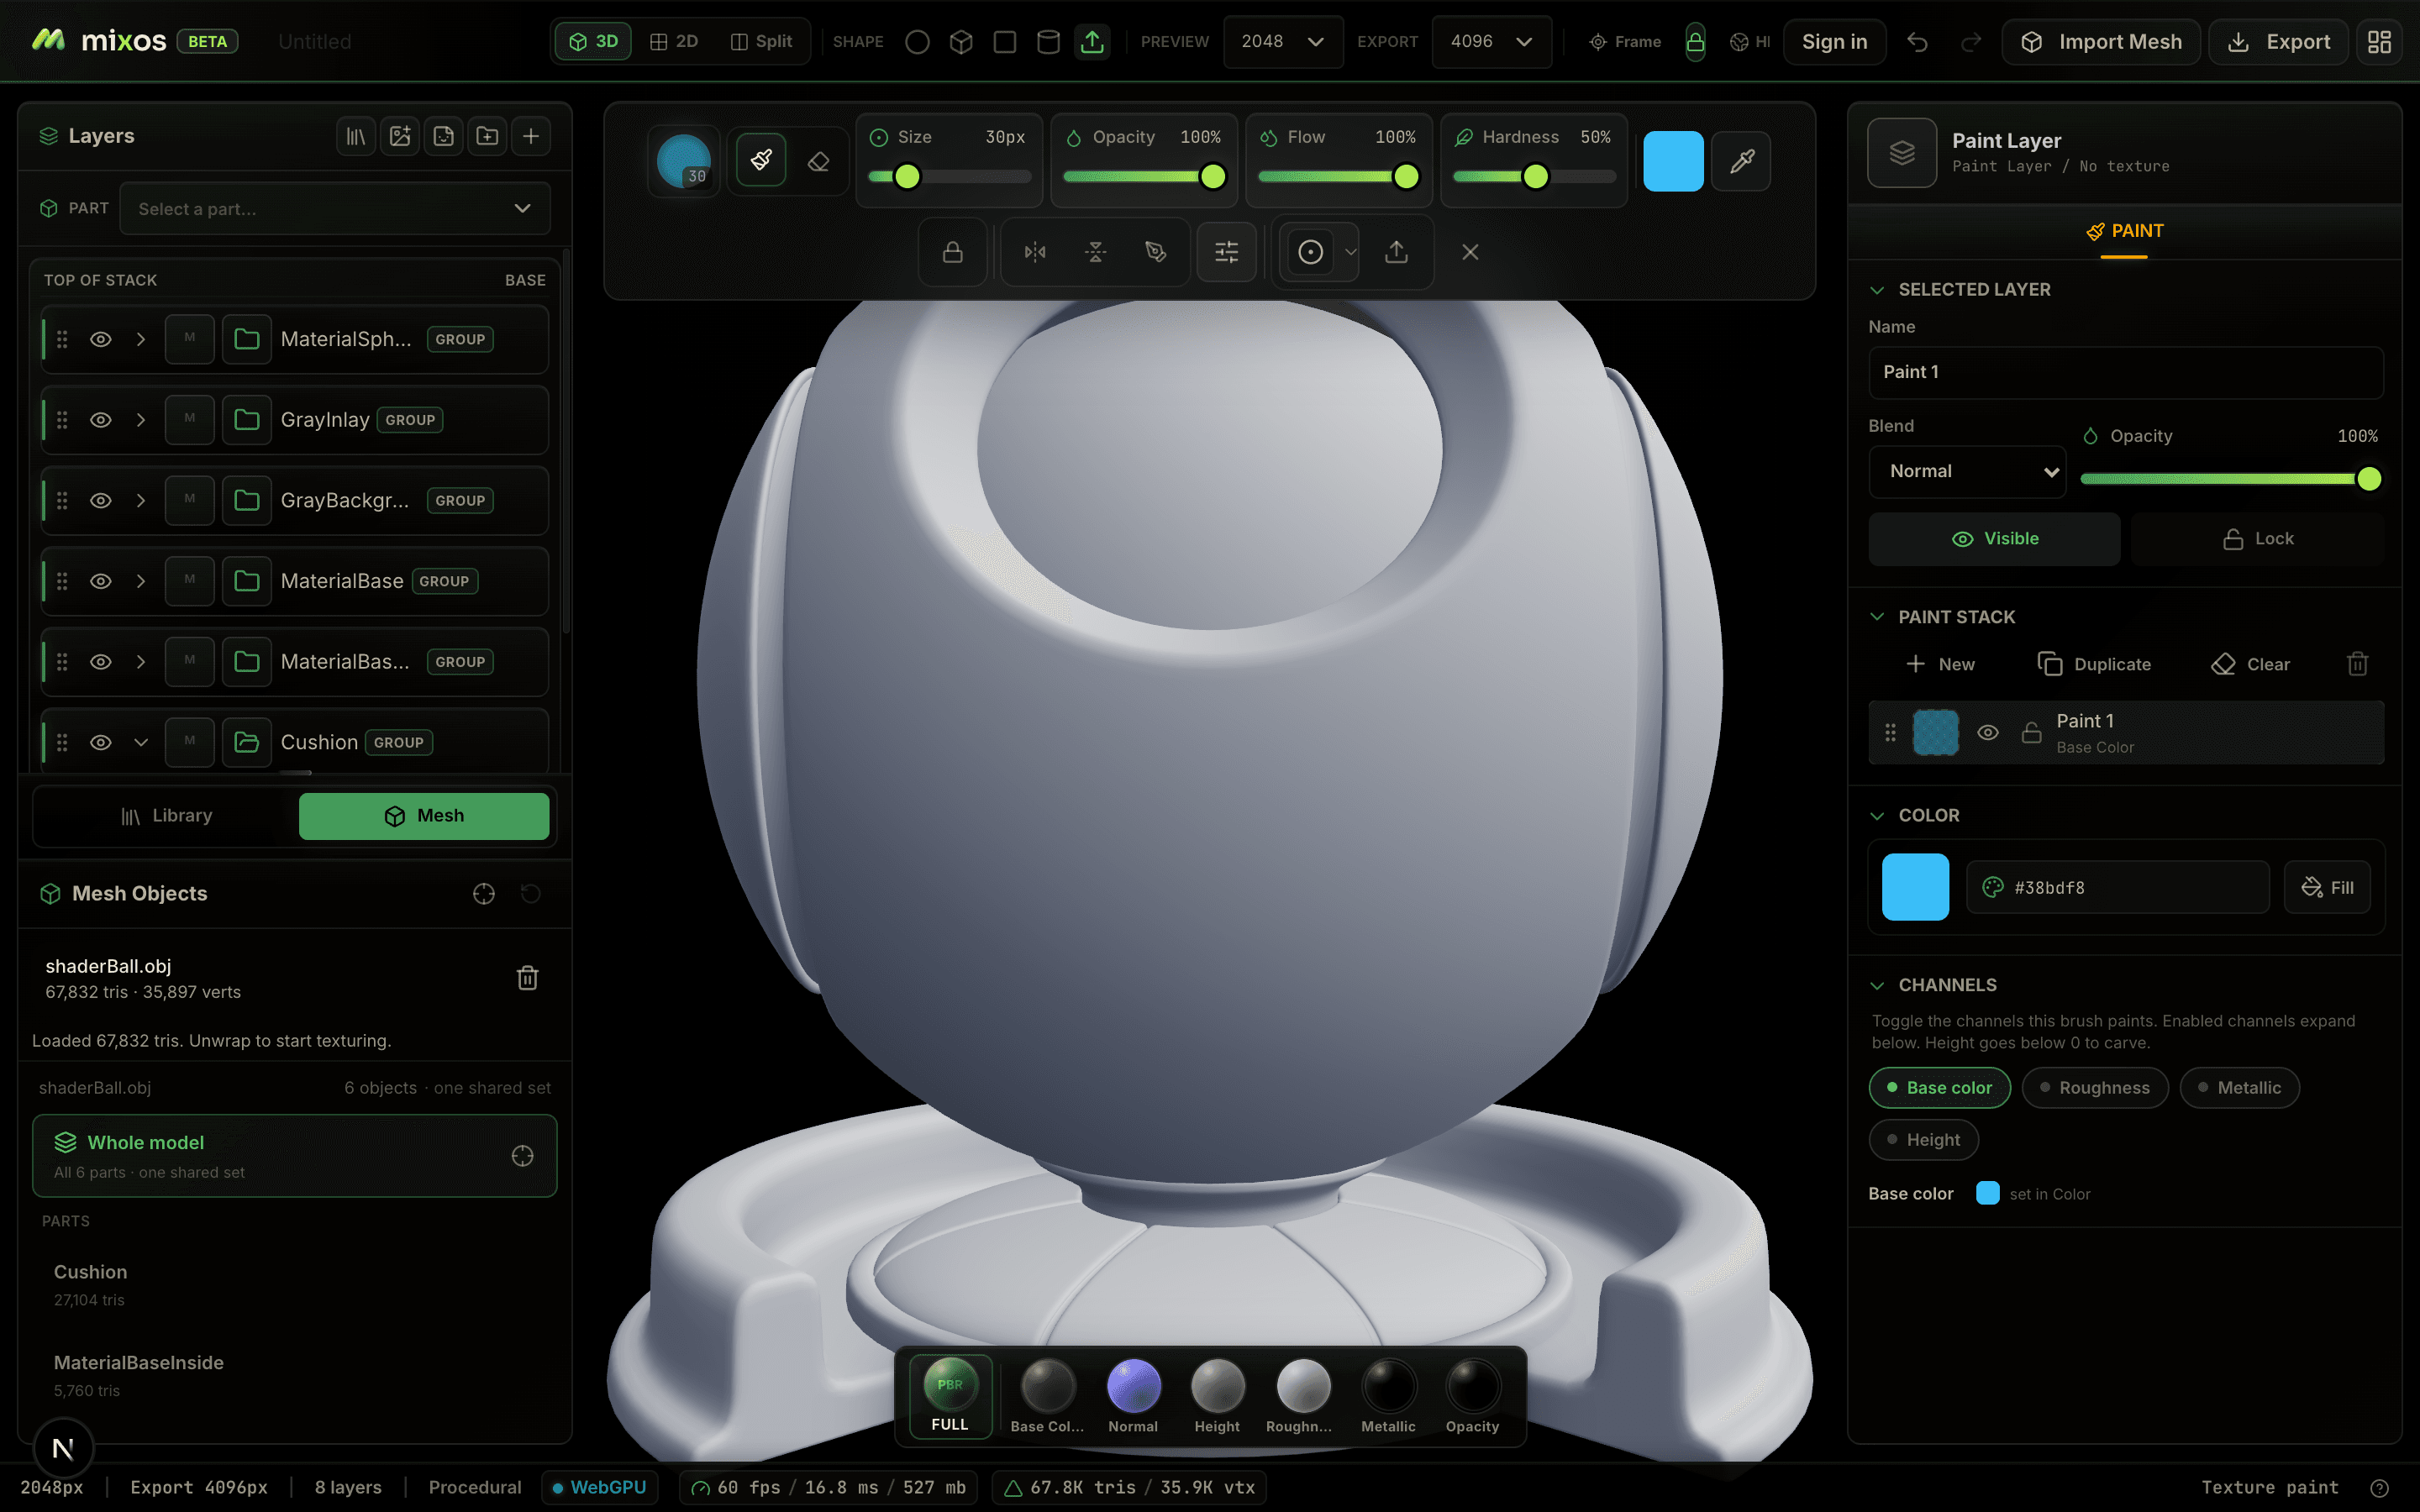
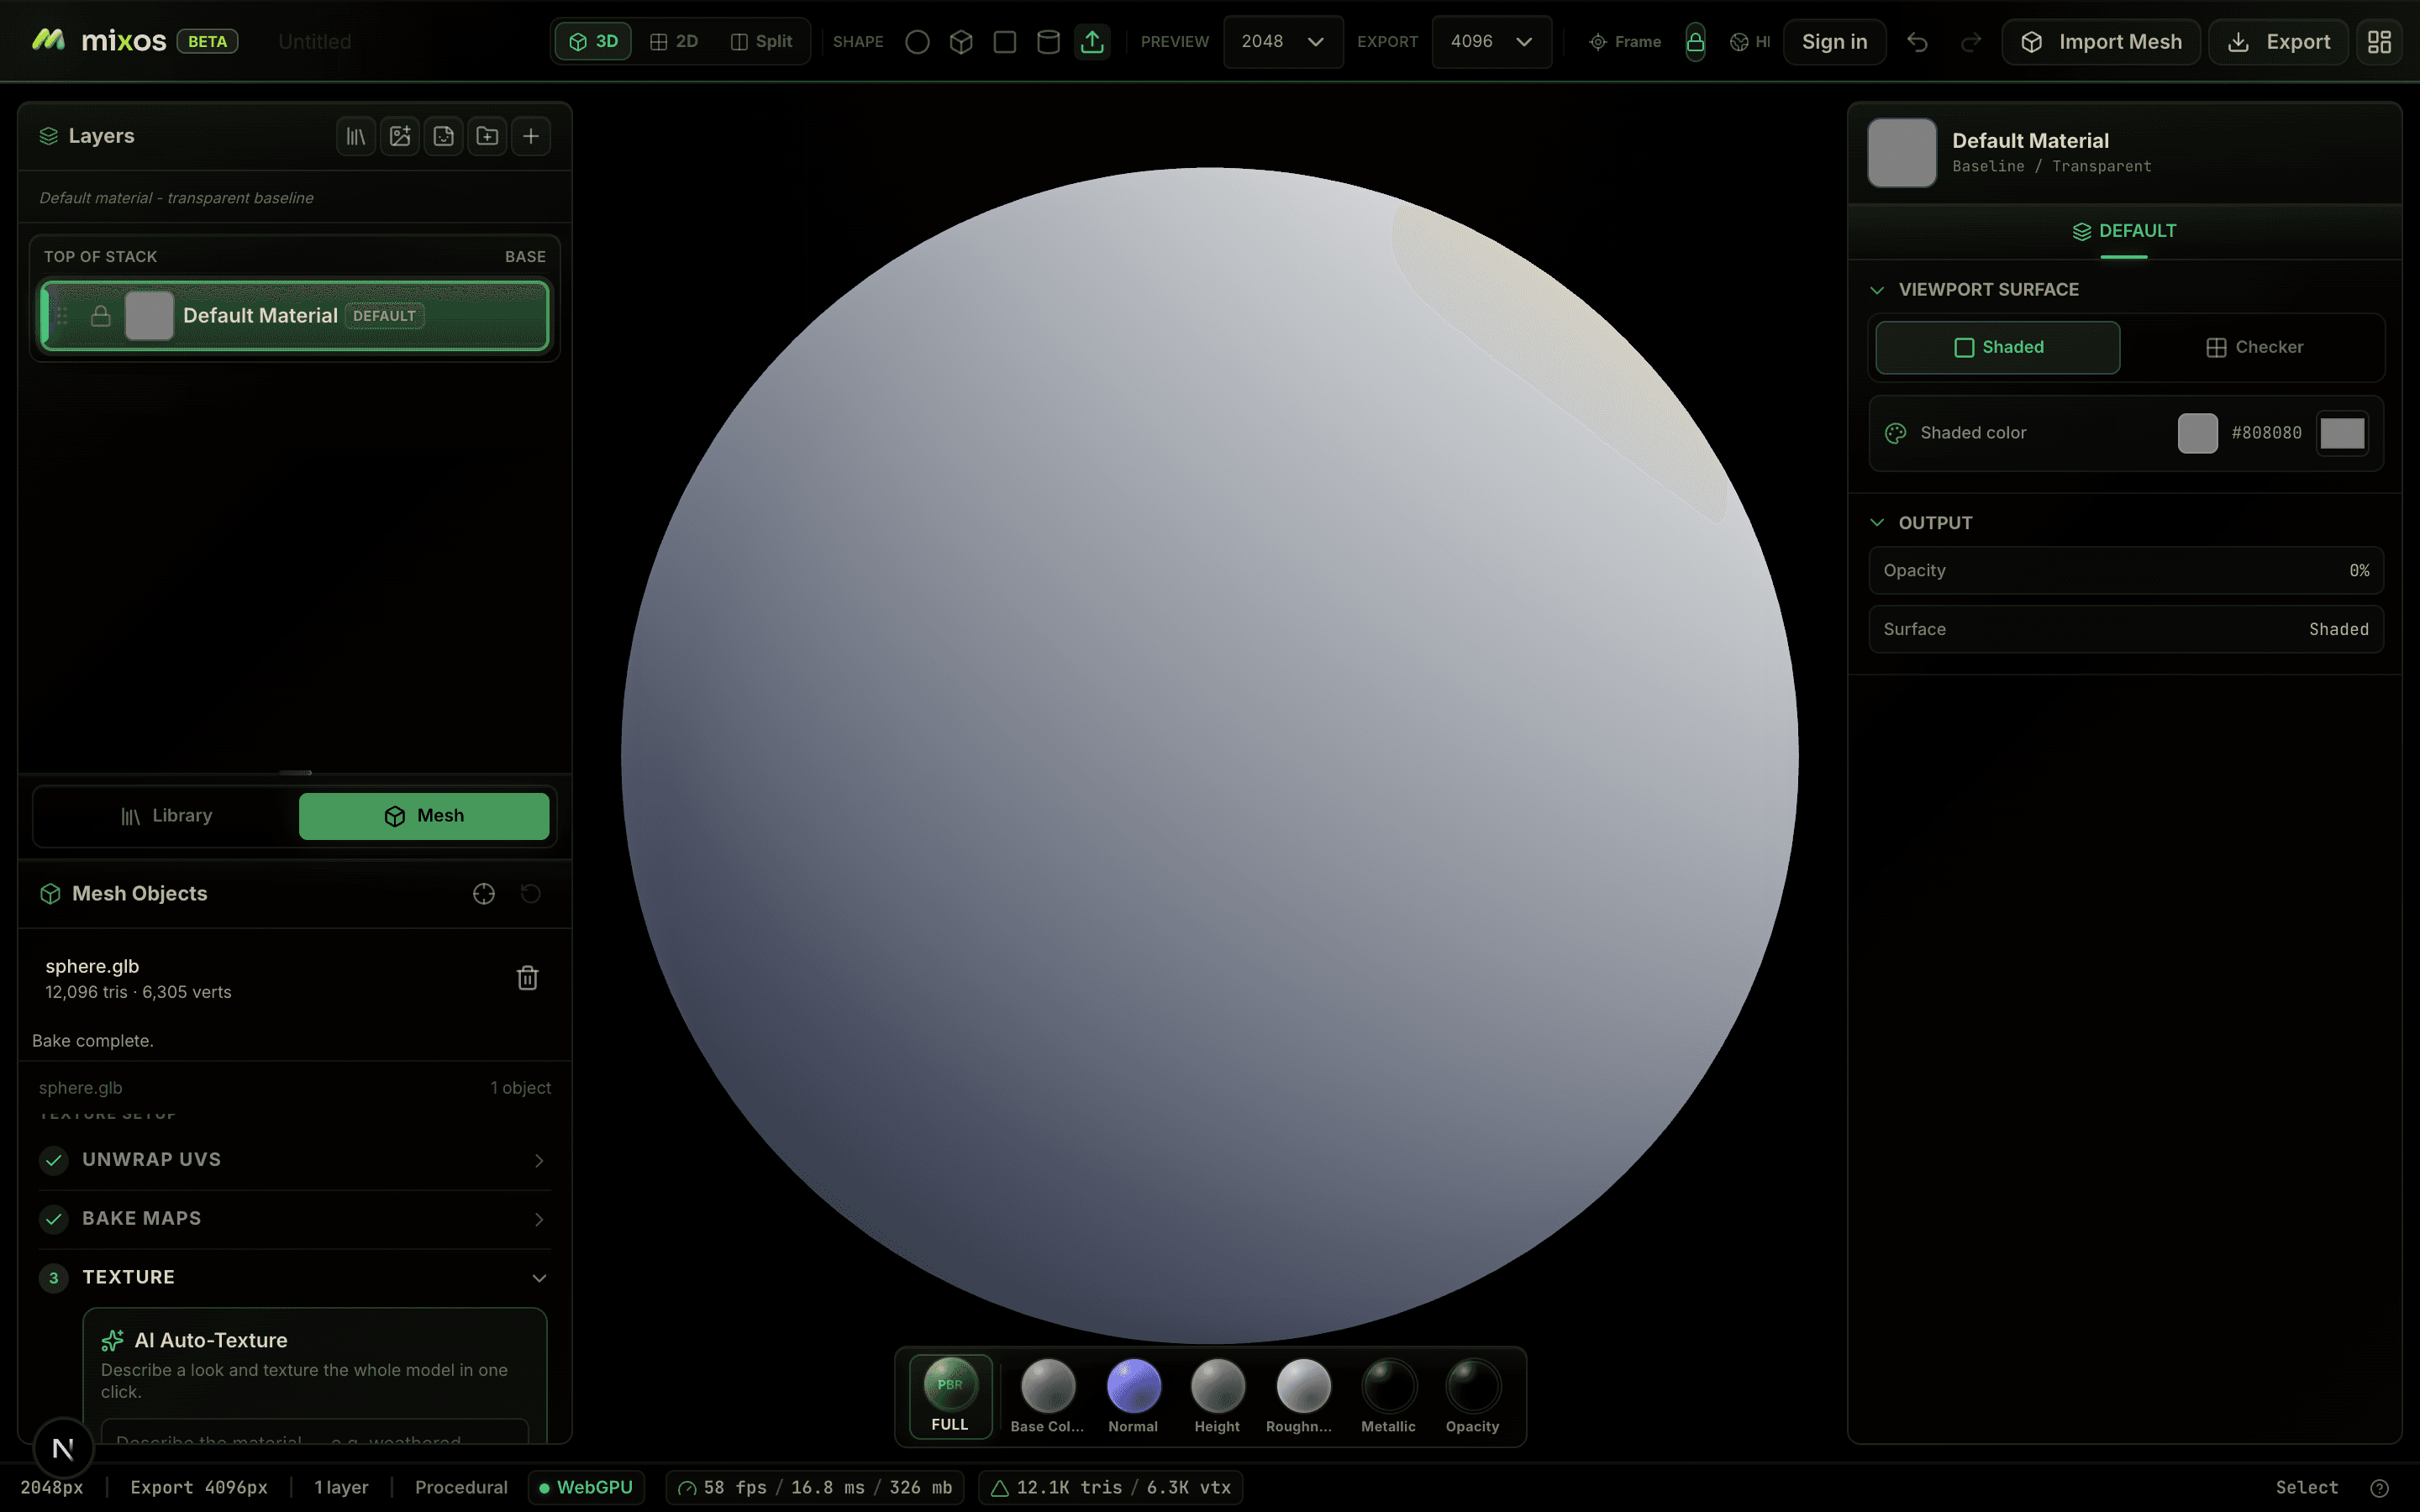
The workspace
The editor is a single screen built from a few panels. Everything you need is one click away — there are no separate windows or modes to switch between.
Top-left is the Layer stack, where every material, paint and adjustment pass lives. Below it, the dock switches between your Mesh (objects and the setup checklist) and the Library of materials, brushes and masks. The viewport fills the centre. The Properties panel on the right edits whatever is selected. The menu bar across the top holds the view controls, import, export and your account; the status bar along the bottom reports mesh and texture stats.
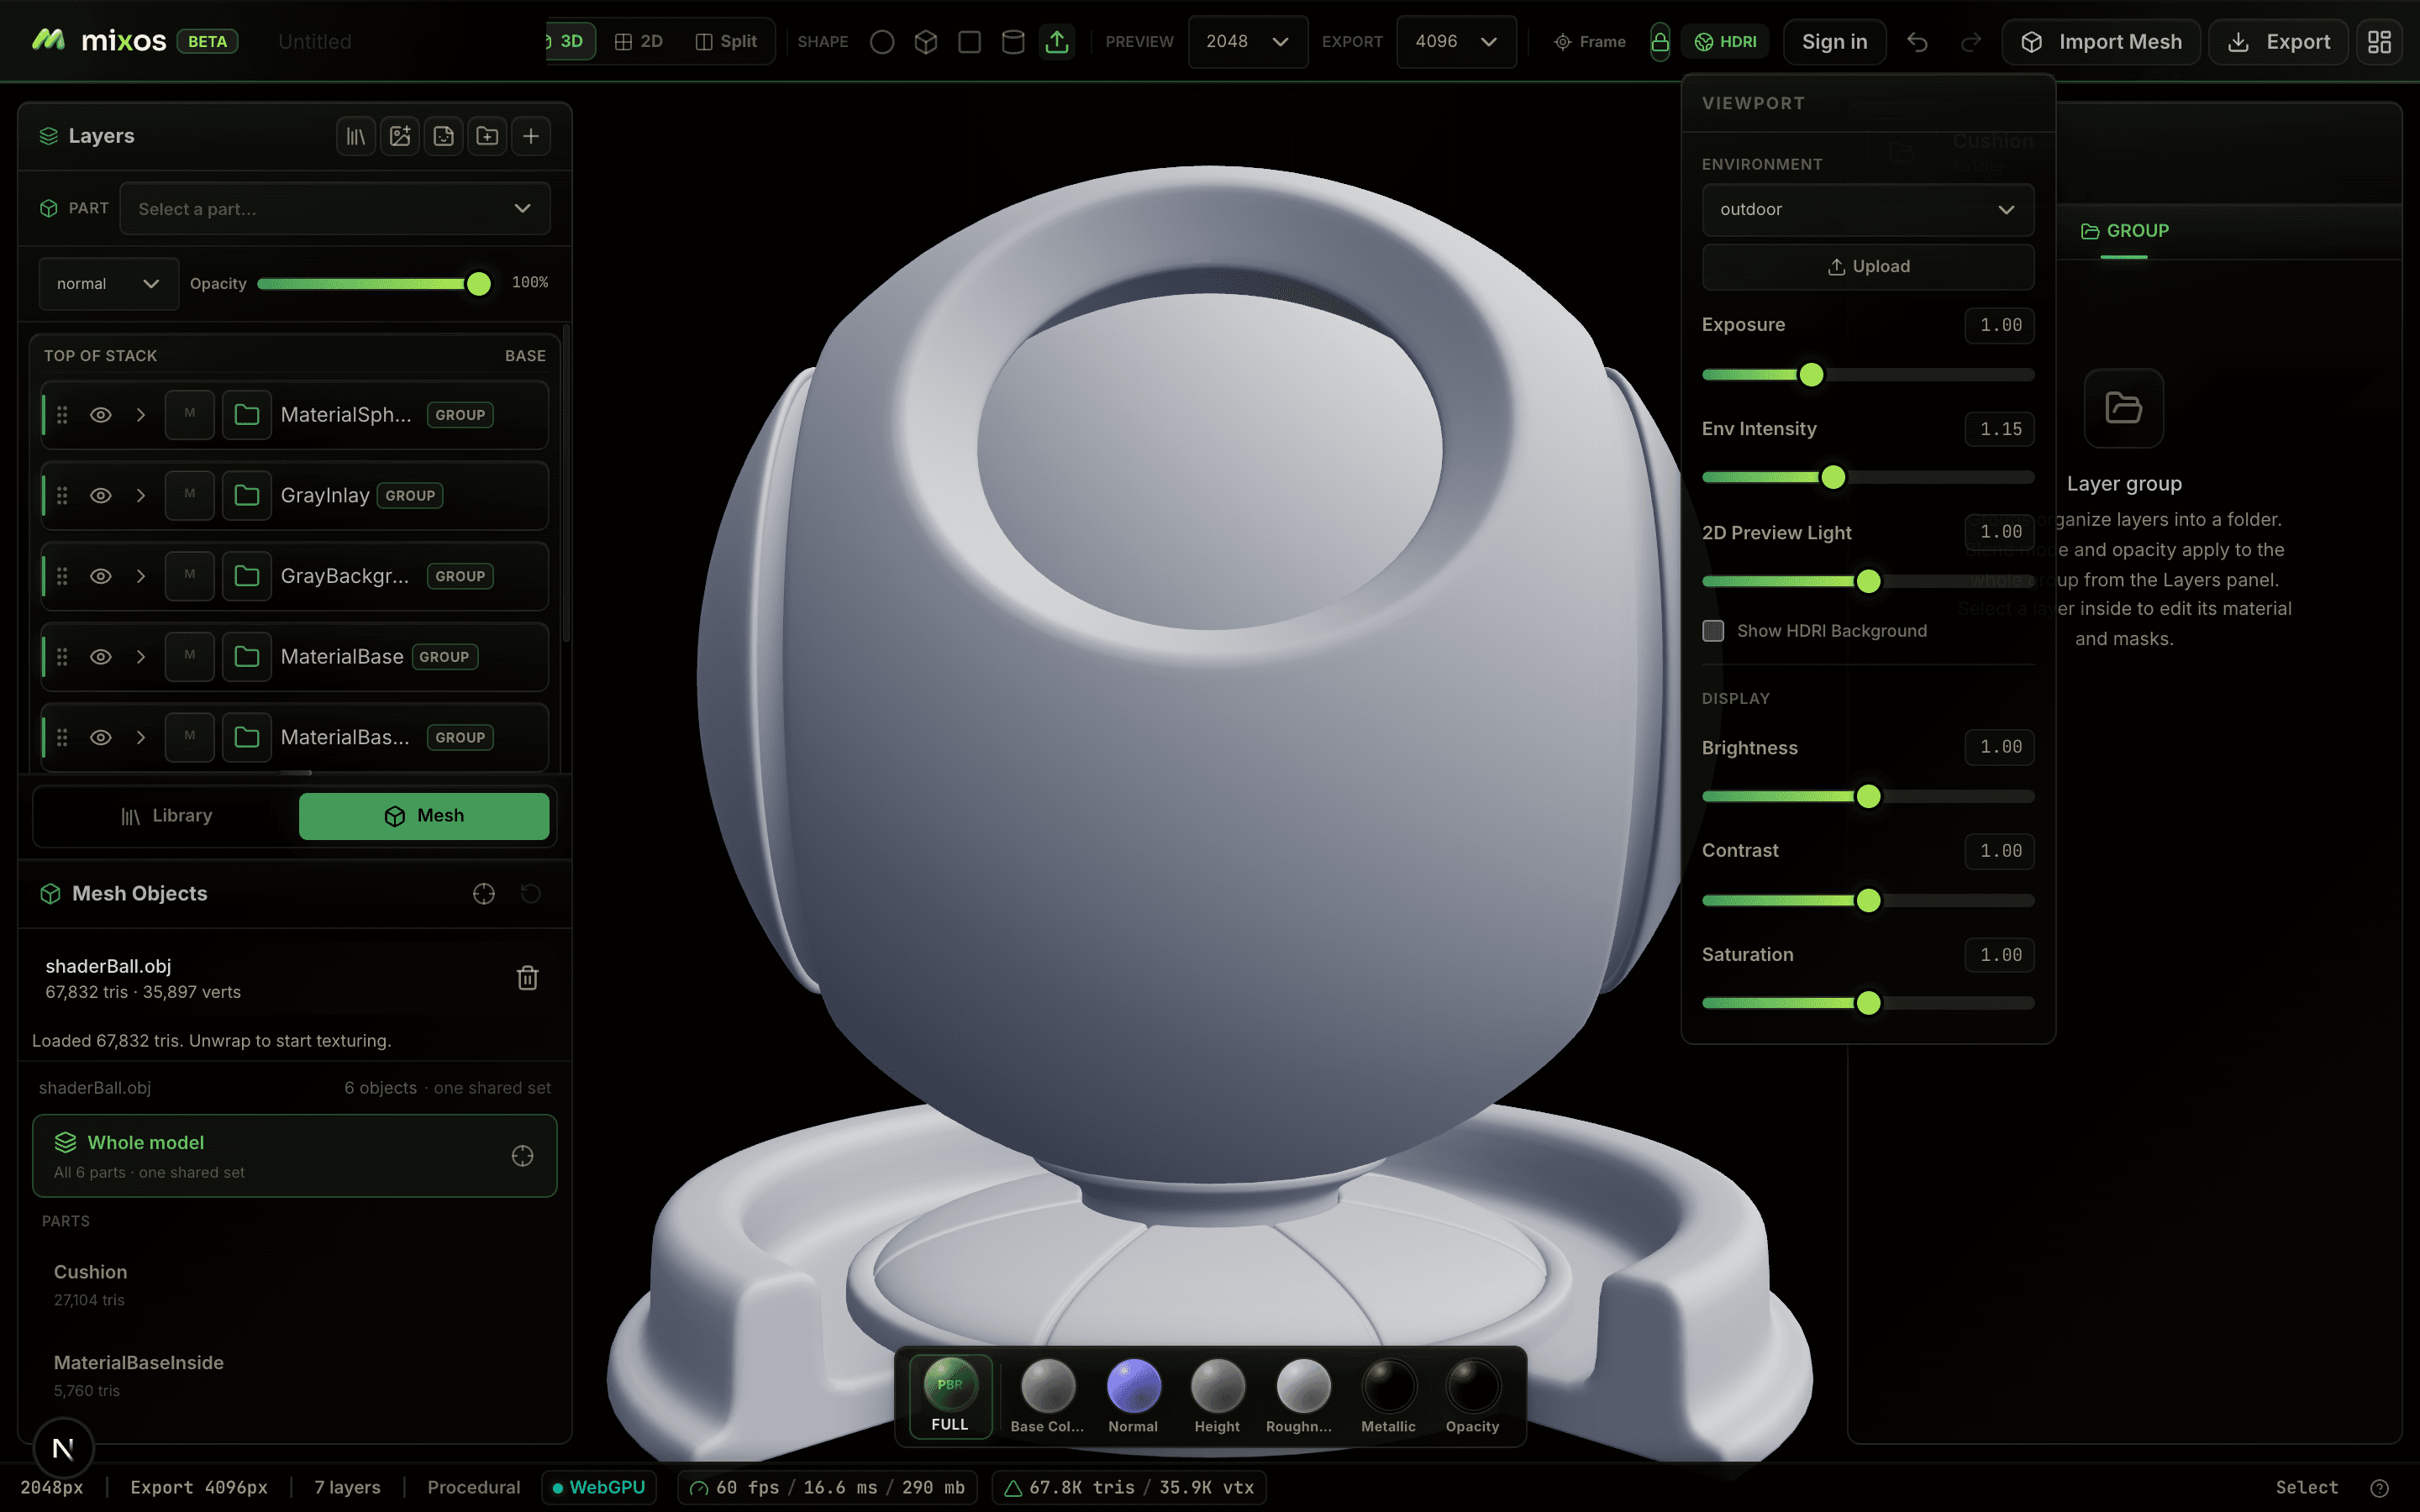
The viewport
The viewport is a live, physically based render. Orbit by dragging, pan with a right- or middle-drag, and zoom with the scroll wheel; press F or the Frame button to recentre on the model.
Three display modes share the same scene. 3D is the lit model; 2D flattens the texture into its UV space so you can paint on it directly; Split shows both at once and keeps them in sync.

The lit, navigable model.
The channel strip beneath the viewport switches what you are looking at: the full PBR shade, or a single channel — Base Color, Normal, Height, Roughness, Metallic or Opacity — on its own. It is a preview only and never paints; use it to inspect exactly what a map contains.
Full PBR
The lit result of every channel combined — what the surface actually looks like.
UV overlay
In 2D and Split modes, toggle the UV overlay to see your unwrap’s island boundaries laid over the texture — handy for spotting seams before you paint across them.
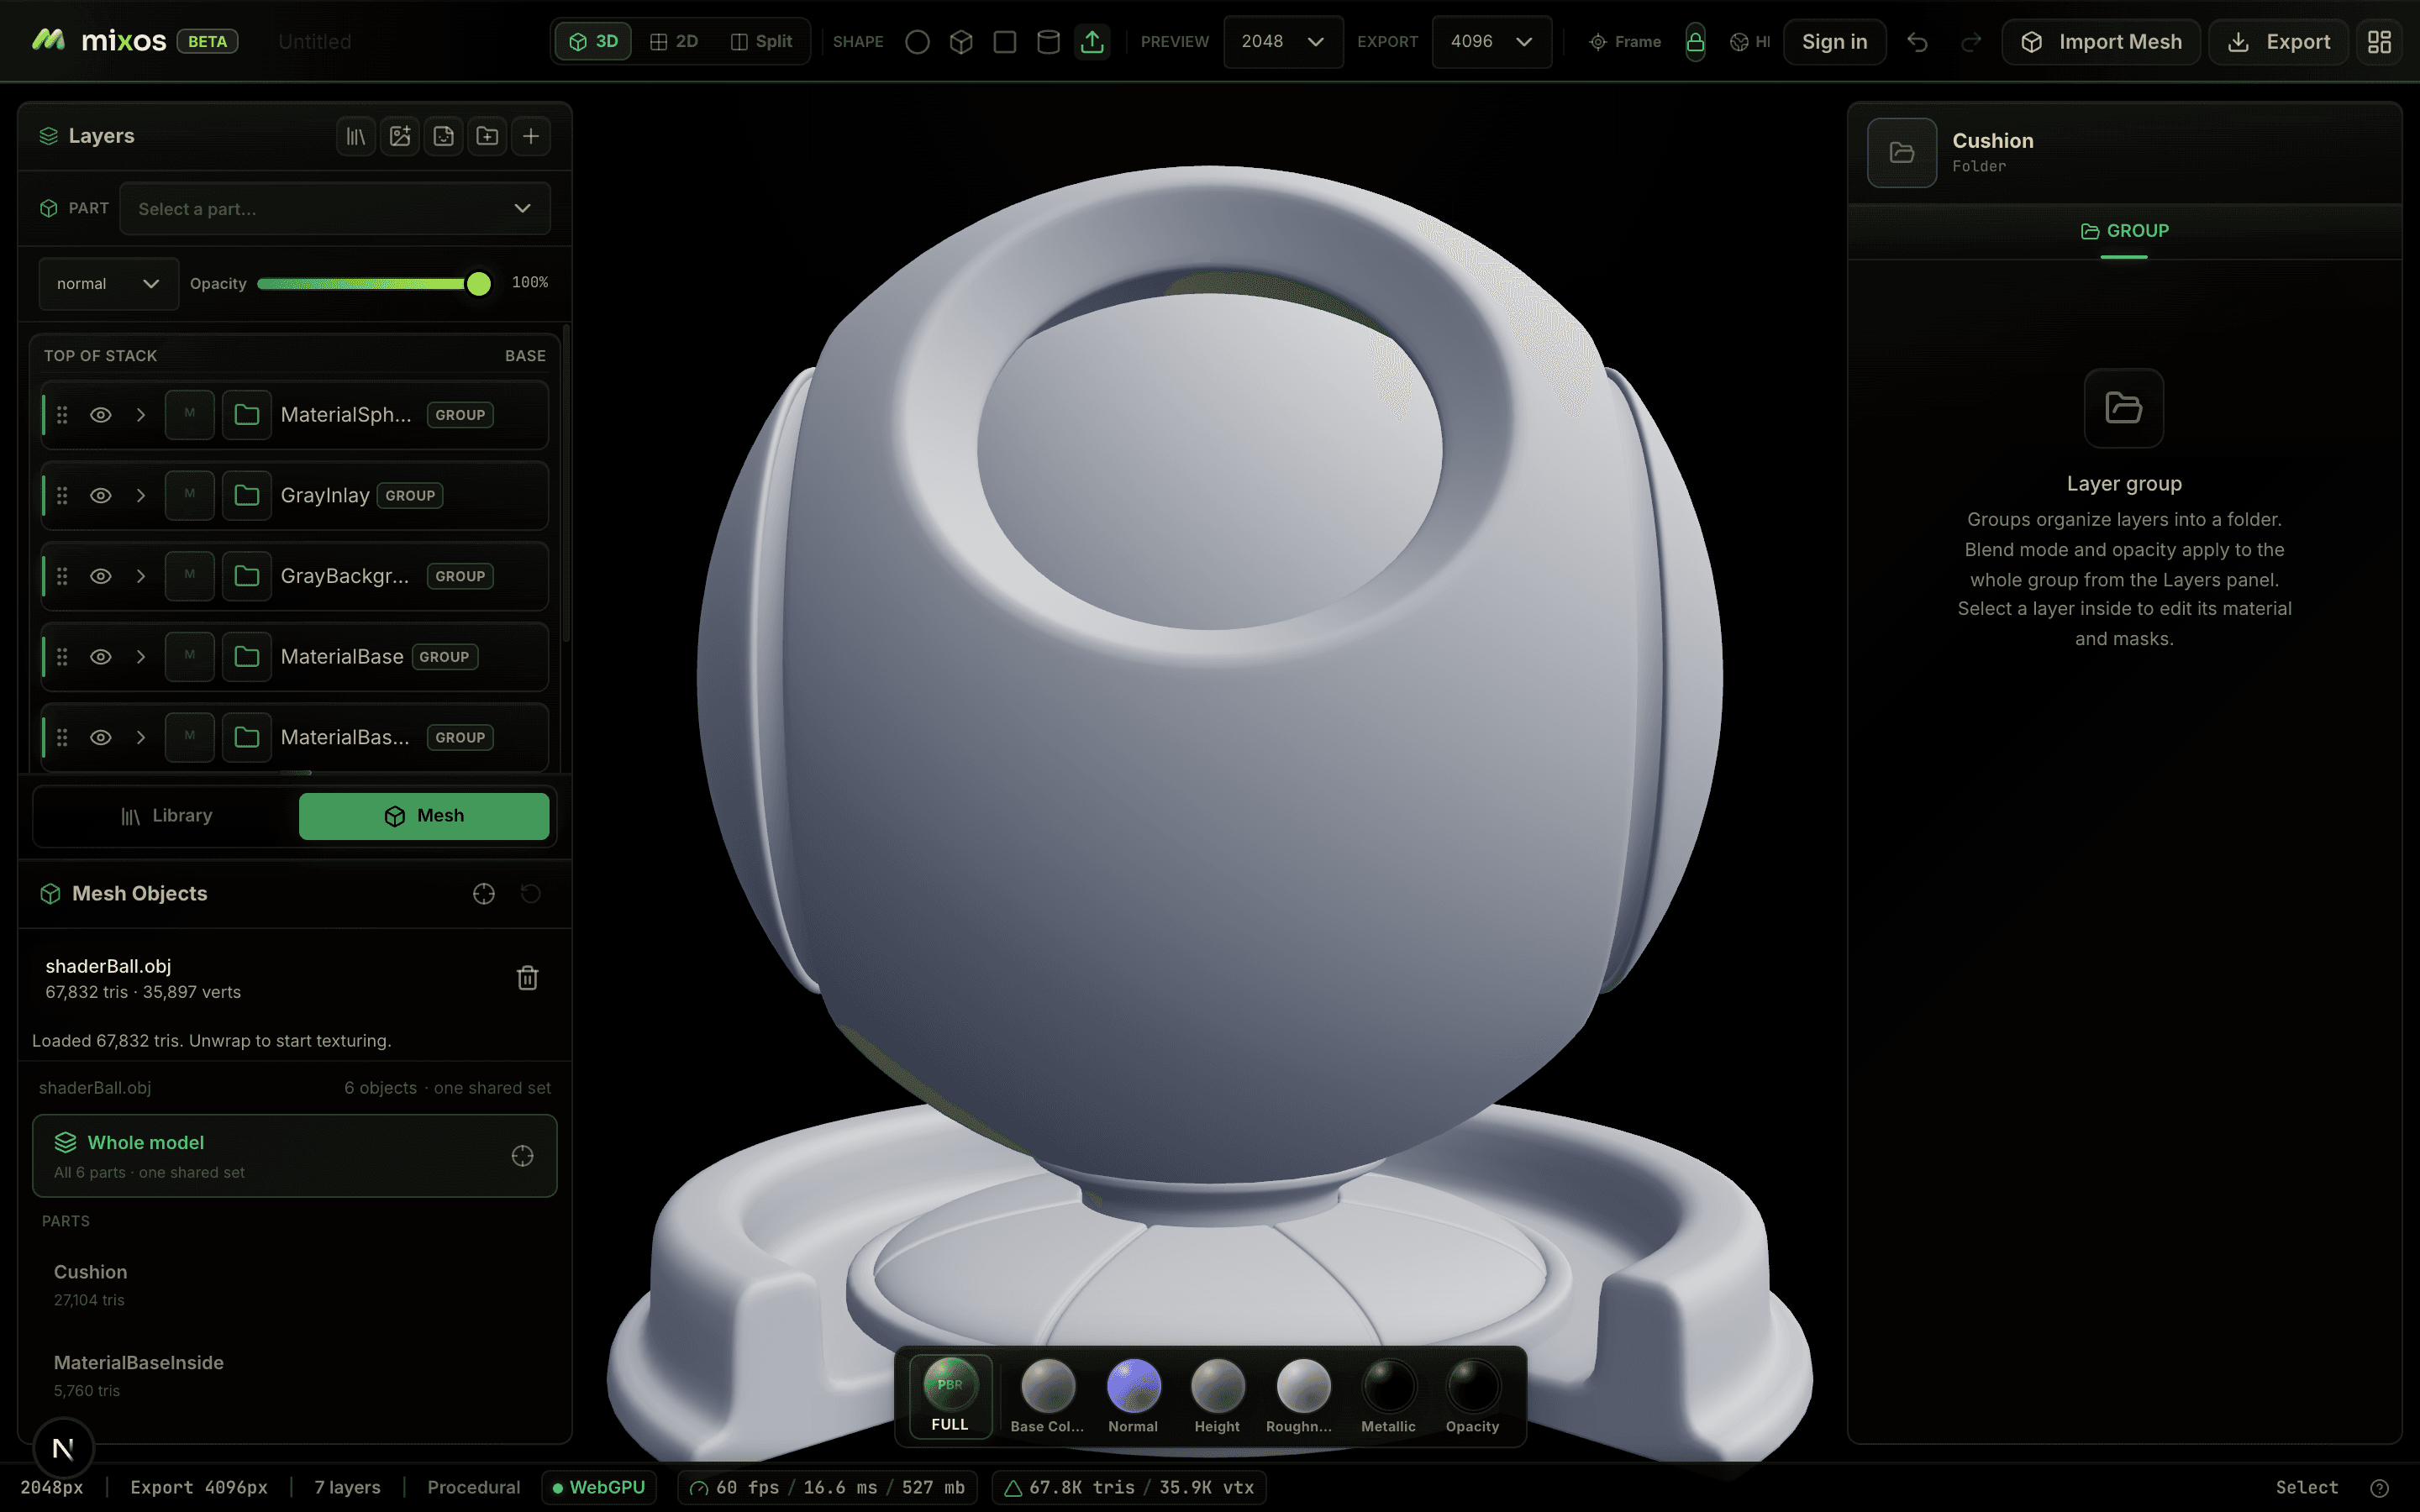
Lighting & environment
An HDRI environment lights the scene. Choose a preset or upload your own .hdr or .exr to judge a material under the lighting it will ship in — studio, sunset, overcast and more.
Preview a material under the lighting it will ship in. The environment is preview-only — it never changes the exported maps.
Exposure and environment intensity set how bright the lighting reads, and you can show the HDRI as the background or keep a clean studio backdrop. The display sliders — brightness, contrast, saturation — tune the viewport only.
Lighting is preview-only
The environment and display settings change how the model looks on screen, not your textures. Base color stays unlit, so your exported maps are identical whatever lighting you preview under.
Your model
Import & primitives
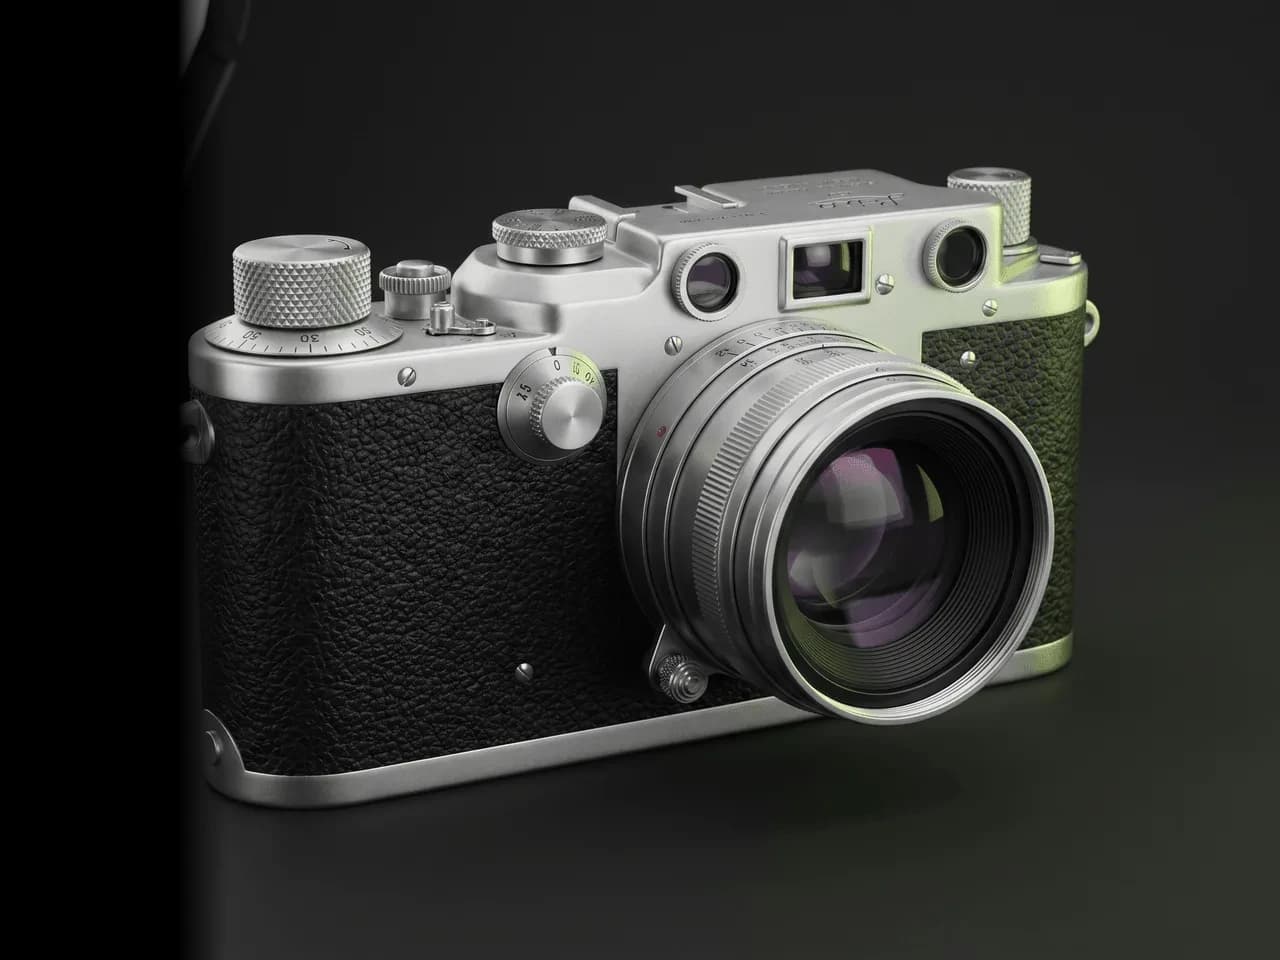
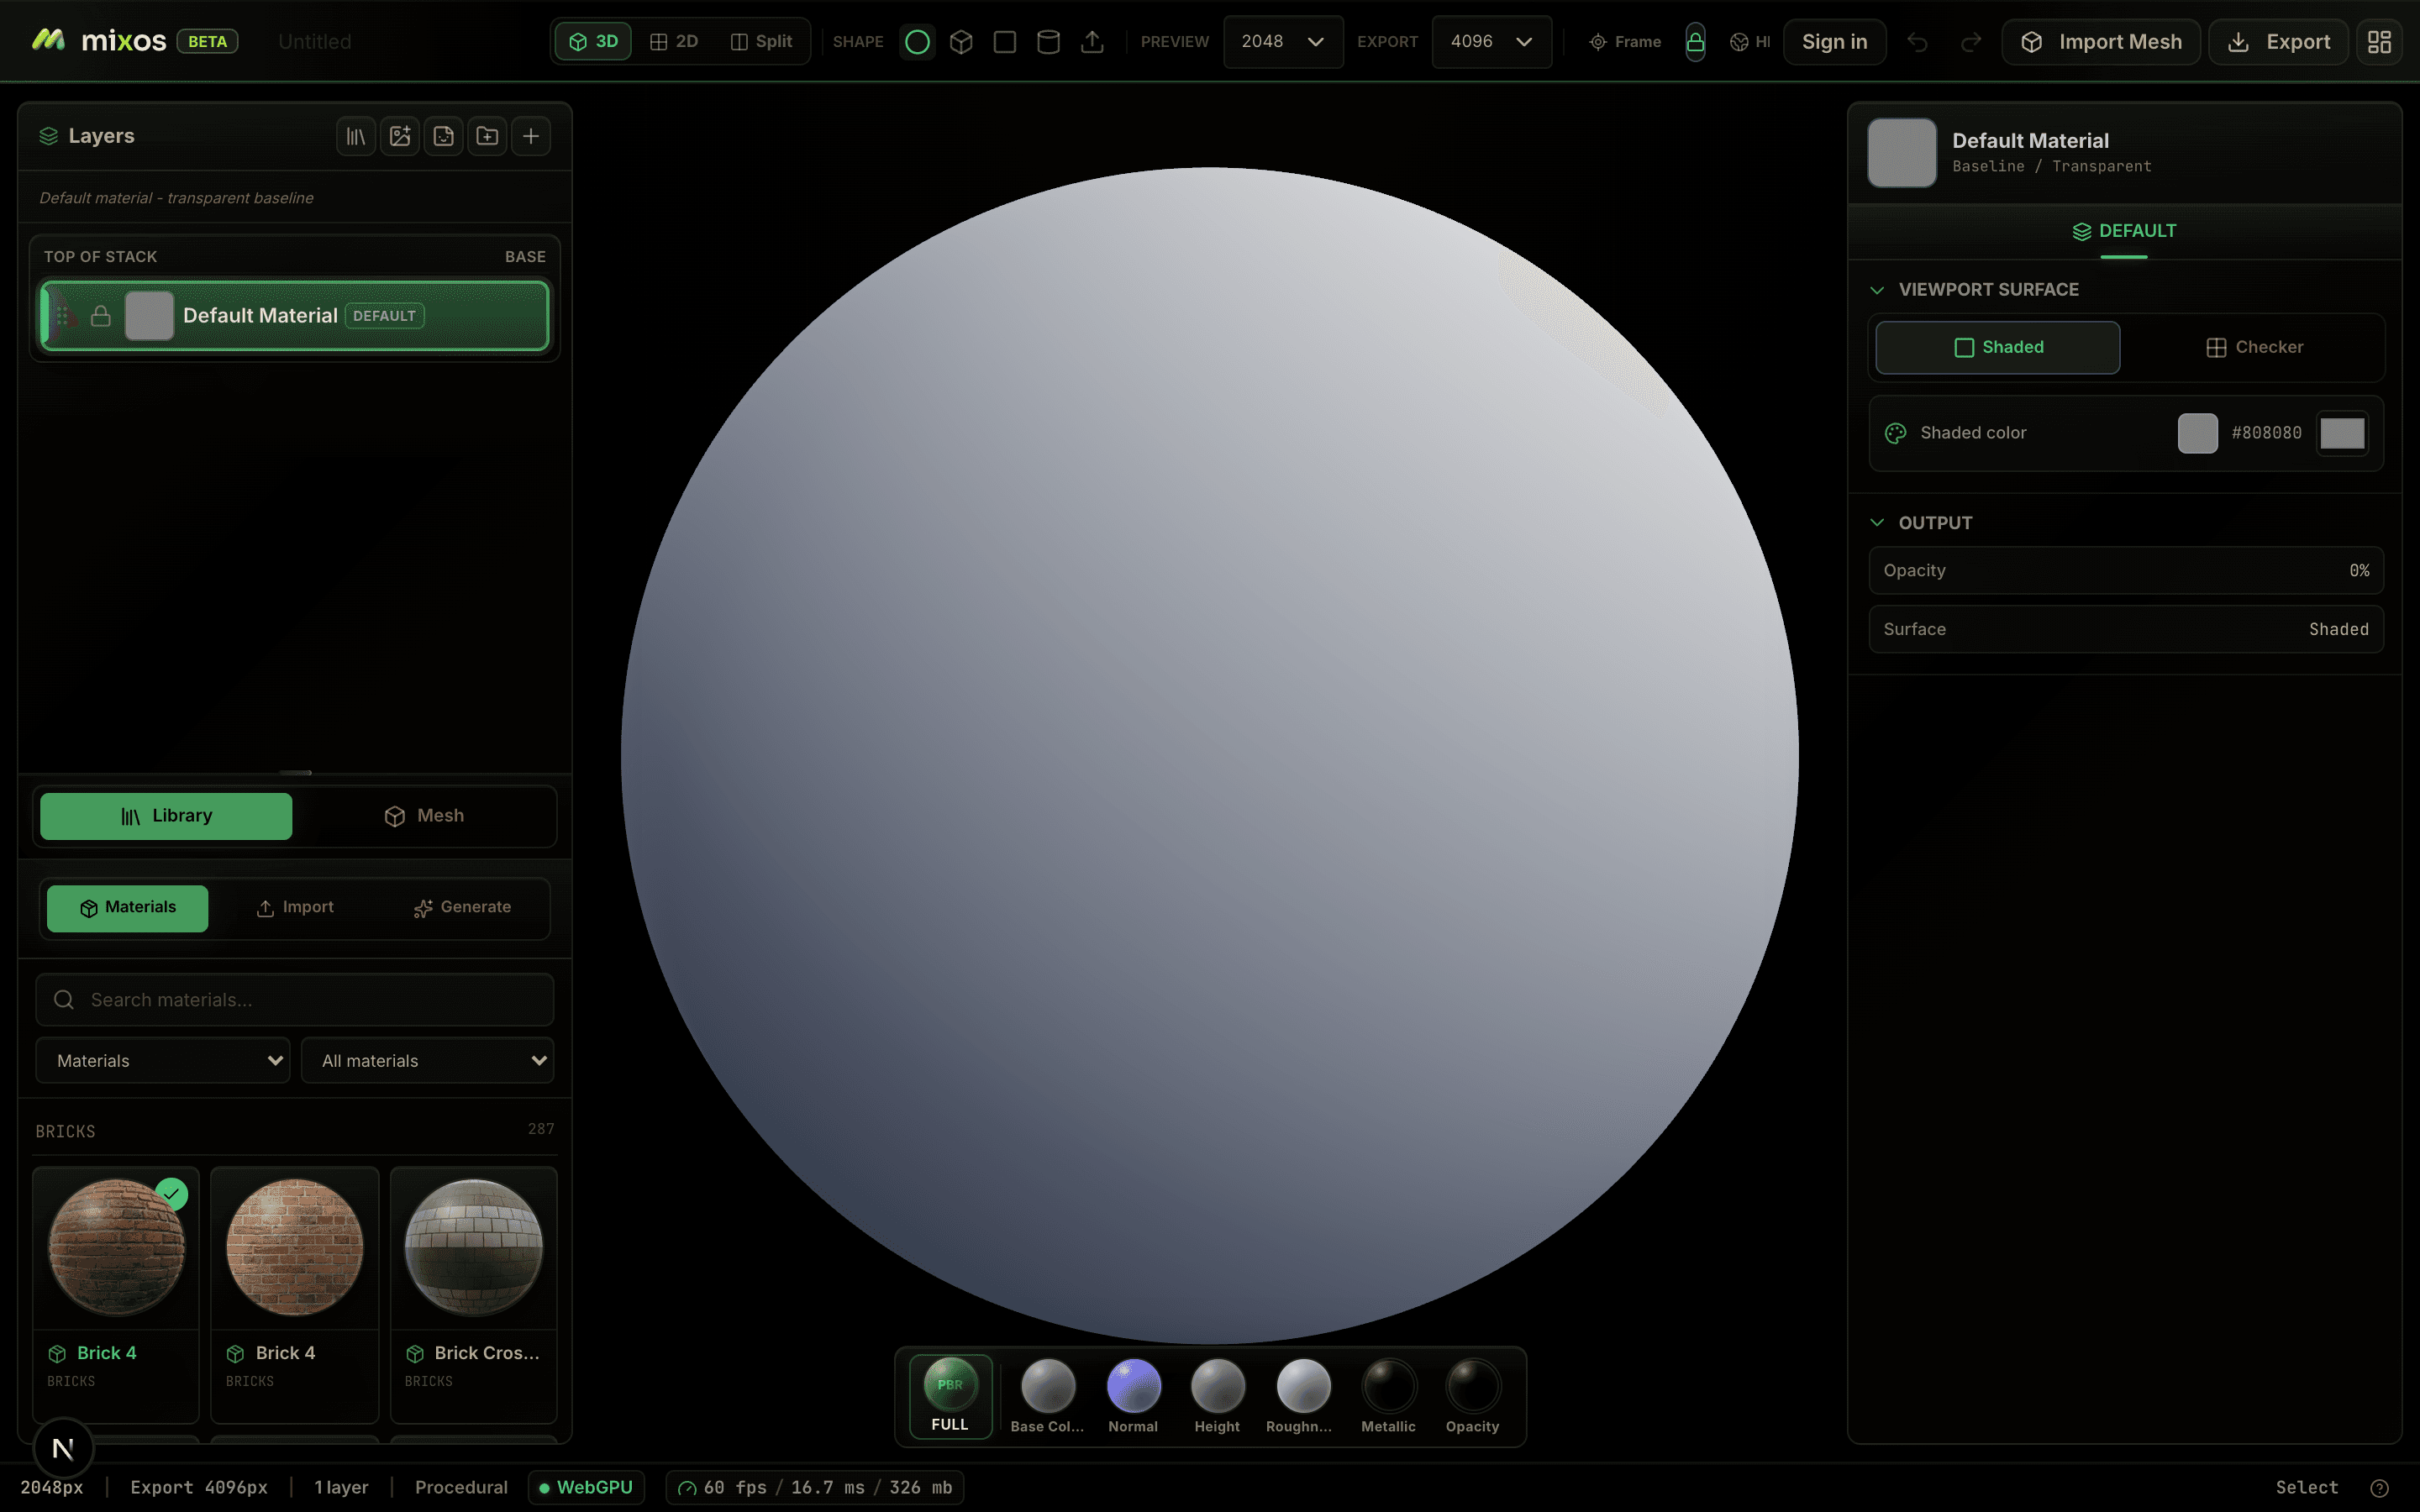
Mixos opens with a lit sphere and a default material, so you can start painting immediately. The Shape control in the menu bar swaps the sphere for a cube, plane or cylinder when you just need a surface to test a material on.
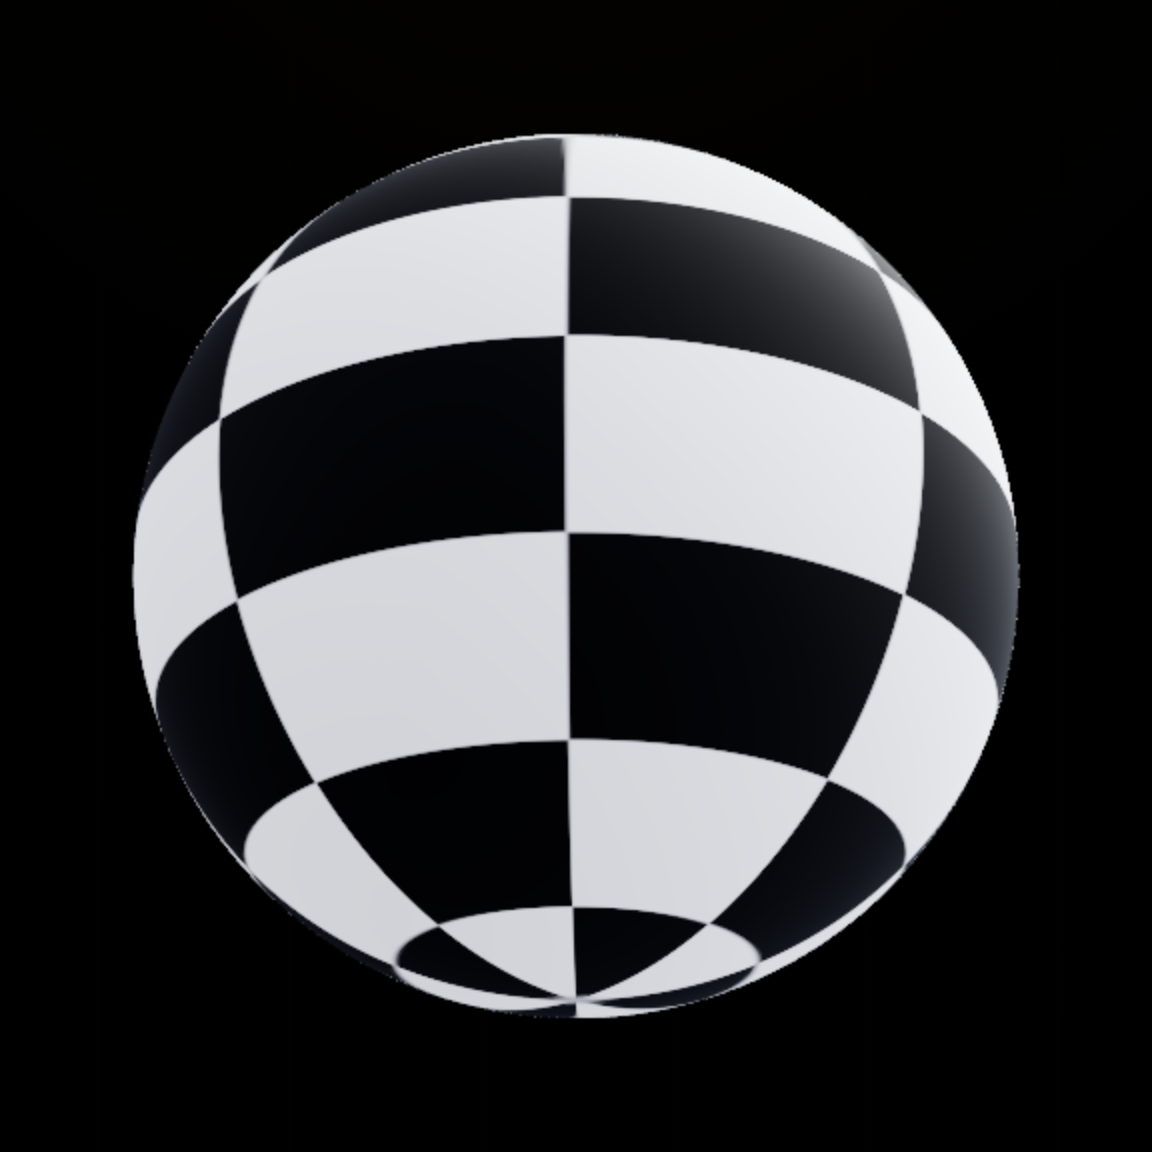
Start on a primitive to test a material, or import your own mesh. (Shown with a UV checker.)
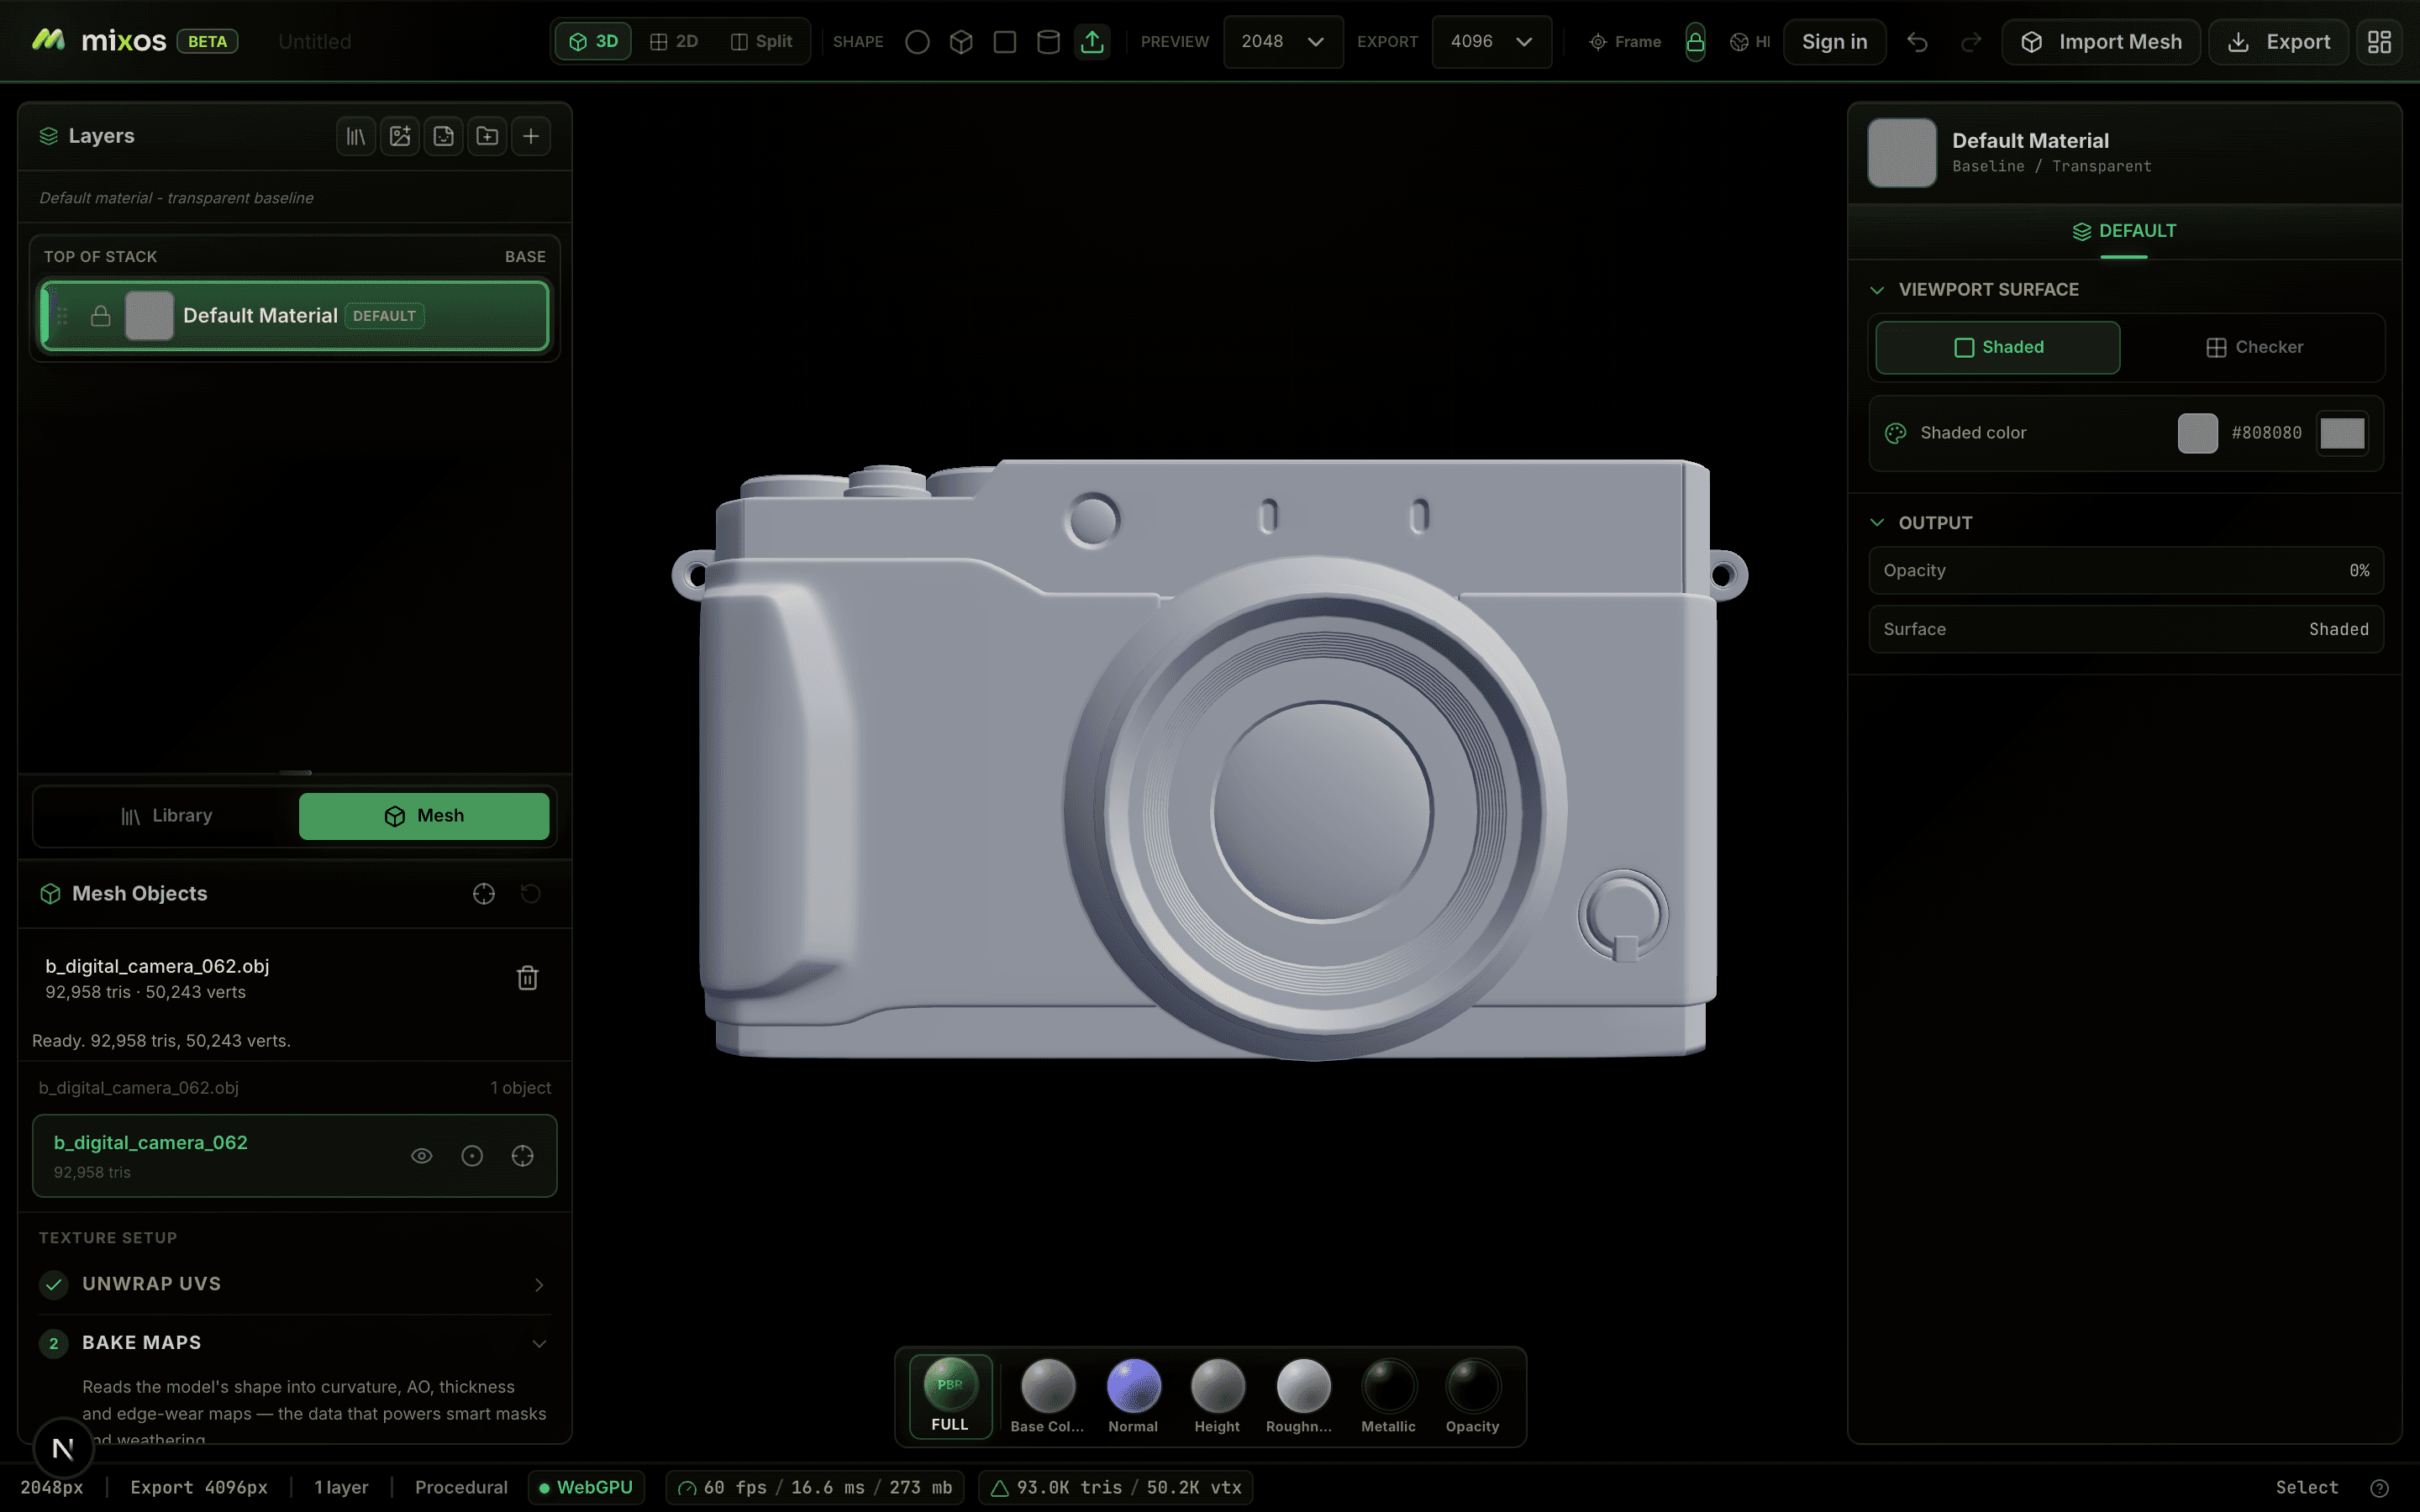
To texture your own asset, open the Mesh tab and drag in a model, or click to browse. Mixos accepts GLB, GLTF, FBX and OBJ files up to 150 MB and loads geometry only — materials are something you build here.
Unwrap UVs
A texture needs a UV layout — a flat, non-overlapping map of the surface to paint onto. Mixos reuses the UVs already on your model when they are clean, and generates a fresh layout in one click when they are not.
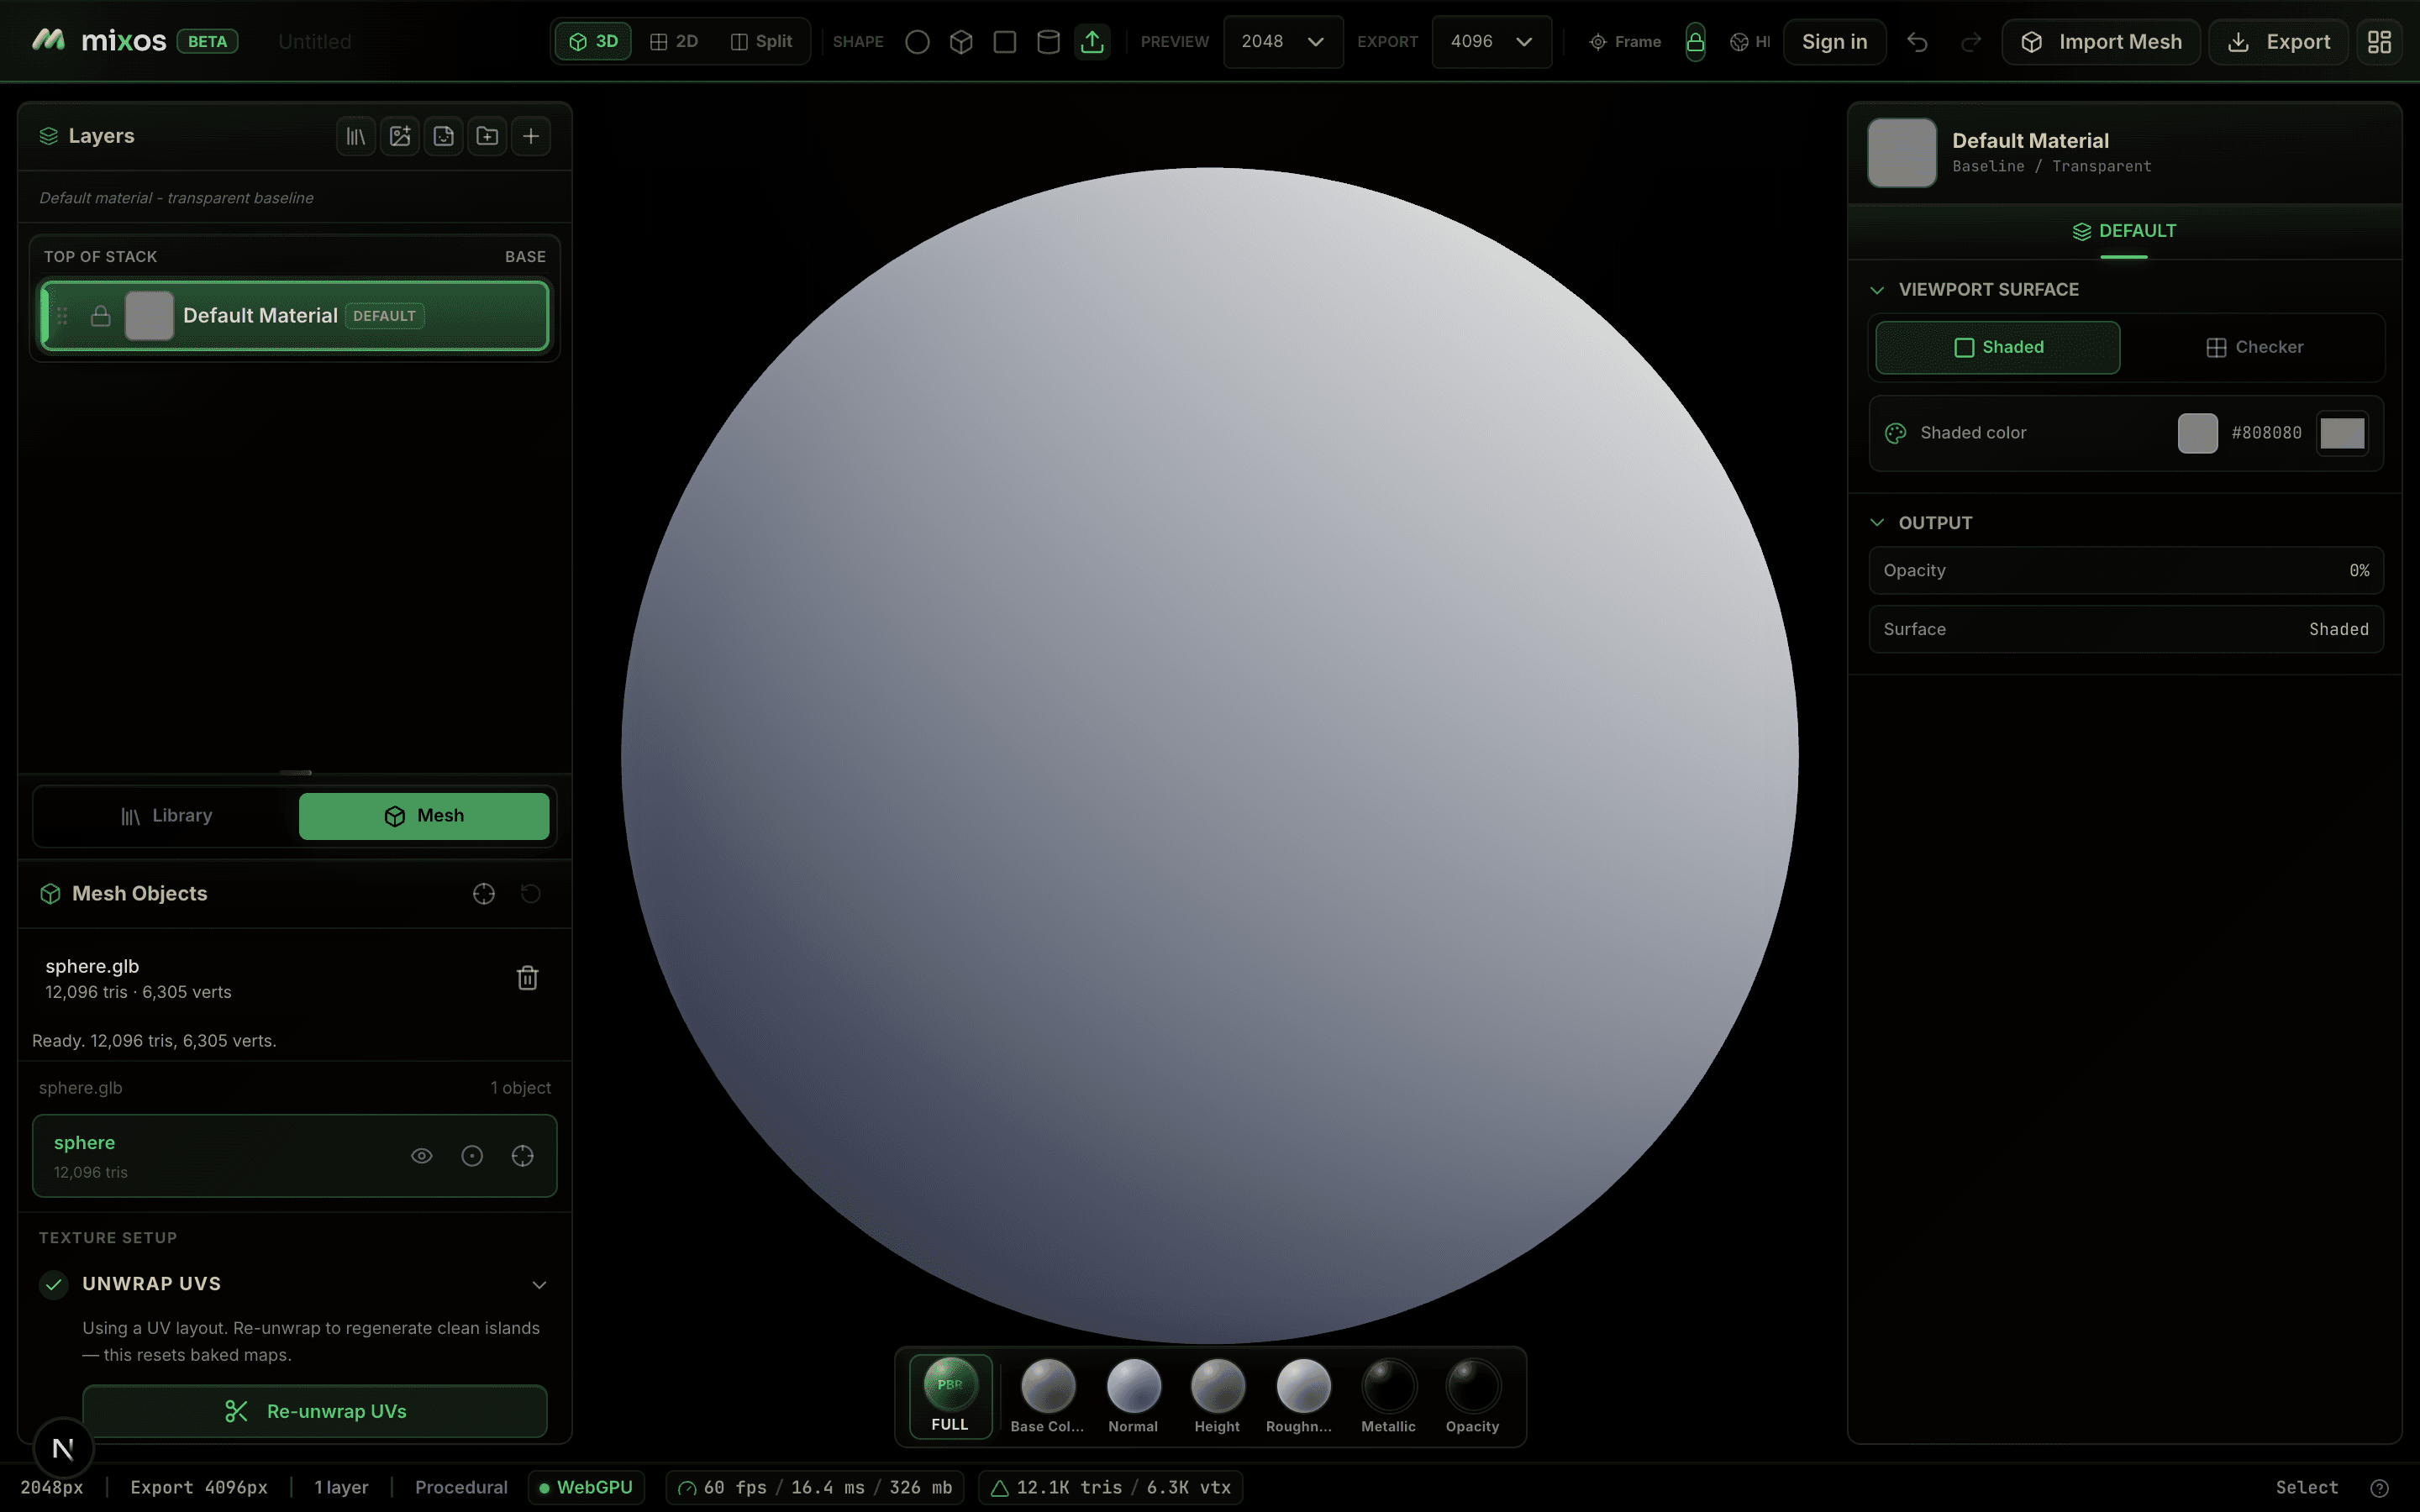
Unwrapping lays the surface flat into non-overlapping islands — the map you paint onto. Mixos does it in one click.
No manual unwrapping required
You do not need to unwrap by hand. For multi-part models, choose “Combined” for one shared texture set or “Per-object” to bake and export each part separately.
Bake mesh maps
Baking projects the model's geometry into a set of maps — curvature, ambient occlusion, thickness and edge wear. These describe where edges, cavities and thin areas are, and they are what let smart materials place wear and grime convincingly.
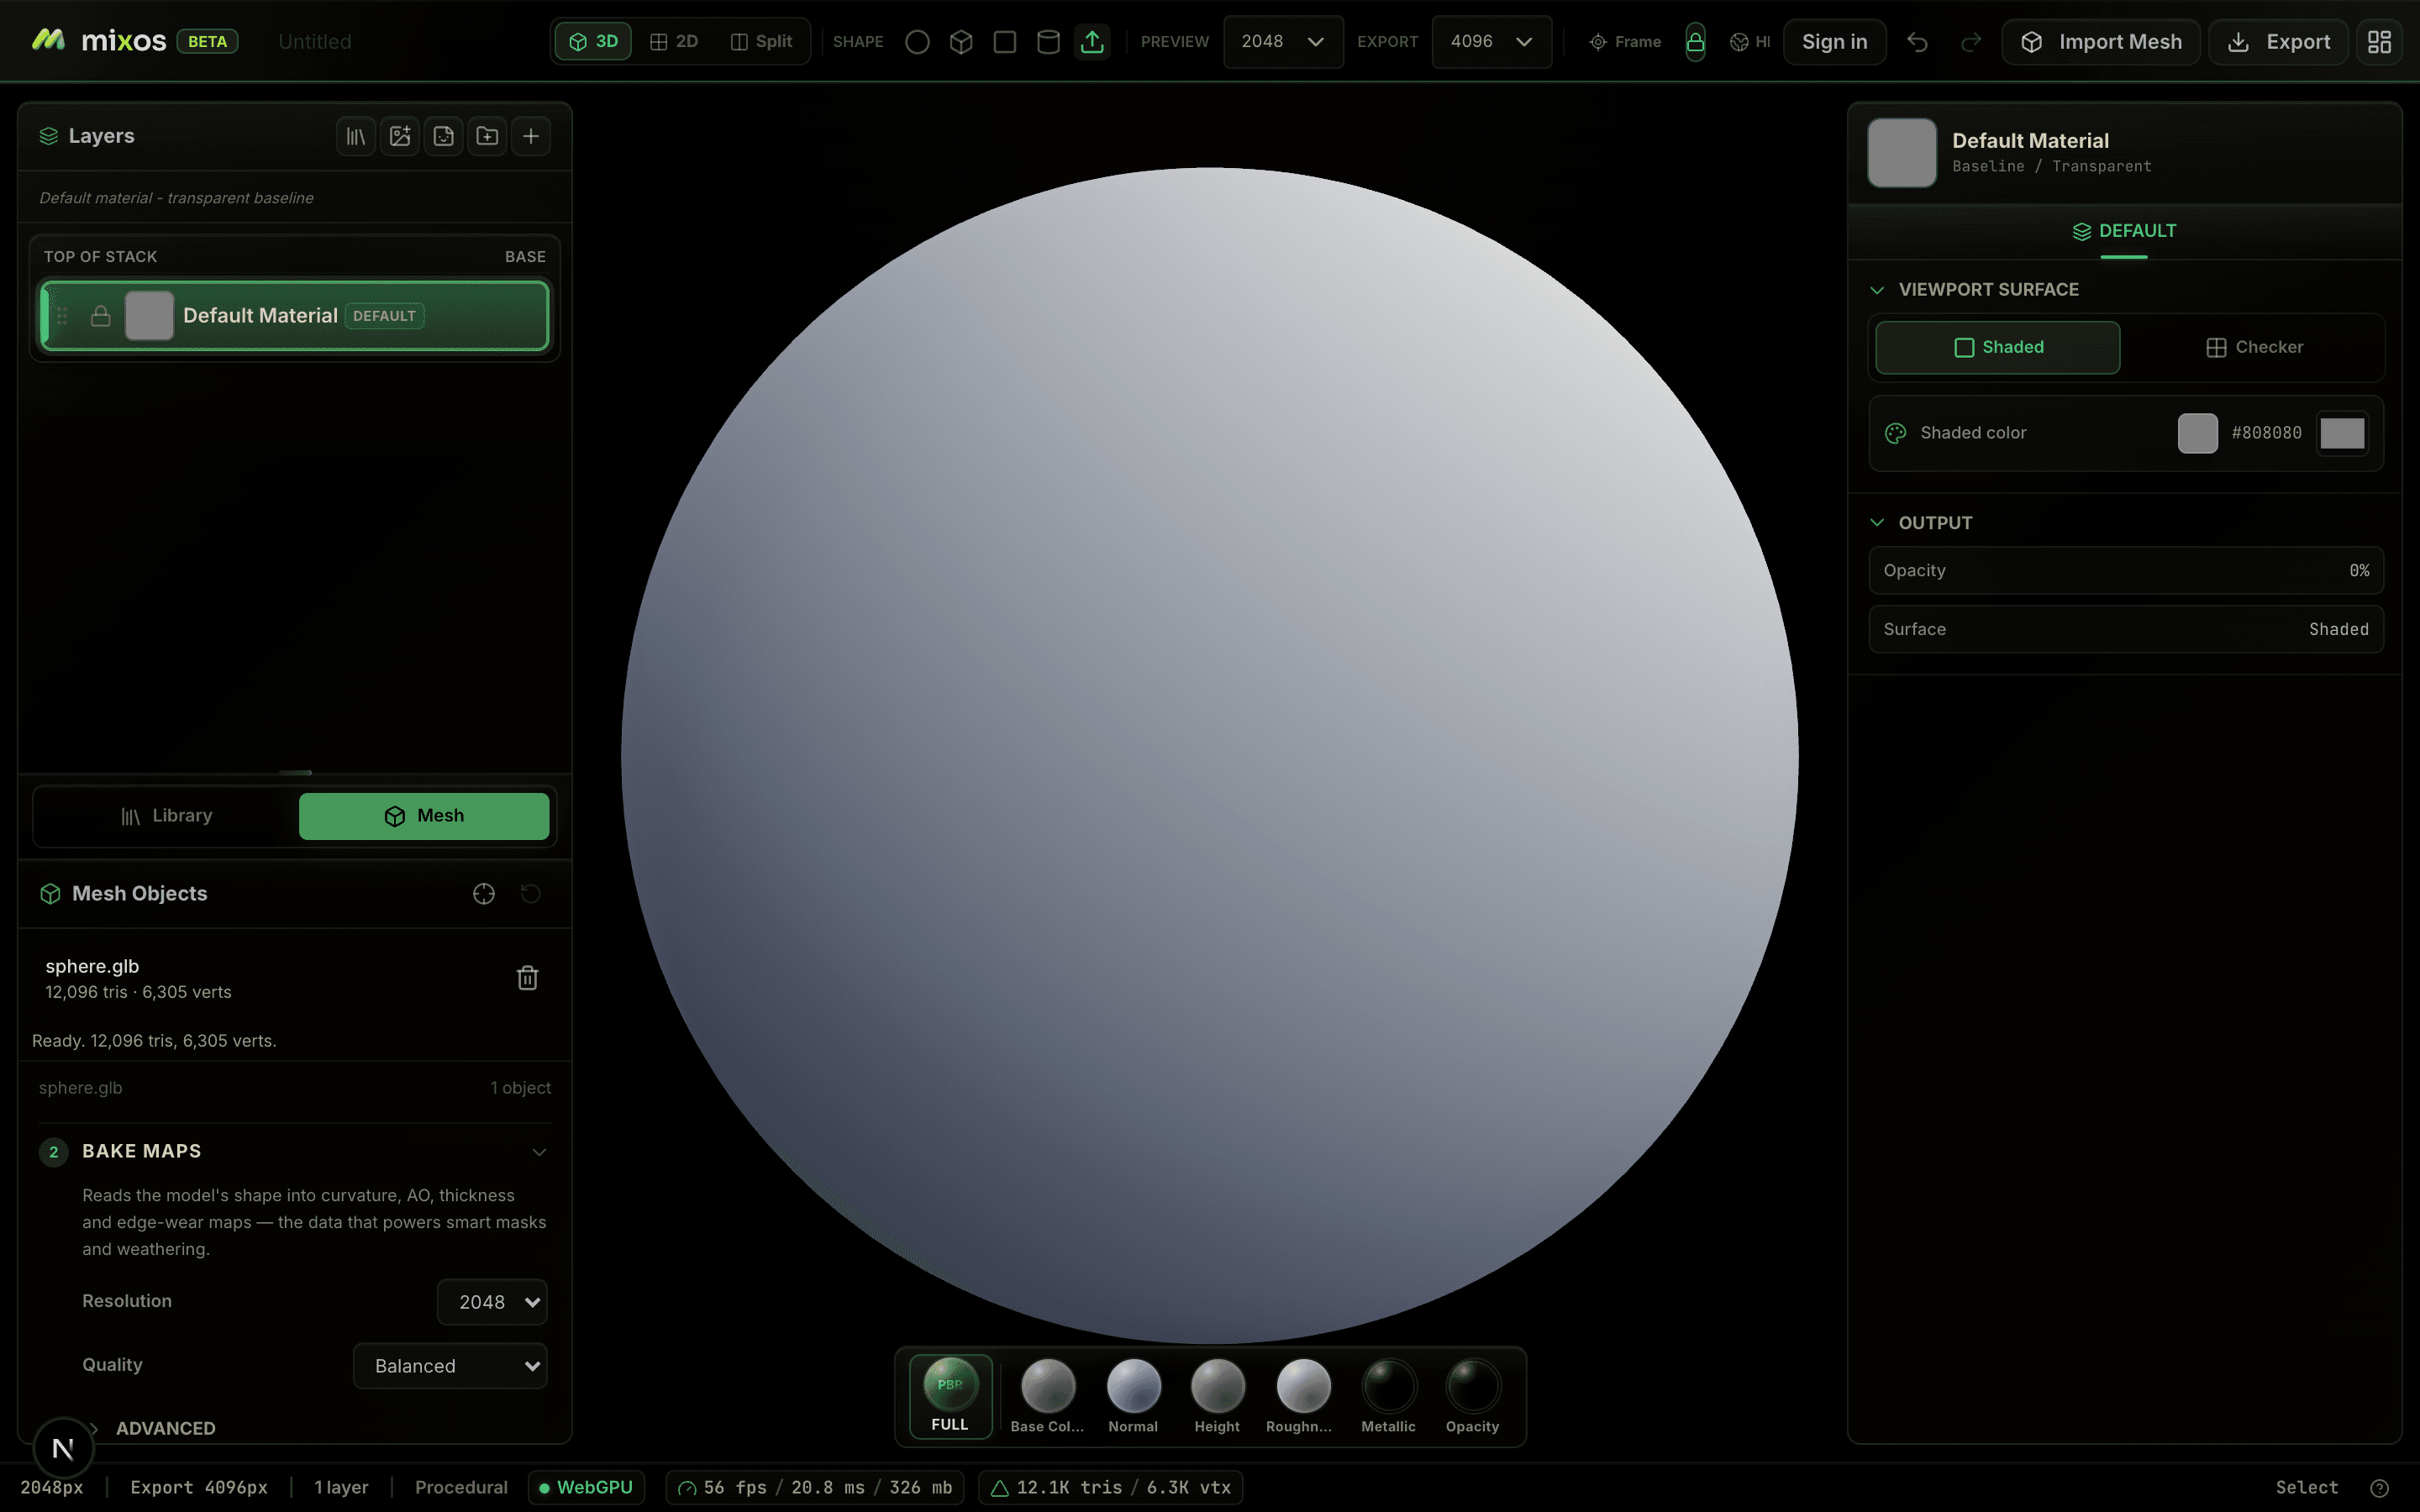
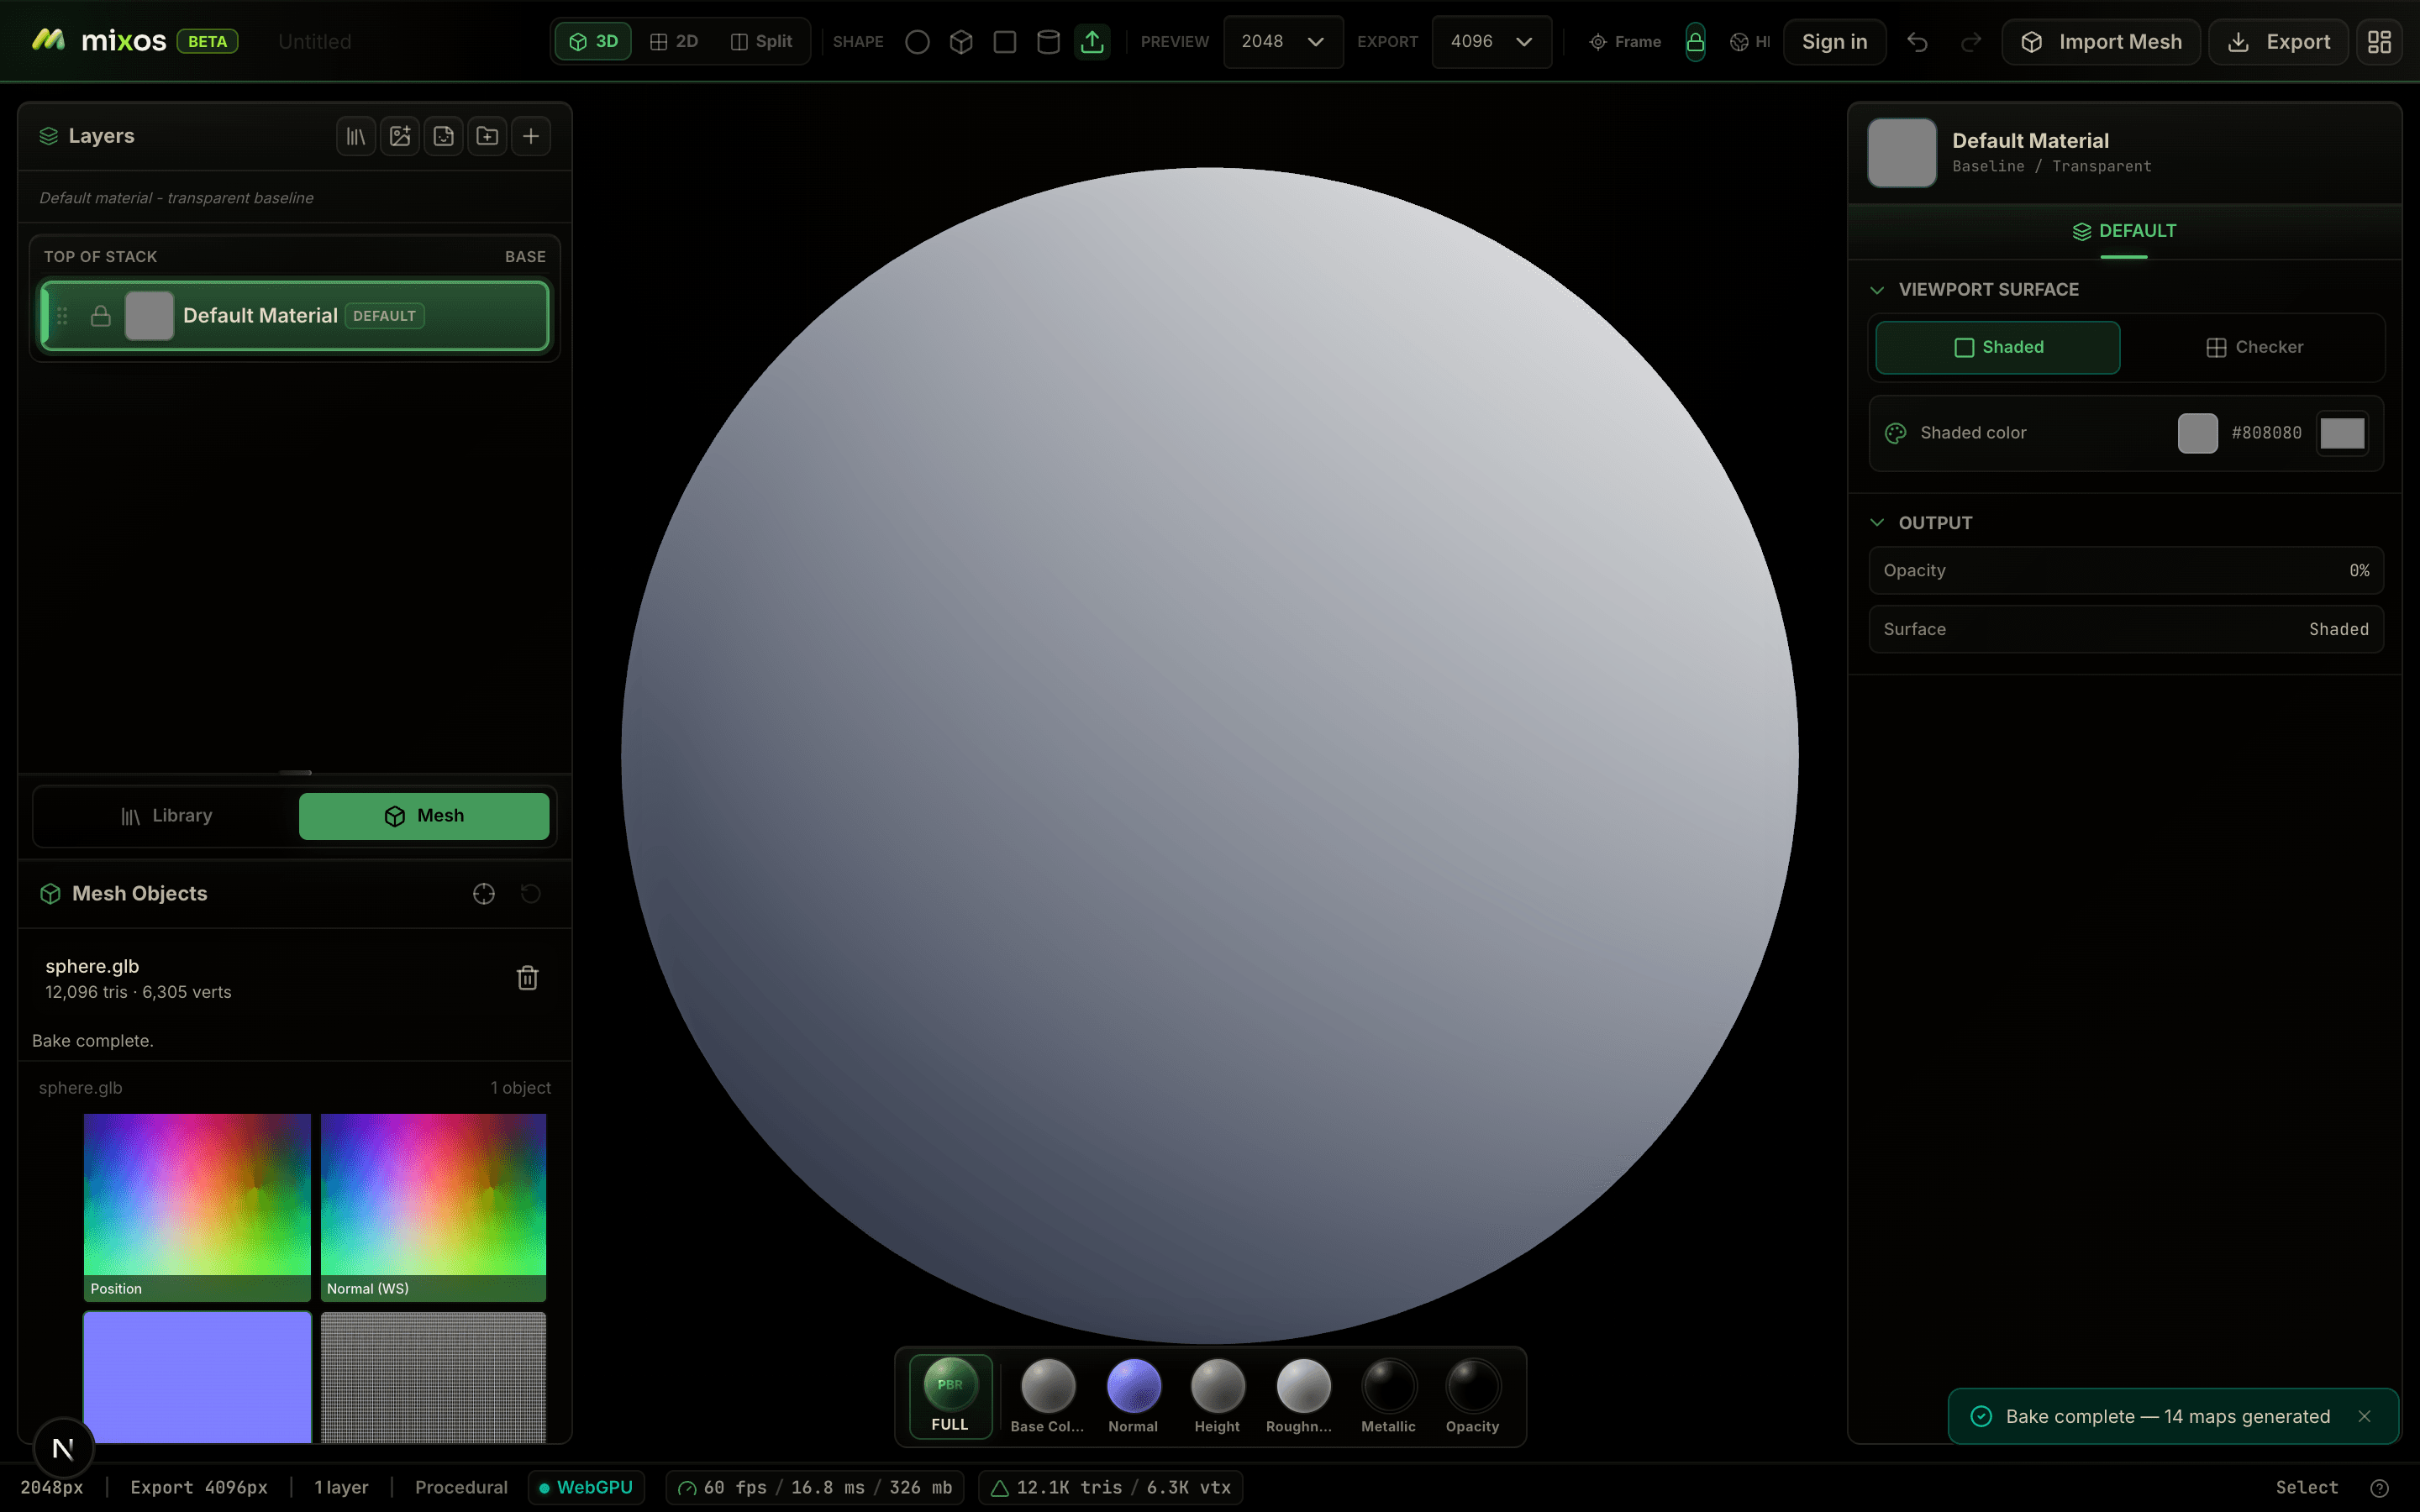
Baking turns the model's shape into maps — curvature, occlusion, normals and position — that smart materials and masks read to place wear and dirt.
Bake before you texture
Smart materials and many mask generators rely on the curvature and ambient-occlusion maps. If you skip the bake, those effects have nothing to anchor to and the surface looks flat.
Layers
Layer types
Texturing in Mixos is non-destructive: everything stacks as layers, top to bottom, and each one blends over the ones beneath. The add menu offers every layer type.
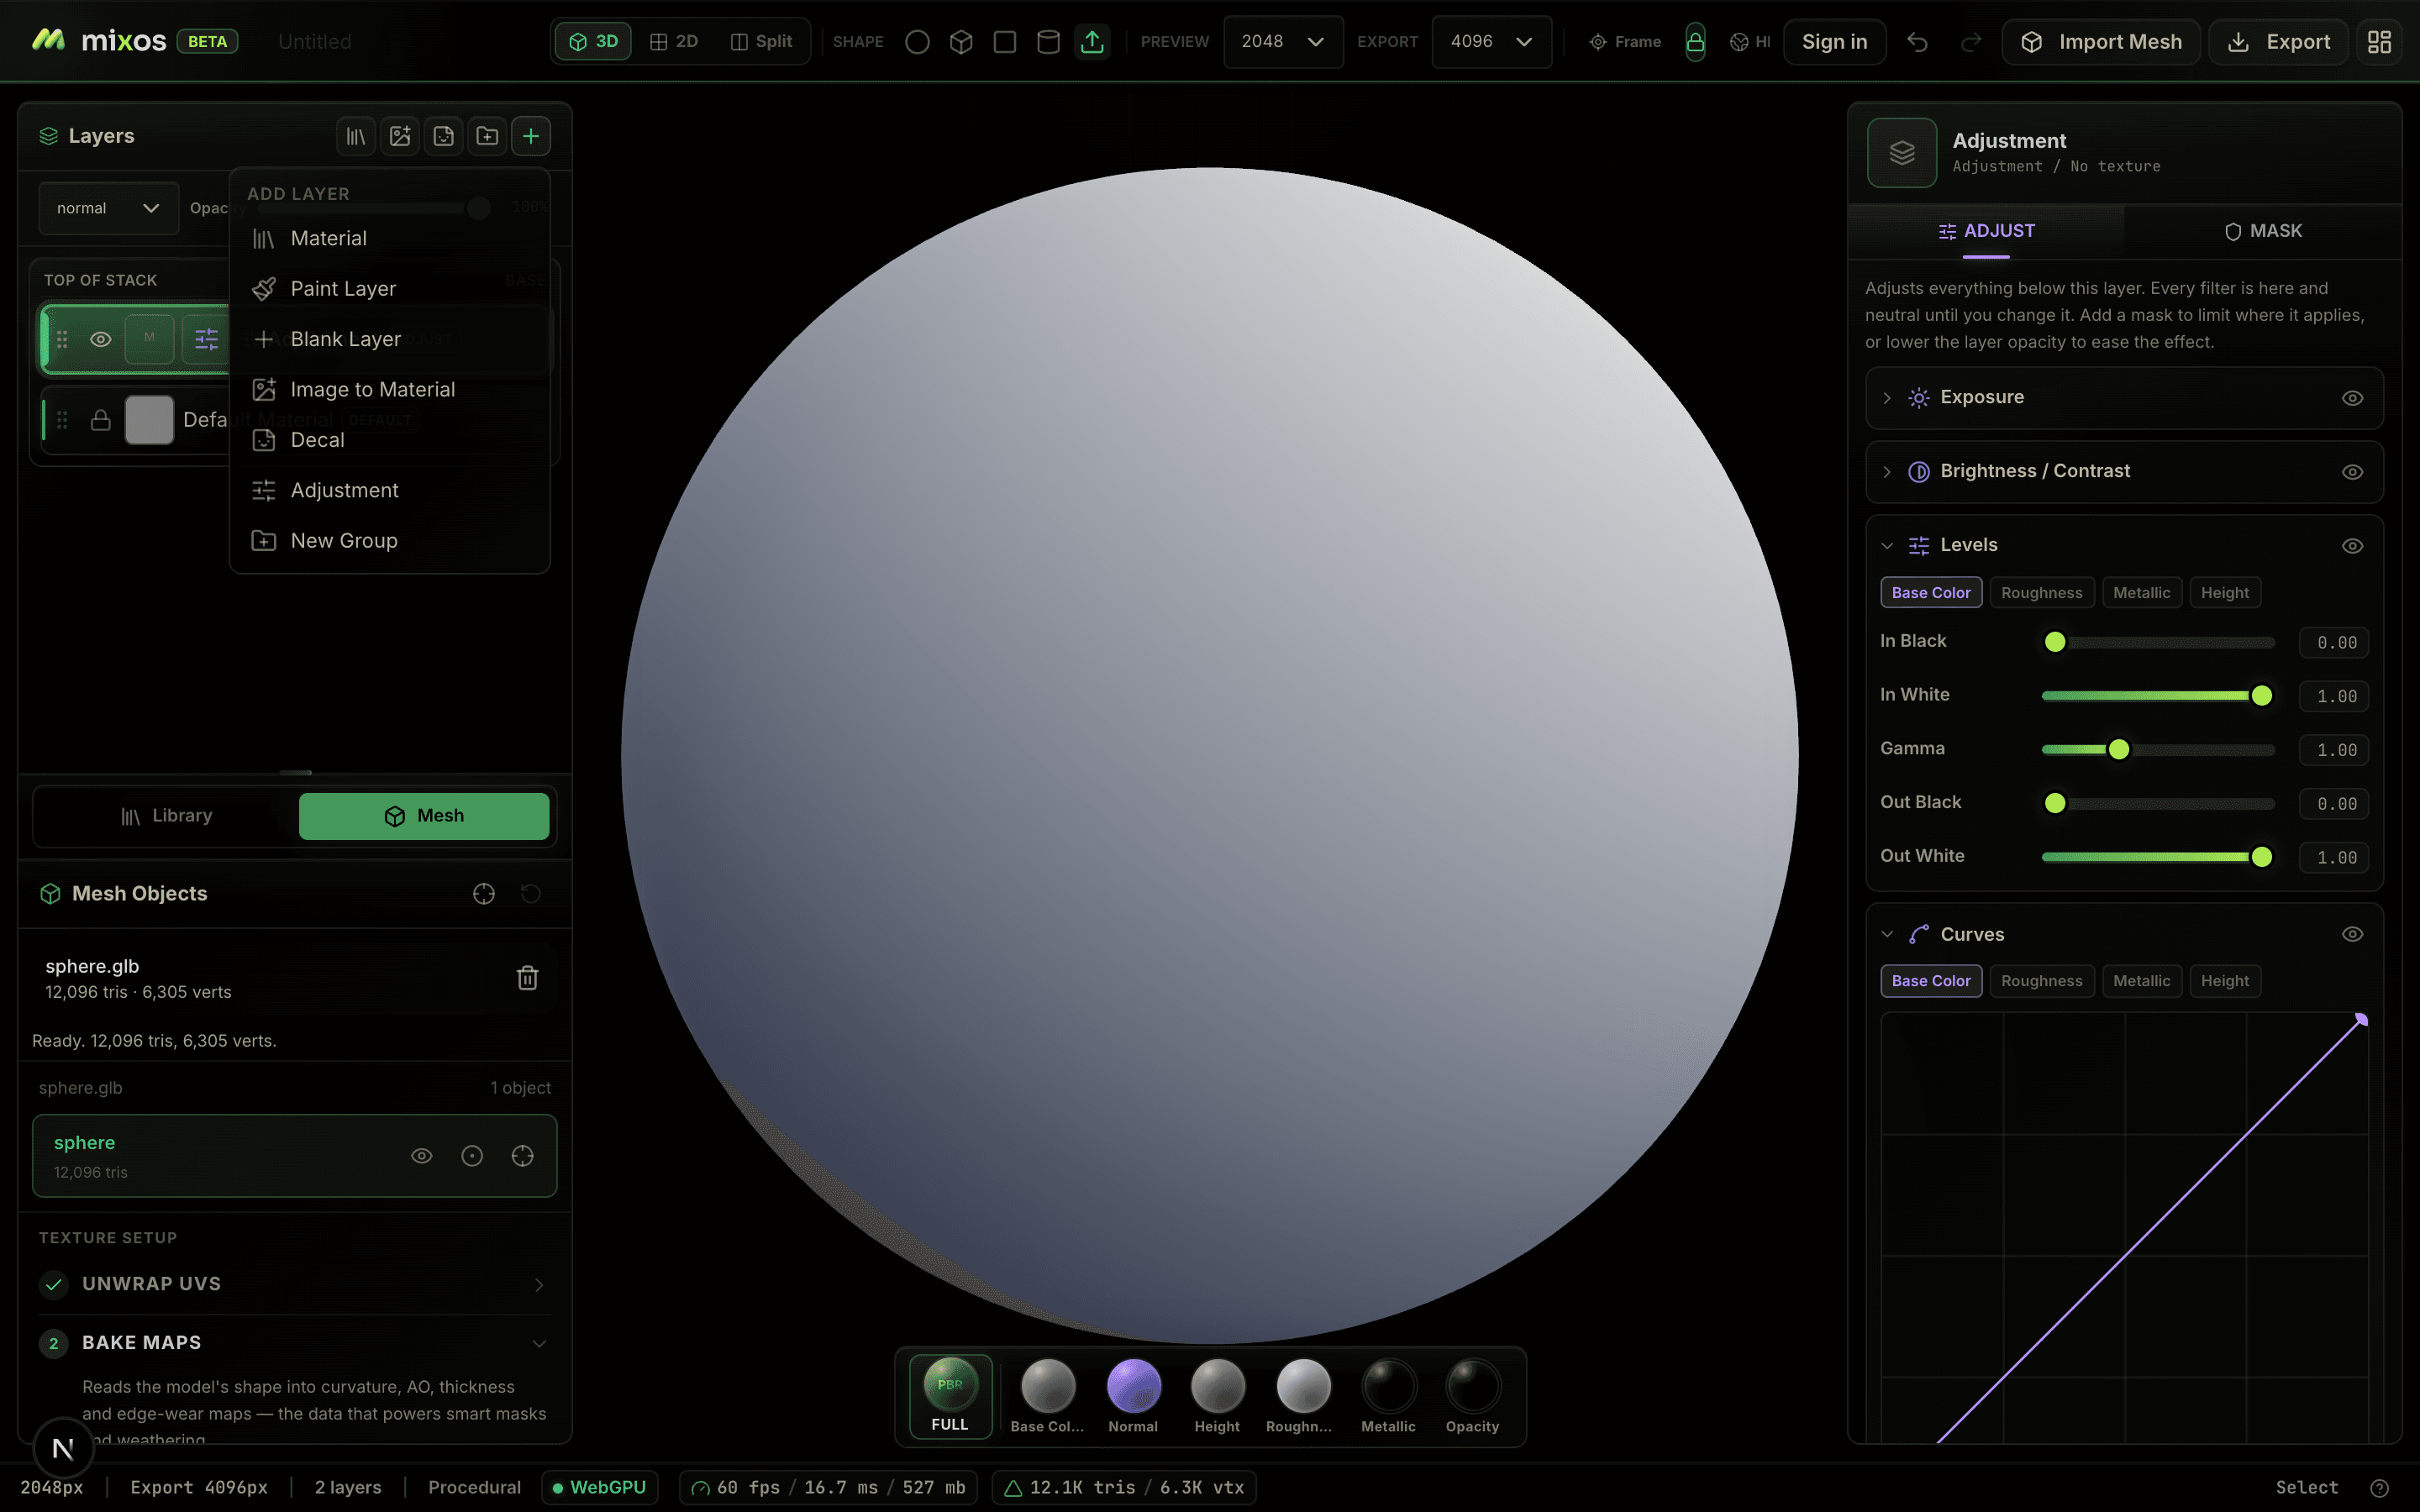
A material (fill) layer is a whole PBR material. A paint layer is hand-painted strokes. A blank layer is an empty canvas to build up. An adjustment layer retunes everything below it. A decal stamps an image onto the surface. And a group folds related layers together so you can move, blend and mask them as one.
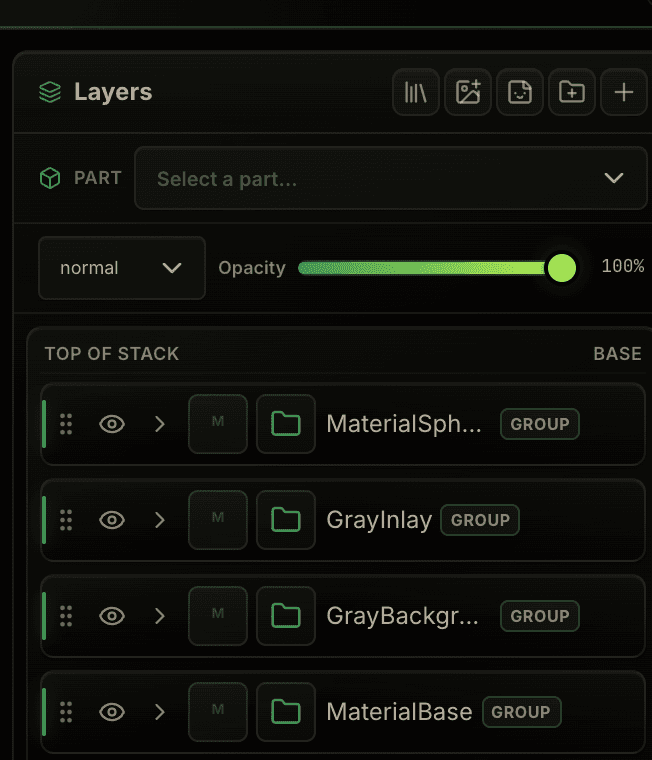
Blending, opacity & order
Every layer carries a blend mode and an opacity. Drag to reorder — higher layers cover lower ones — hide or lock a layer while you work, and fold passes that belong together into a group with its own blend and opacity.
Darkens — great for dirt, grime and shadow passes.
Because nothing is flattened until export, you can return to any layer at any time and retune it without redoing the work above it.
Adjustment layers & filters
An adjustment layer corrects everything beneath it without touching those layers directly. Stack as many filters as you like on one — Levels, Curves, Hue / Saturation / Lightness, Brightness & Contrast, Blur, Sharpen, Invert, Posterize and Gradient Map — each neutral until you change it.
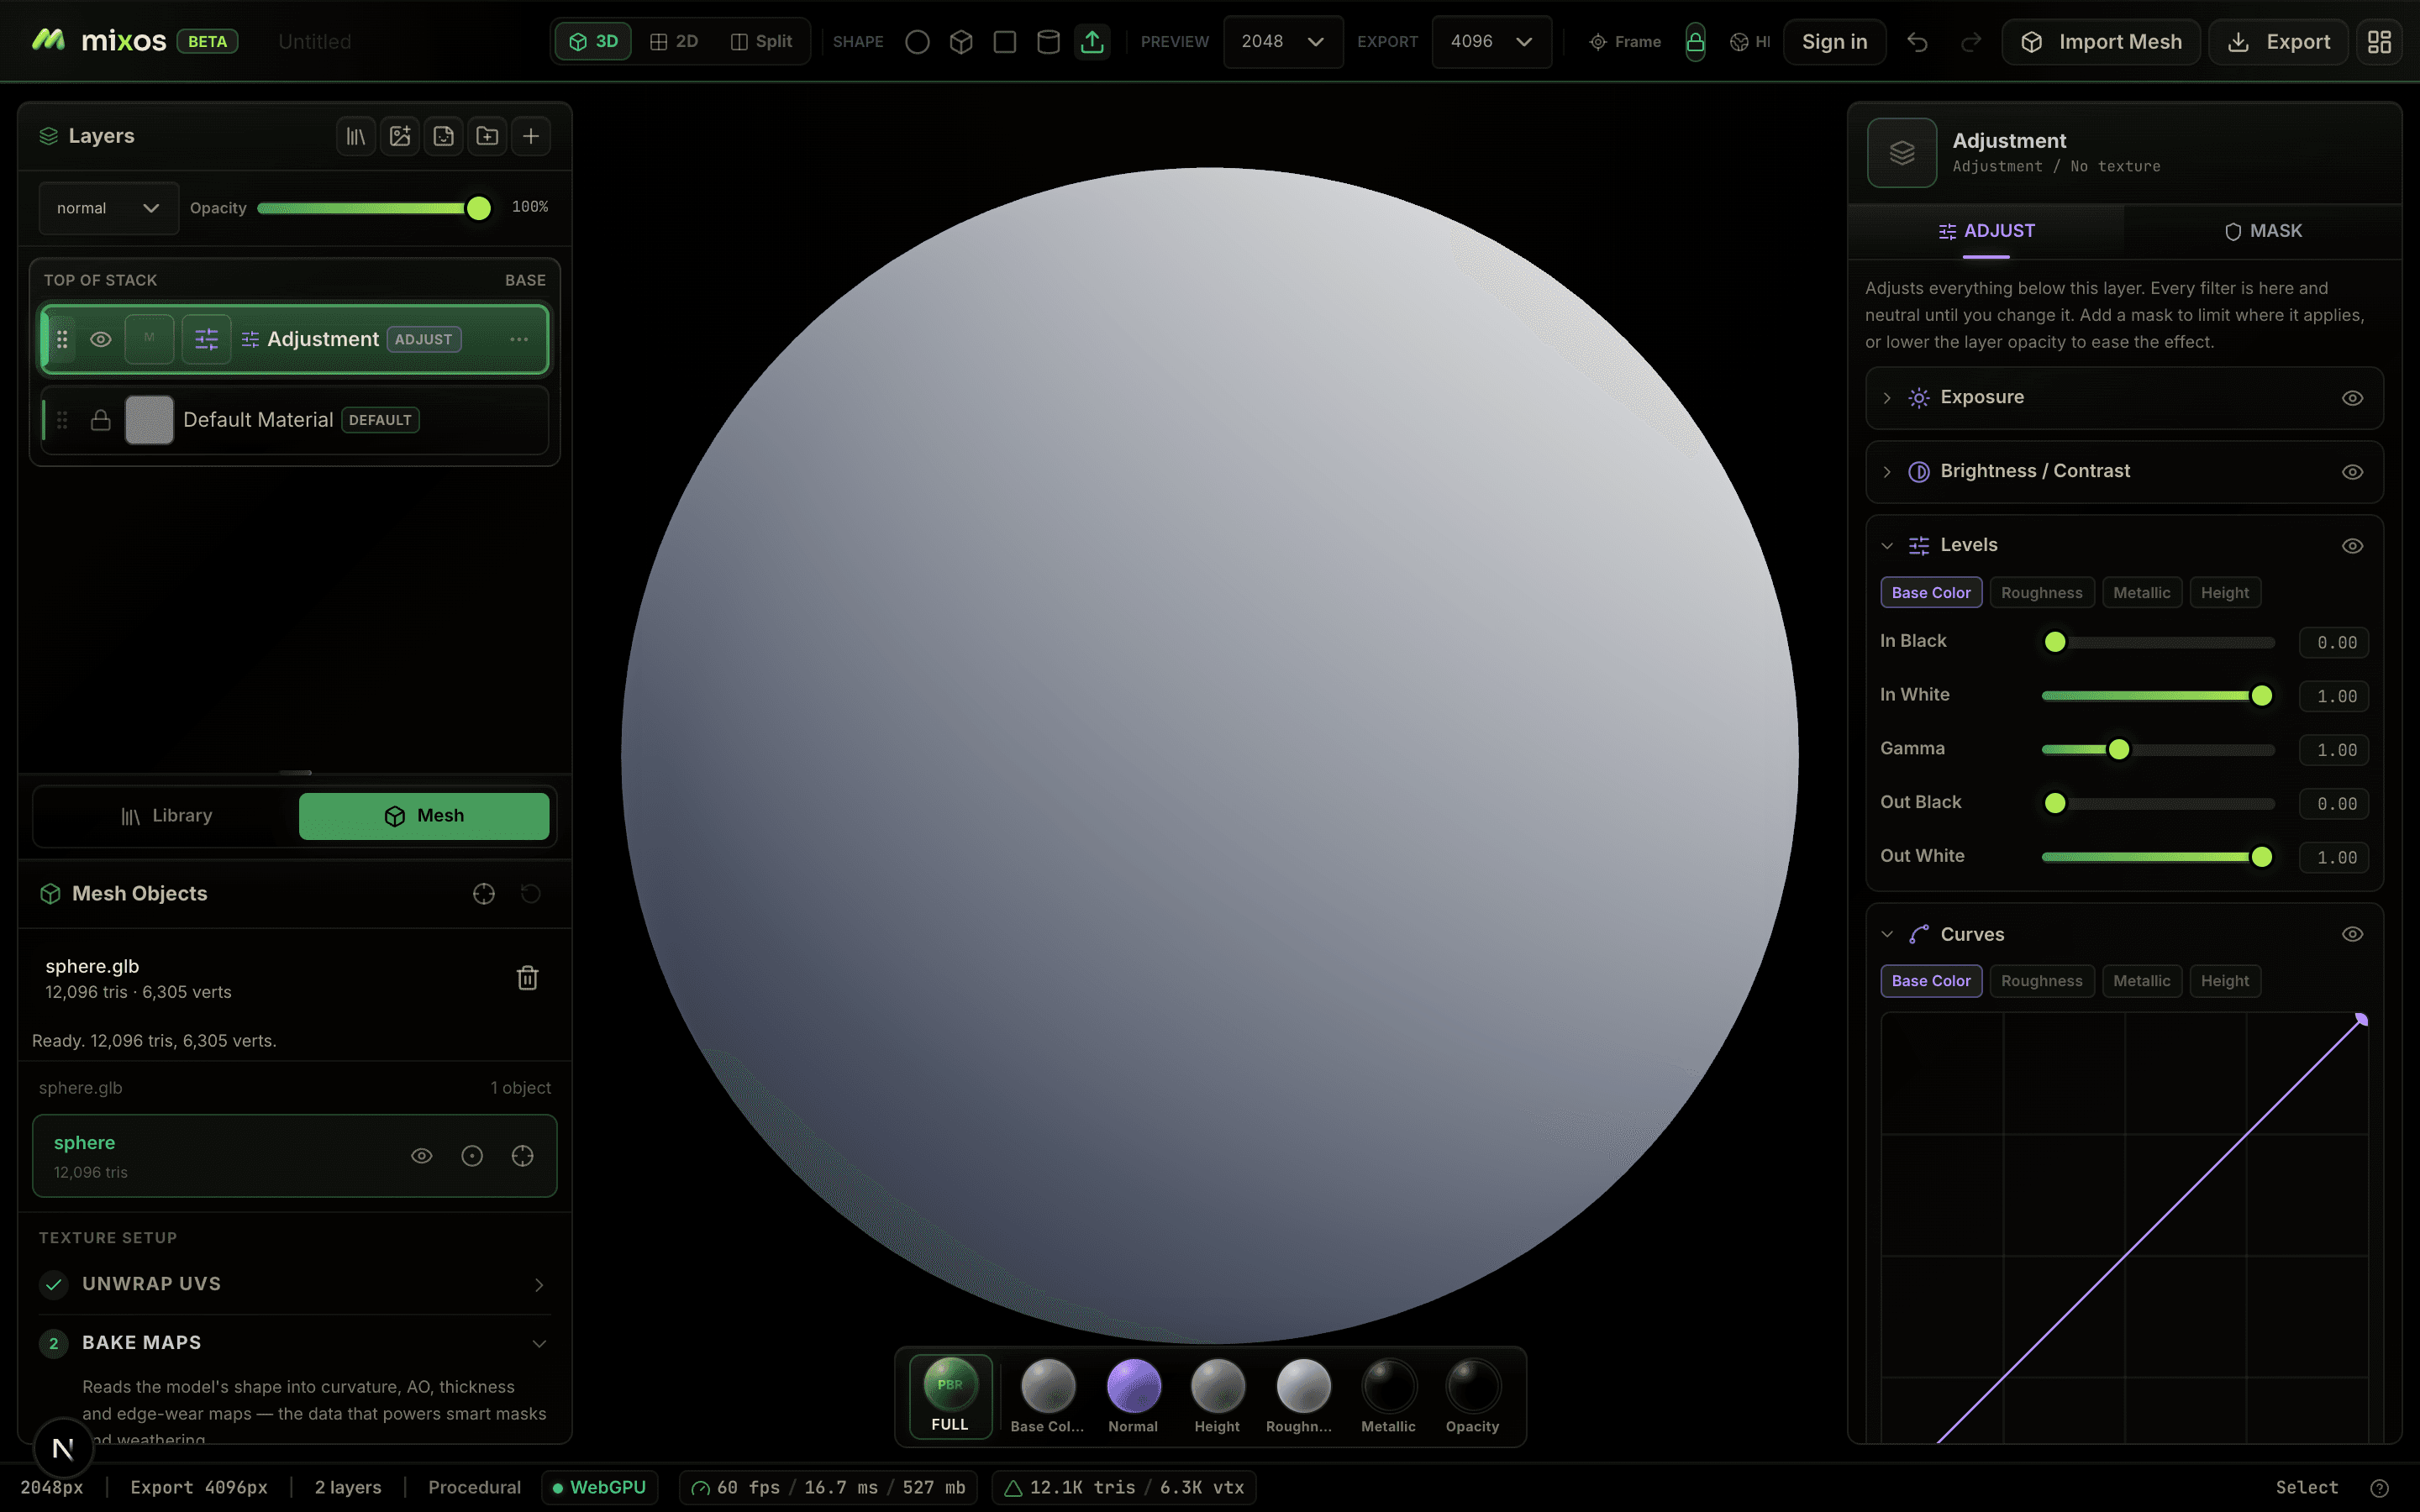
An adjustment layer retunes the material beneath it — here, the object's diffuse colour — non-destructively.
Filters can target specific channels, so you can, for example, lift only the roughness or shift only the base-color hue. Add a mask to the adjustment to confine the correction to part of the model.
Materials
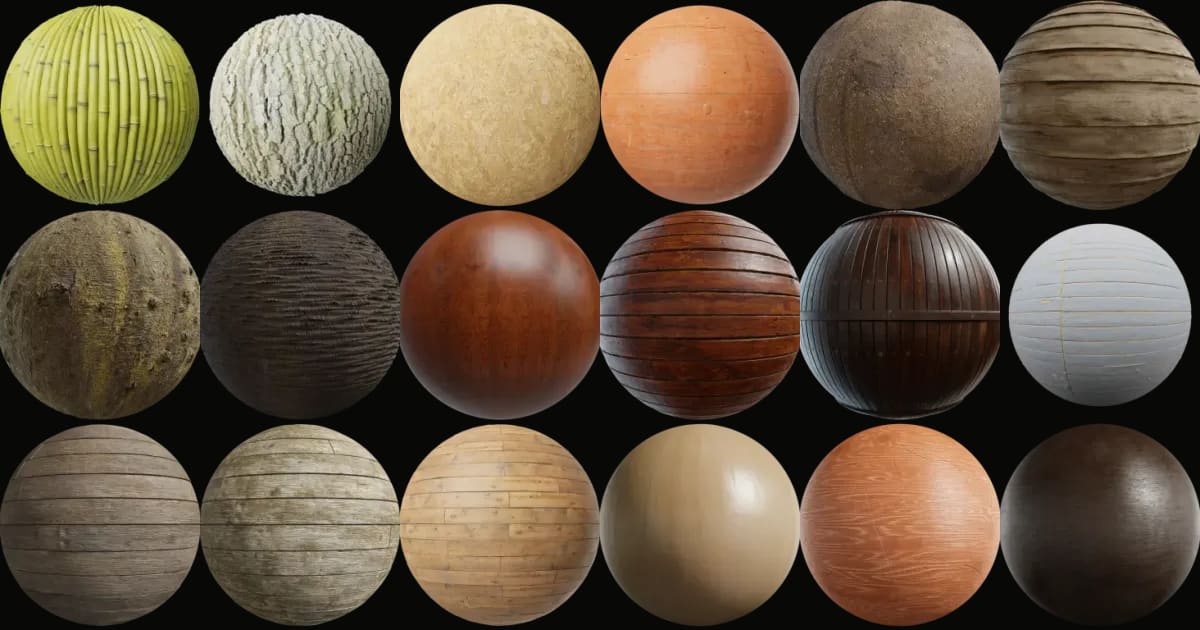
The material library
Open the library for a deep catalog of ready-made PBR materials — brick, concrete, stone, marble, tile, wood, metal, fabric, leather and more. Hover to preview, click to apply. Applied materials join your layer stack, where you can re-tint, rescale, reorder and blend them.
Rusted Iron
Applied as a layer you can re-tint, scale and mask.
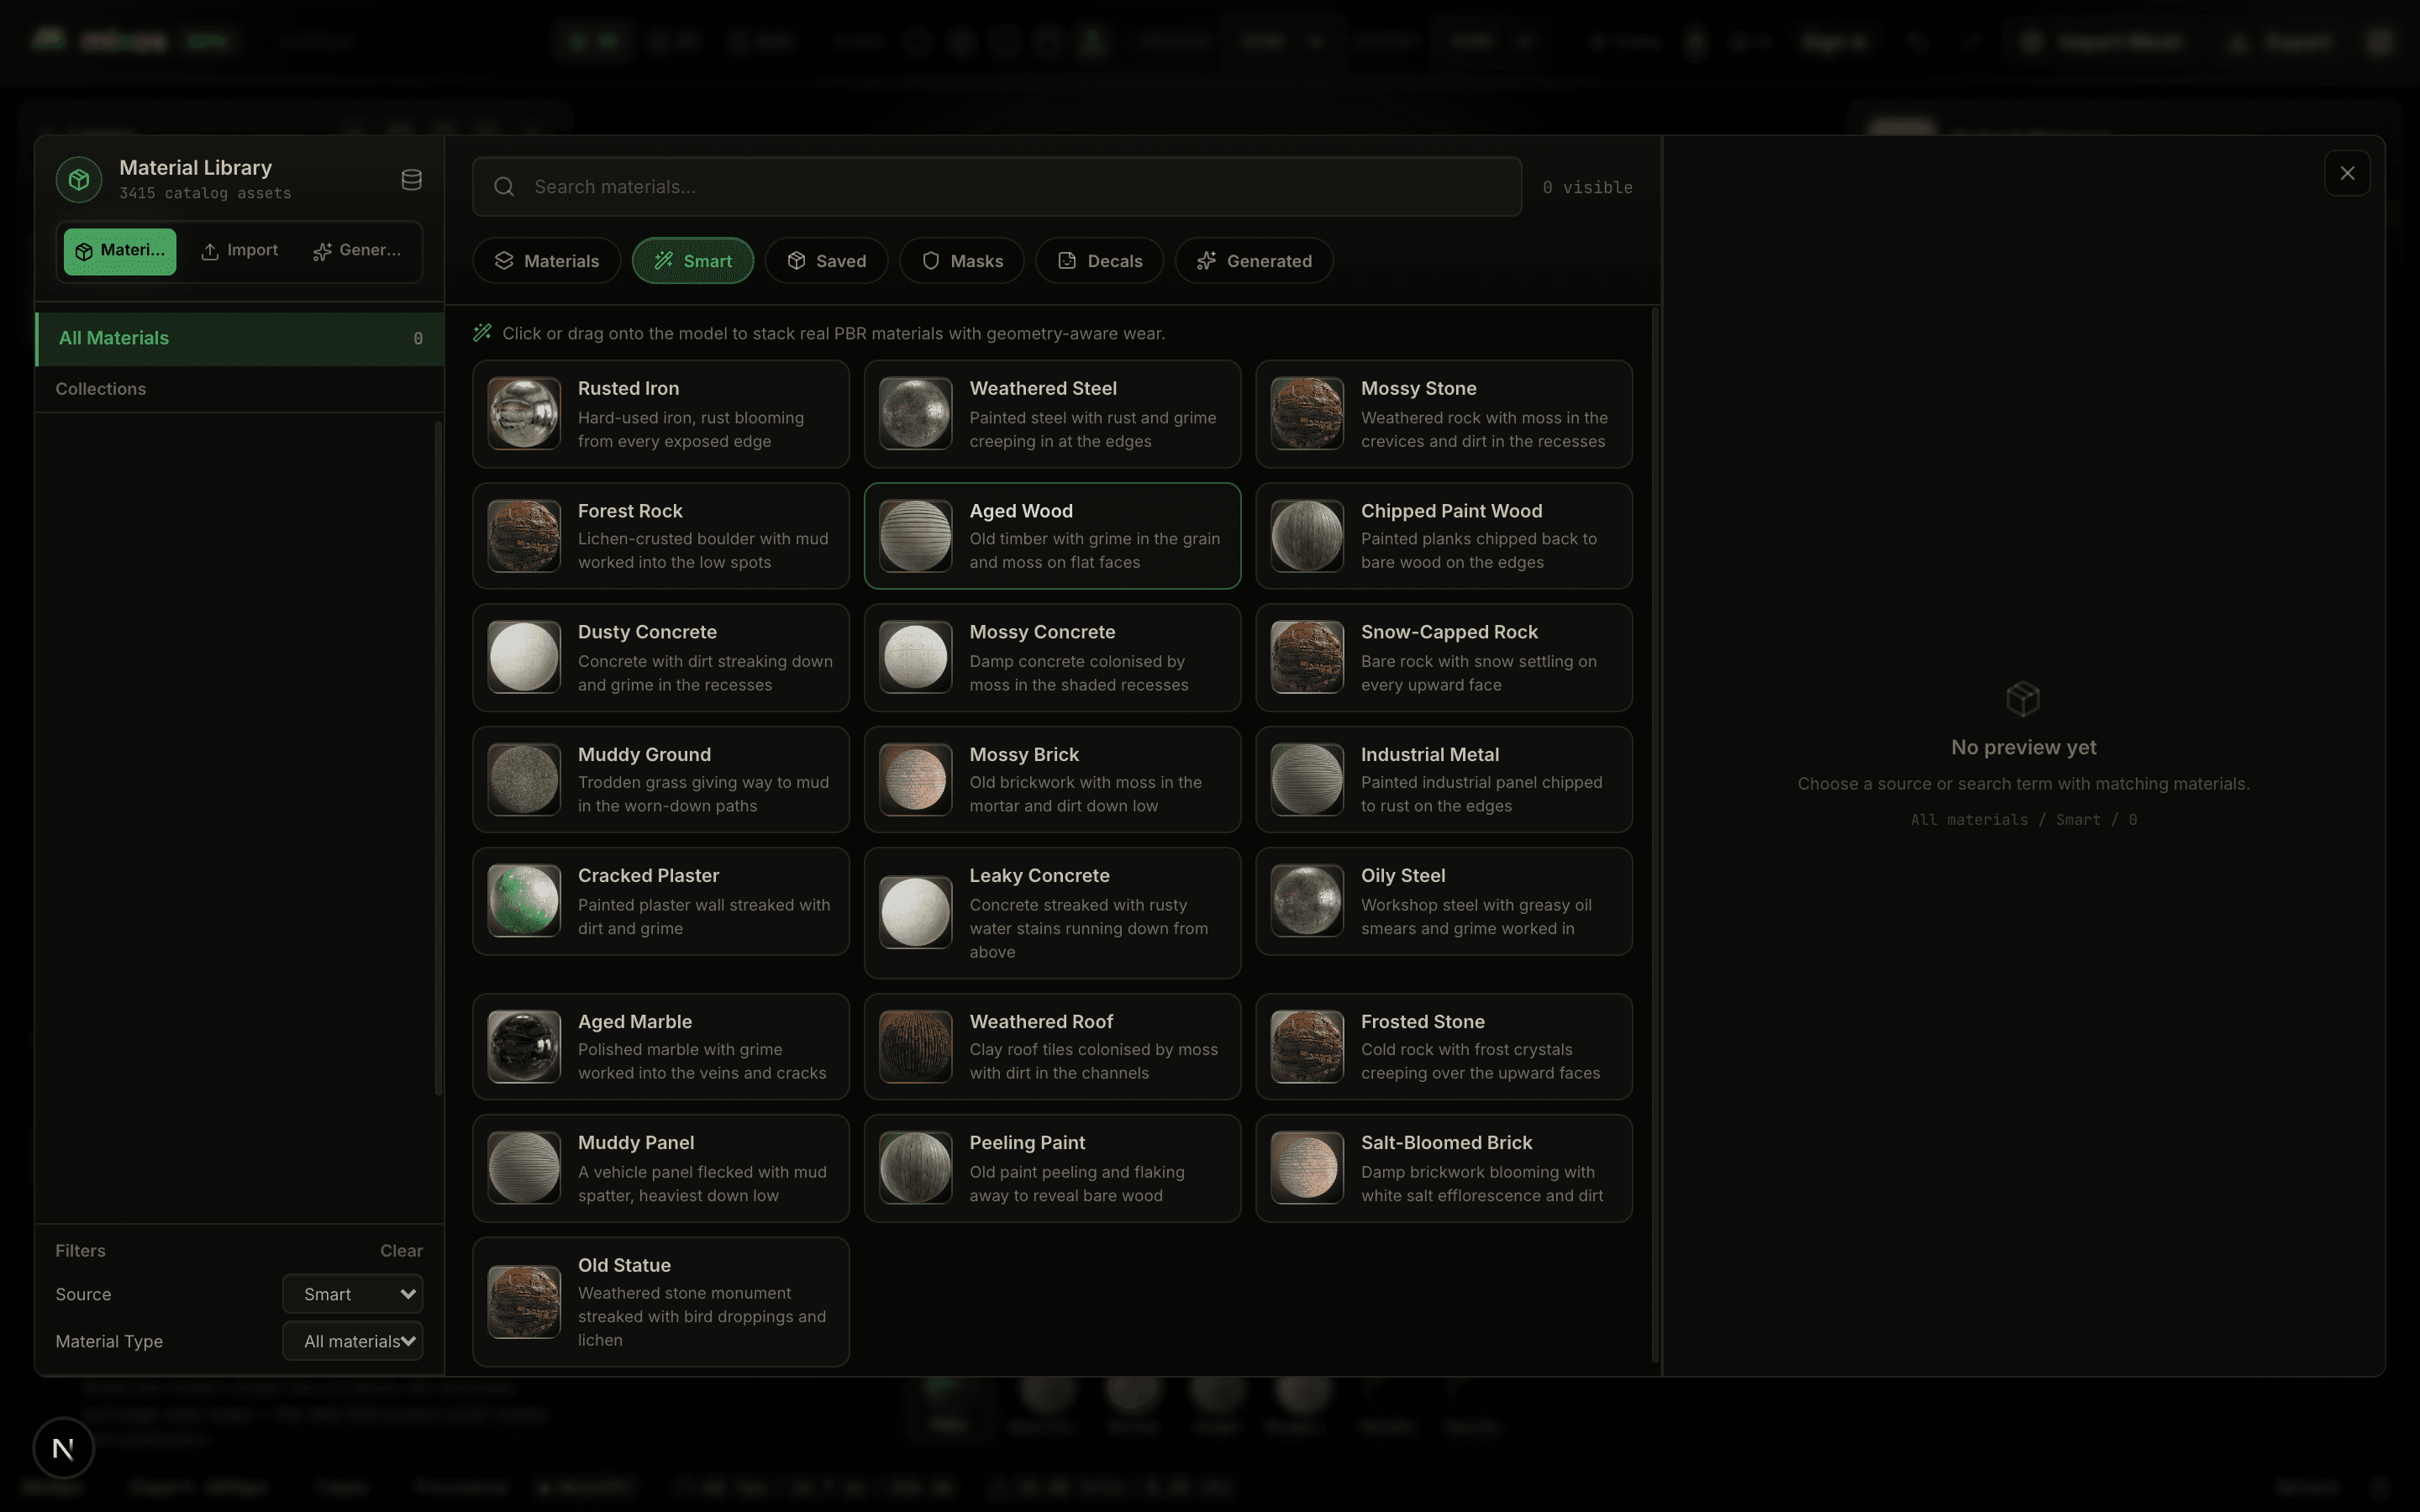
Smart materials
Smart materials are layered presets that read your baked maps, so edge wear lands on edges and grime gathers in crevices automatically — rusted iron, weathered steel, mossy stone, aged wood and dozens more. Applying one adds a group to your stack that you can open up and retune like any other layer.
A smart material is a stack — a base, wear on the edges and dirt in the cavities — each reading the baked maps. Toggle the layers.
Bake first
Smart materials only place wear correctly once the model is baked. With no bake, their masks are empty and you get the flat base material.
Color ID
A Color ID map paints each part of the model a flat, distinct colour so you can mask by region — all the metal trim, all the rubber, all the glass — in one click. Assign a material to a colour and it fills exactly those parts, no hand-masking required.
Each flat ID colour is a region. Reassign a part's material in one click — no hand-masking required.
Note
Color ID pairs well with AI Auto-Texture: tag the model's regions first, then let each region take a different material or prompt.
Image to material
Have a photo of a surface? Image to Material turns a single picture into a full, tiling PBR material — estimating base color, normal, roughness and height — and drops it onto your stack as a material layer. It is the fastest way to match a real-world surface you have a reference for.
One photo becomes a full PBR set — base color, normal, roughness and height — ready to tile and edit.
Import your own maps
Already have a PBR set from another tool or a marketplace? The Library's Import tab loads your own texture maps — base color, normal, roughness, metallic, height, AO — as a material layer. Bring them in one at a time, or point at a folder and Mixos matches the maps by name.
Drop in the maps you already have — base color, normal, roughness and the rest — and Mixos matches them by name into one material layer.
Note
Supported map images are PNG, JPG and WEBP. Once imported, a map set behaves like any other material layer — re-tint it, mask it, stack filters on it.
Painting
Brushes & the eraser
When you want hand control, paint straight onto the model. Add a paint layer and the brush toolbar appears across the top of the viewport with size, flow, opacity and hardness; the eraser removes paint from the active layer. Strokes wrap around the surface in real time, and you can paint in 2D or Split mode to reach awkward spots.
Size, hardness, flow and opacity shape every stroke — and you choose which channels it writes to.
Paint channels & colour
Choose which channels a stroke writes to — base color, roughness, metallic, height — so one pass can be just colour, just a roughness change, or all of them at once. Set the colour and a blend mode for the paint layer, and mask the layer to confine your work to part of the surface.
This stroke writes to Base Color.
One pass can be just colour, just a roughness change, or all of them at once — you choose per stroke.
Brush tips & texture brushes
Beyond a round brush, Mixos has texture brushes and custom brush tips — stamp grime, scratches, lettering or any shape as you paint. You can generate a new brush tip or a texture brush from a prompt and it joins your library, ready to reuse across projects.
Masks
How masks work
A mask decides where a layer shows. Black hides, white reveals, grey partially blends. Add a mask to any layer — material, paint or adjustment — and only the masked areas of that layer affect the surface. Masks are the key to building a believable, layered surface rather than one flat texture.
Drag to reveal the rust layer. The mask on the right — white shows, black hides — decides exactly where it appears.
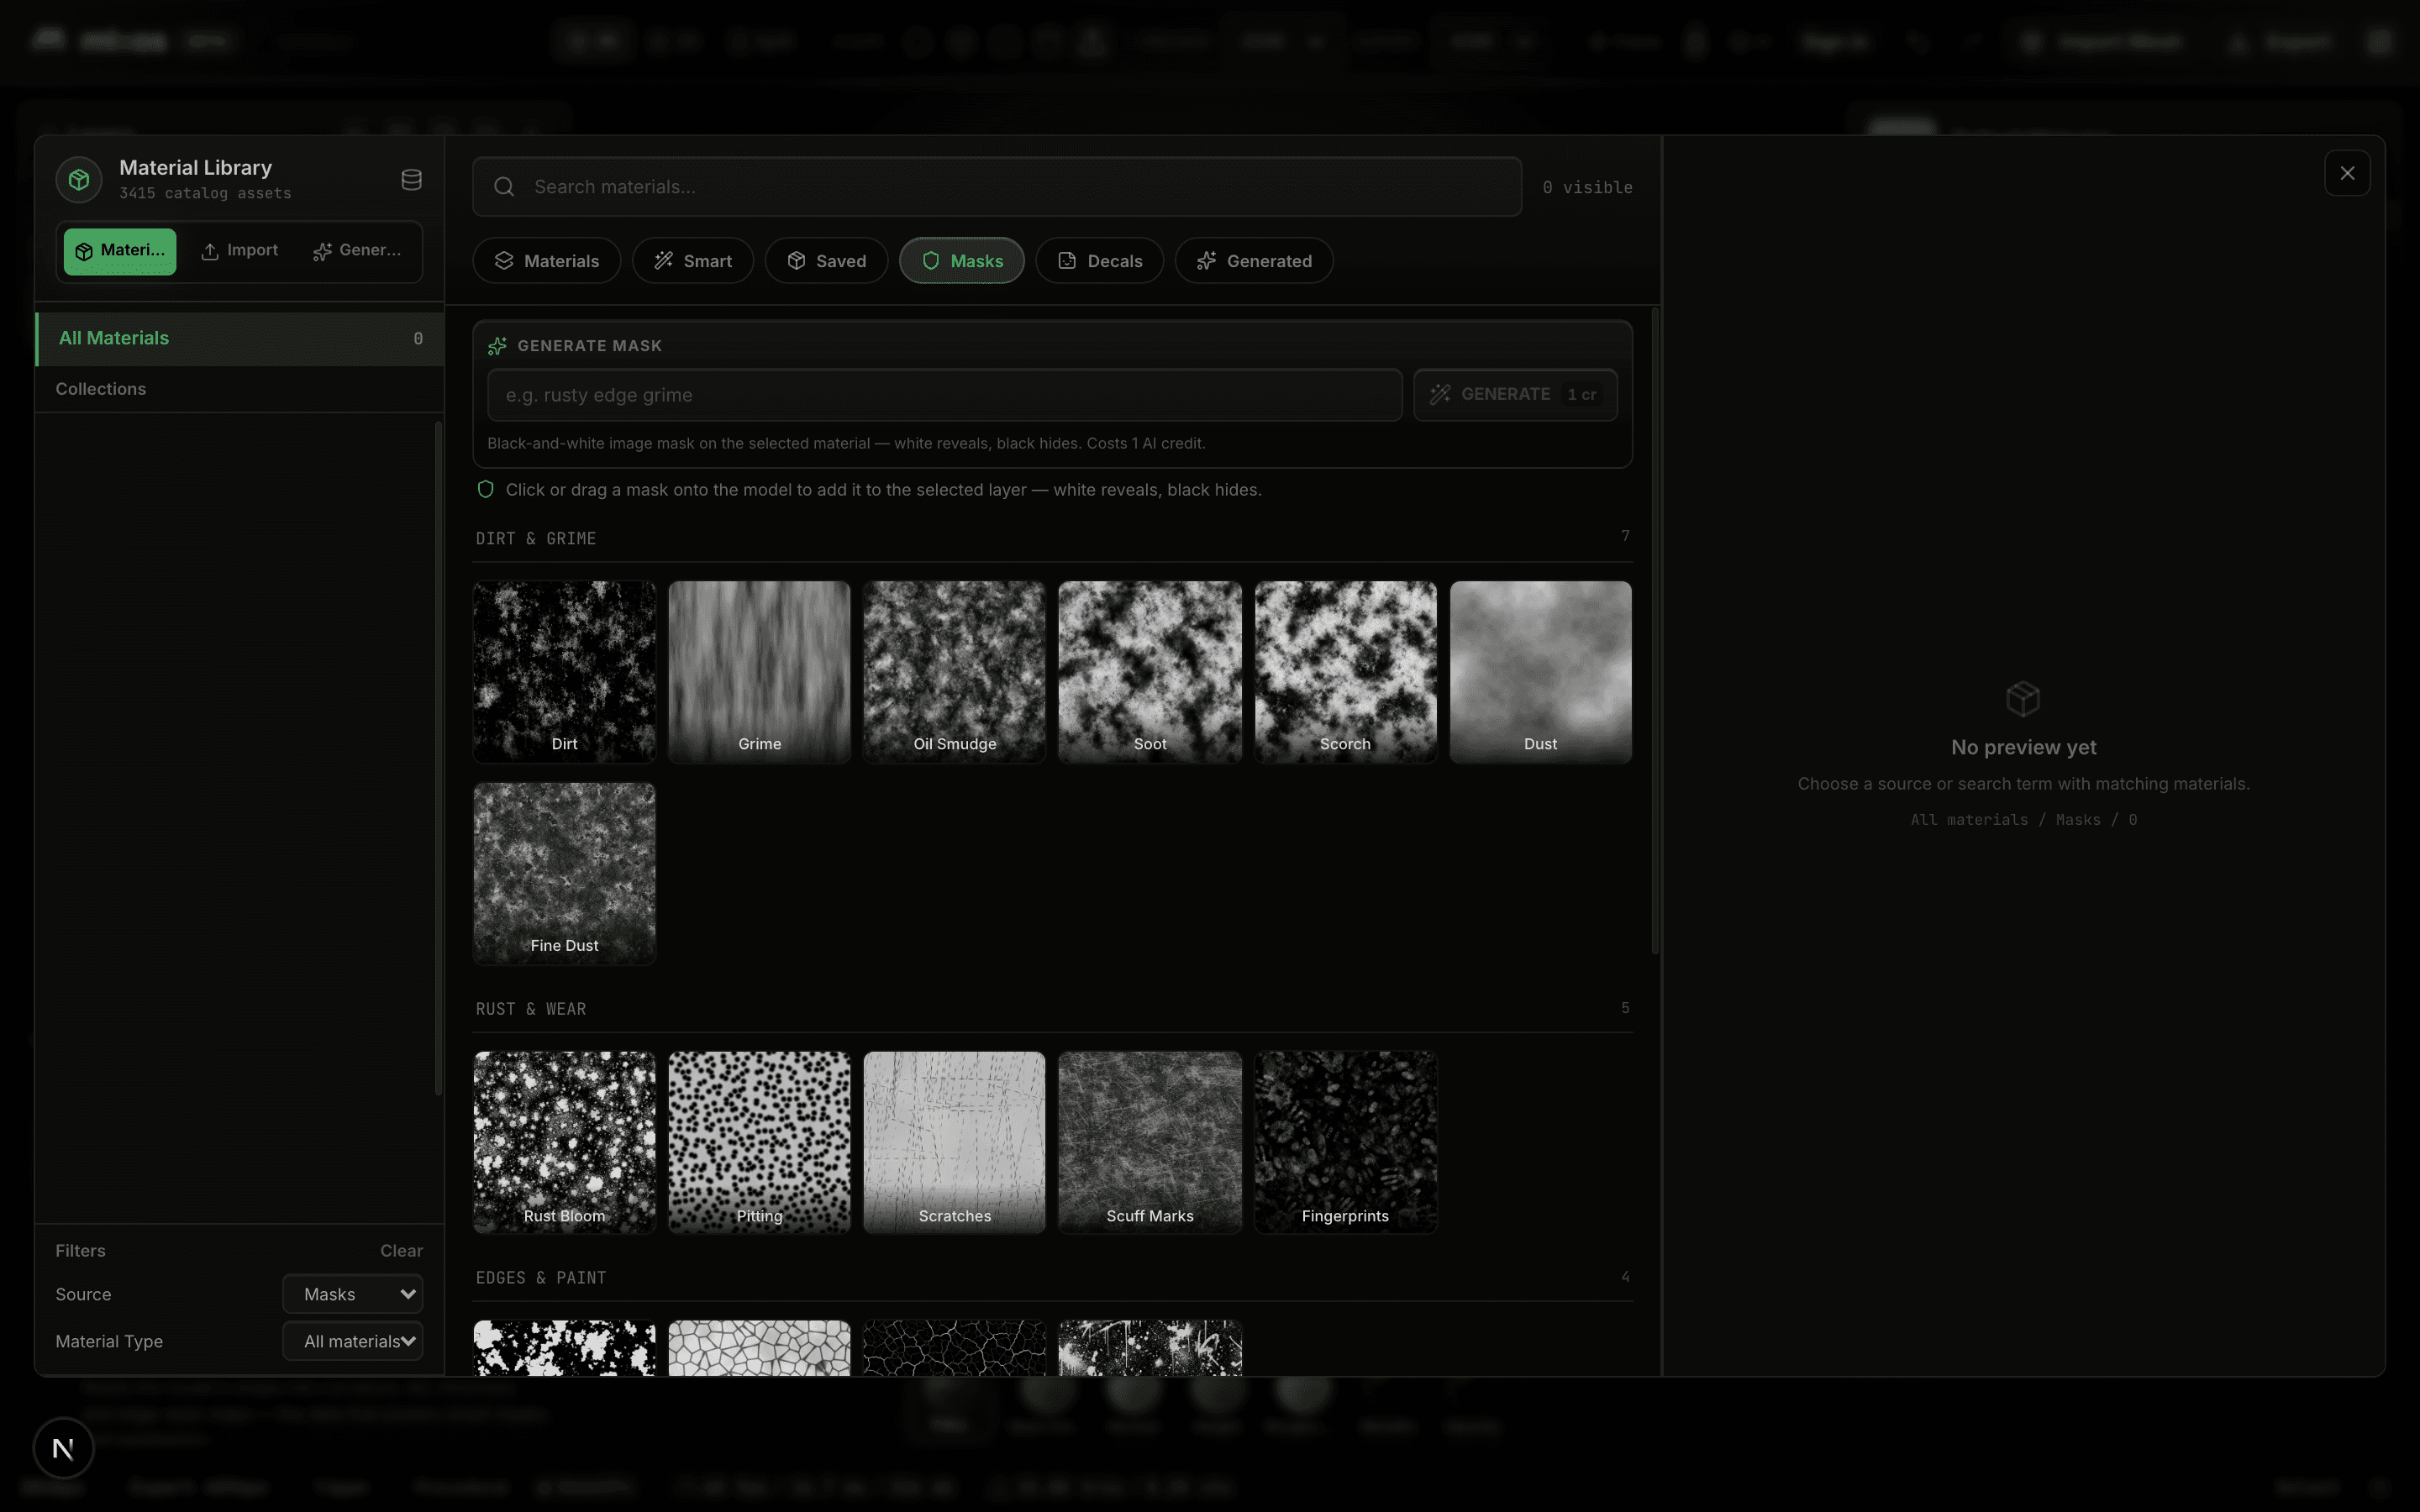
Procedural & noise masks
The mask library is full of procedural and noise masks — dirt, grime, soot, dust, rust, scratches, scuff marks, fingerprints and edge wear — grouped by what they do. Drop one onto a layer and it instantly confines that layer to a believable, irregular pattern; tweak its scale and contrast to taste.
Paint masks
For full control, paint a mask by hand. Brush white where you want the layer to show and black where you want it hidden, with the same size, flow and hardness controls as painting colour. Paint masks combine with procedural ones — start from a noise mask, then paint in or out the parts you want.
Drag across the sphere to paint the mask — wherever you brush, the rust layer shows through the clean metal.
Masks from baked maps
Drive a mask straight from the geometry. Because Mixos baked curvature and ambient-occlusion maps, it can place a layer exactly on the model's edges (for paint chipping and wear) or in its cavities (for dirt and grime) — the same technique smart materials use, available on any layer you like.
Wear lands on the rim, where edges catch knocks.
Generate a mask
Need a specific pattern? Describe it and generate a mask — a weathering pass, a splatter, a custom wear pattern — straight from a prompt. It lands as a mask on the selected layer, ready to scale and refine.
Decals
Decals
Decals stamp an image — a logo, a sticker, a sign, a label — onto the surface without committing it to the texture. Add a decal from your own image or generate one from a prompt, then move, rotate and scale it on the model until it sits right. Each decal is its own layer, so you can blend it, mask it and reorder it like everything else.
Drag the decal to place it and scale it to fit. Each decal is its own layer that projects onto the surface.
Note
Decals project onto the surface, so they wrap around curves and follow the model rather than floating flat. Edit a decal at any time by selecting its layer.
AI tools
AI Auto-Texture
Short on time, or after a starting point? Describe a look in plain language and AI Auto-Texture paints the whole model in a single pass, or use a Color ID to mask the model by region first. The result lands as ordinary layers you can keep editing by hand.
Describe a look and let AI Auto-Texture paint the whole model in one pass — then refine it by hand. (Try “rusted iron”, “oak”, “mossy stone”.)
Generate materials, masks & brushes
The Generate panel turns a prompt into reusable assets: a full PBR material, a weathering mask, a texture brush or a custom brush tip. You can also ask for a variation of a material you already have to explore alternatives without starting over. Generated assets save to your library for reuse across projects.
Uses credits
AI generation runs on credits and needs you to be signed in. Everything else in this manual — importing, baking, materials, painting, masking, decals and export — works without it.
Finish & save
Export
When the look is right, export a clean PBR map set. Pick your target engine and Mixos sets the correct normal-map convention and bit depth for you, then packs everything into a ZIP that drops straight into your scene.
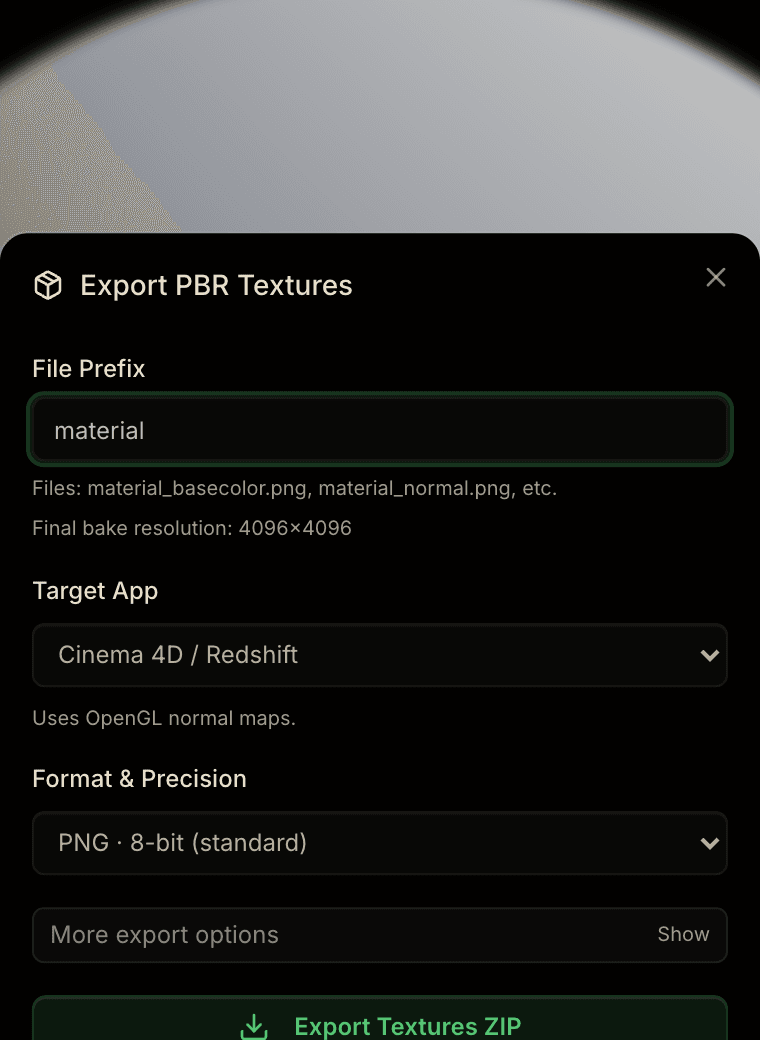
Normal convention: OpenGL
Pick your engine — Mixos sets the right normal convention and packs a tidy ZIP that drops straight into your scene.
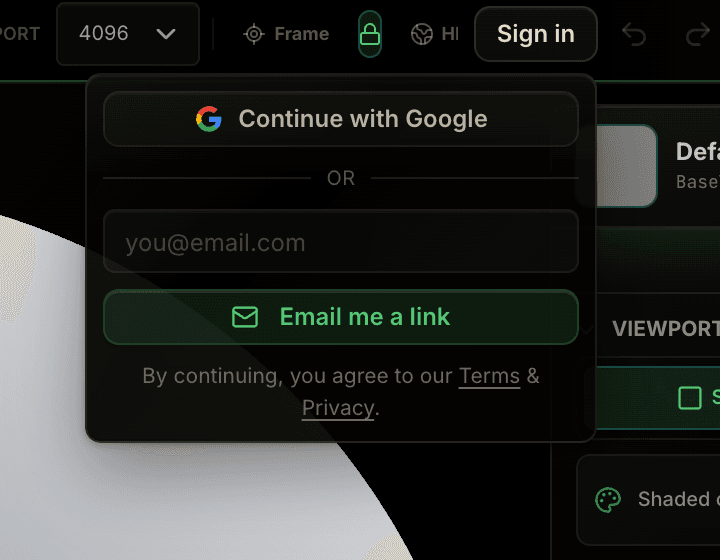
Save & account
Editing never needs an account. Sign in with Google or an email magic link to save your project to the cloud, reopen it on any device, and unlock full-resolution export and the AI features.
Reference
Tips for a great result
Bake first, always
The curvature and ambient-occlusion maps are what place wear, dirt and smart-material detail correctly. Bake before you texture.
Think in layers and masks
A base material, a masked layer of edge wear, and a pass of dirt is far easier to tweak and undo than one flattened texture.
Inspect channels
Use the viewport channel strip to check Base Color, Normal and Roughness on their own — it makes problems obvious before you export.
Frequently asked questions
Do I need to install anything?+
No. Mixos runs entirely in your browser on WebGPU — nothing to download and no drivers to manage.
Which file formats can I import?+
GLB, GLTF, FBX and OBJ models up to 150 MB, and PNG / JPG / WEBP for texture maps and decals.
Which engines can I export to?+
PBR map sets tuned for Cinema 4D, Blender, Unreal, Unity, Godot and generic glTF, with the right normal convention and bit depth for each.
Do I need to know how to UV unwrap?+
No. Mixos reuses clean UVs or generates non-overlapping islands with one click.
Can I paint by hand as well as use materials?+
Yes — add a paint layer and paint directly onto the model, control which channels each stroke writes to, and mask it, alongside or on top of library materials.
Can I bring in my own materials and textures?+
Yes. Import a full PBR map set (or a folder of maps), turn a single photo into a tiling material with Image to Material, or stamp your own images as decals.
Is Mixos free?+
Authoring is free and needs no account. Sign in to save projects and export at full resolution; AI features use credits. During the open beta, full-resolution export is free for everyone.
Everything here is one tab away — import a model and take it to render-ready maps, free.
Open the studio