How to sculpt a face
A head is the standard first serious sculpt, because nothing teaches proportion faster and nothing punishes guessing more. The method below is the conventional one: establish the skull's masses first, place features on real landmarks rather than where they feel right, and detail only at the end.
By Mixos
The short answer
Start from a sphere, block the skull as simple masses — cranium, brow, cheekbones, jaw — with symmetry on and subdivision low. Place the features using the standard landmarks: eyes halfway down the head, the ear between brow and nose-base, the mouth a third of the way from nose to chin. Refine at higher subdivision, then turn symmetry off and break it. Use photo reference from the first stroke; a face that looks wrong is almost always a proportion error, not a detail one.
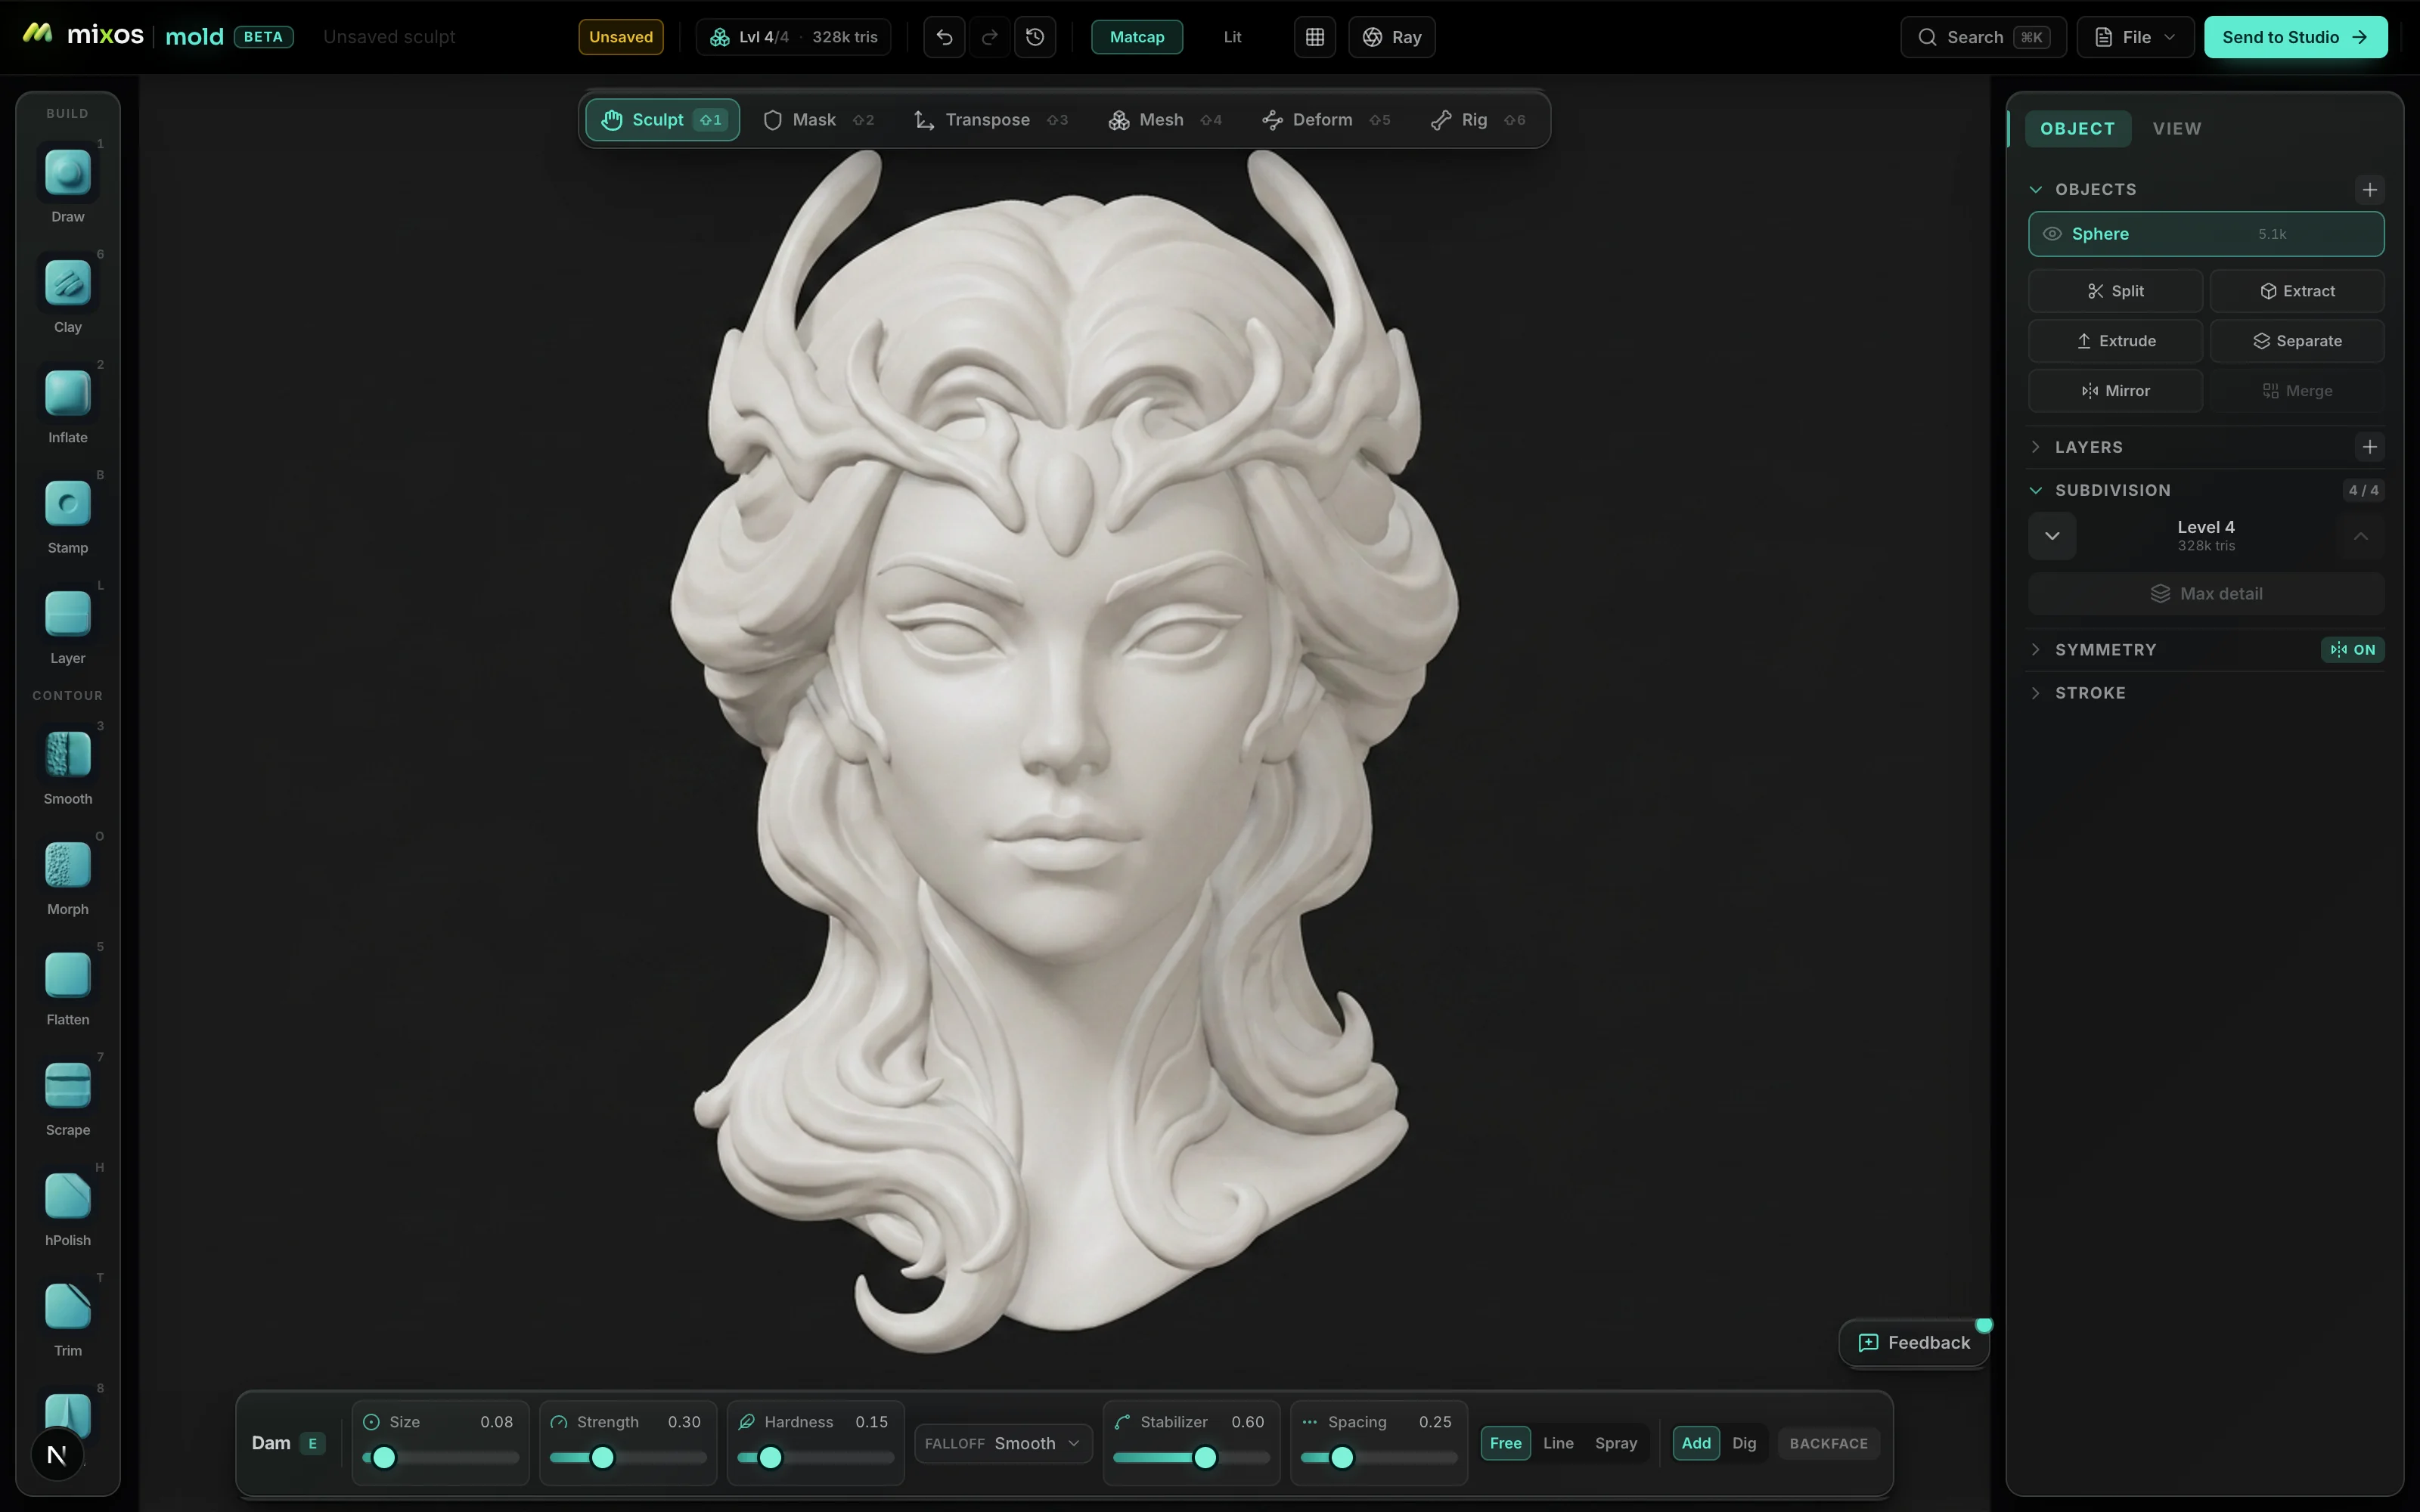
Step by step
- 1
Start from a sphere with symmetry on
Begin with a low-resolution sphere and turn symmetry on across the vertical axis, so every stroke mirrors. Keep the subdivision level low — you want a handful of thousands of polygons, not hundreds of thousands. Low resolution is a feature here: it physically prevents you from detailing before the shape is right.
- 2
Block the skull, not the face
Push the sphere into the big masses of a skull before thinking about features at all: flatten the sides, establish the dome of the cranium, pull the brow ridge forward, set the cheekbones out and the jaw down and back. A head is wider above and behind the ears than most beginners make it, and flatter at the sides. This is the stage that decides whether the finished sculpt reads.
- 3
Place the features on landmarks, not by eye
Use the standard proportions rather than instinct, because instinct is reliably wrong. The eyes sit roughly halfway down the head, not high. The space between them is about one eye wide. The ears run from the brow line to the base of the nose. The mouth sits about a third of the way from the nose to the chin. Mark these as light indications first, before committing to any shape.
- 4
Build the features as forms, not lines
Sculpt the eye as a sphere with lids wrapping over it, not as an almond scratched into the surface. Build the nose as a wedge with a ball at the tip and wings either side. Give the mouth a cylindrical mass around the teeth underneath. Features that read are volumes with structure under them; features carved as outlines look drawn on.
- 5
Subdivide and refine, checking the profile constantly
Now raise the subdivision level and refine — the transitions between forehead, brow and eye socket; the way the cheekbone runs into the jaw; the lips' curvature. Rotate to the profile view often. Almost every wrong-looking head is wrong in profile, where beginners tend to make the skull too shallow front to back and the jaw too weak.
- 6
Break the symmetry and add detail last
Turn symmetry off. Real faces are asymmetric, and a perfectly mirrored one reads as synthetic — shift the mouth slightly, vary the eyes, tilt the head. Only now add skin detail: pores, fine wrinkles, stubble, usually with an alpha or stamp brush. If the proportion work was right, this stage takes an hour and makes an enormous difference; if it wasn't, it makes the error permanent.
Why faces are the hardest thing to fake
People are extraordinarily good at reading faces — it is among the most specialized things human vision does. A millimeter of error in the distance between the eyes registers as wrong even to someone who cannot say why. No other subject is scrutinized by that much dedicated perceptual machinery, which is what makes a head simultaneously the best learning project and the most unforgiving one.
It also means the common failure has a specific shape. Beginners sculpt the symbol of a face — two eyes, a triangle nose, a line for a mouth — because that is what memory supplies. The fix is not more detail, it is measurement: compare against reference constantly, and check the profile as often as the front, because the front view hides depth errors and the profile is where they are obvious.
Reference, and how to actually use it
Work from photographs from the first stroke, and use at least a front and a side view of the same person. A single three-quarter photo leaves you guessing at exactly the depths you are least equipped to guess at. Professionals use more reference than beginners, not less — treating it as training wheels is the most expensive misconception in this whole subject.
Using reference well means comparing rather than glancing. Put the image beside the viewport and check specific relationships: is the ear really that far back, is the jaw that deep, does the brow overhang the eye that much. Vague looking confirms what you already believe; specific comparison is what corrects it.
Anatomy is what turns comparison into understanding. You do not need it to start, but the skull and the major masses of the face are what let you diagnose a wrong-looking sculpt instead of pushing clay until it improves. Learn it after the first few heads, when you have concrete errors for it to explain.
The mistakes that account for most bad heads
Eyes placed too high is the single most common one — the instinct is to put them well above the midline, and the truth is that they sit almost exactly halfway down. A head too shallow front to back is next, because the front view never reveals it. A jaw too small and a cranium too small round out the list; beginners consistently under-build the back and top of the skull because a photograph draws attention to the face.
Detailing before the proportions are settled is the process error, rather than an observational one, and it is the one that wastes the most time. Skin pores on a head with the wrong jaw is effort spent making a mistake harder to undo. Multiresolution subdivision exists precisely so you can drop to a coarse level, fix the mass, and climb back with your detail intact — use it rather than committing early.
Finally, leaving symmetry on to the end. It is the right way to block out and the wrong way to finish, because no real face is symmetric. Breaking it deliberately at the end is a small amount of work for a large amount of believability.
Frequently asked questions
How do you sculpt a face for beginners?
Start from a sphere with symmetry on and subdivision low, block the skull's big masses before any features, place the eyes, nose, ears and mouth on standard proportion landmarks rather than by eye, then subdivide and refine. Add skin detail last, after turning symmetry off.
Where do the eyes go on a face?
Roughly halfway down the head from the top of the skull to the chin — much lower than instinct suggests. The gap between them is about one eye wide, and the ears run from the brow line down to the base of the nose.
Should I sculpt a face from a sphere or a base mesh?
From a sphere when you are learning, because blocking out the skull yourself is where most of the learning is. Base meshes are faster and are what you use in production, but they hand you the proportion work that is the actual skill.
Why does my face look wrong but I can't tell why?
It is almost always proportion, and almost always visible in the profile view rather than the front. Check the depth of the skull front to back, the height of the eyes, and the size of the cranium and jaw — those four account for the majority of heads that look subtly off.
Do I need to know anatomy to sculpt a face?
Not to start, but it is what lets you diagnose errors instead of guessing. Learn the skull first — the masses under the face determine nearly everything on the surface — and the muscle groups afterwards.
How long should a first head take?
Several hours, and it will still look wrong, which is the normal outcome rather than a failure. Sculpting several heads teaches far more than laboring over one, because the errors repeat and become visible.

Open a sphere, turn symmetry on, and block out a skull — the first one is meant to be wrong.