Symmetry that holds
Mirror across an axis while you block out, so a face stays a face rather than drifting. Turn it off for the asymmetric pass — a scar, a broken horn, weight on one hip — without losing what came before.
Character sculpting
Characters are what most people actually want to sculpt — a head, a creature, a figure for printing. That work has a particular set of needs: symmetry that holds while you block out, subdivision levels you can move up and down freely, and topology that stops fighting you when a horn or an ear pulls the mesh apart. Mold has all three, in a browser tab.
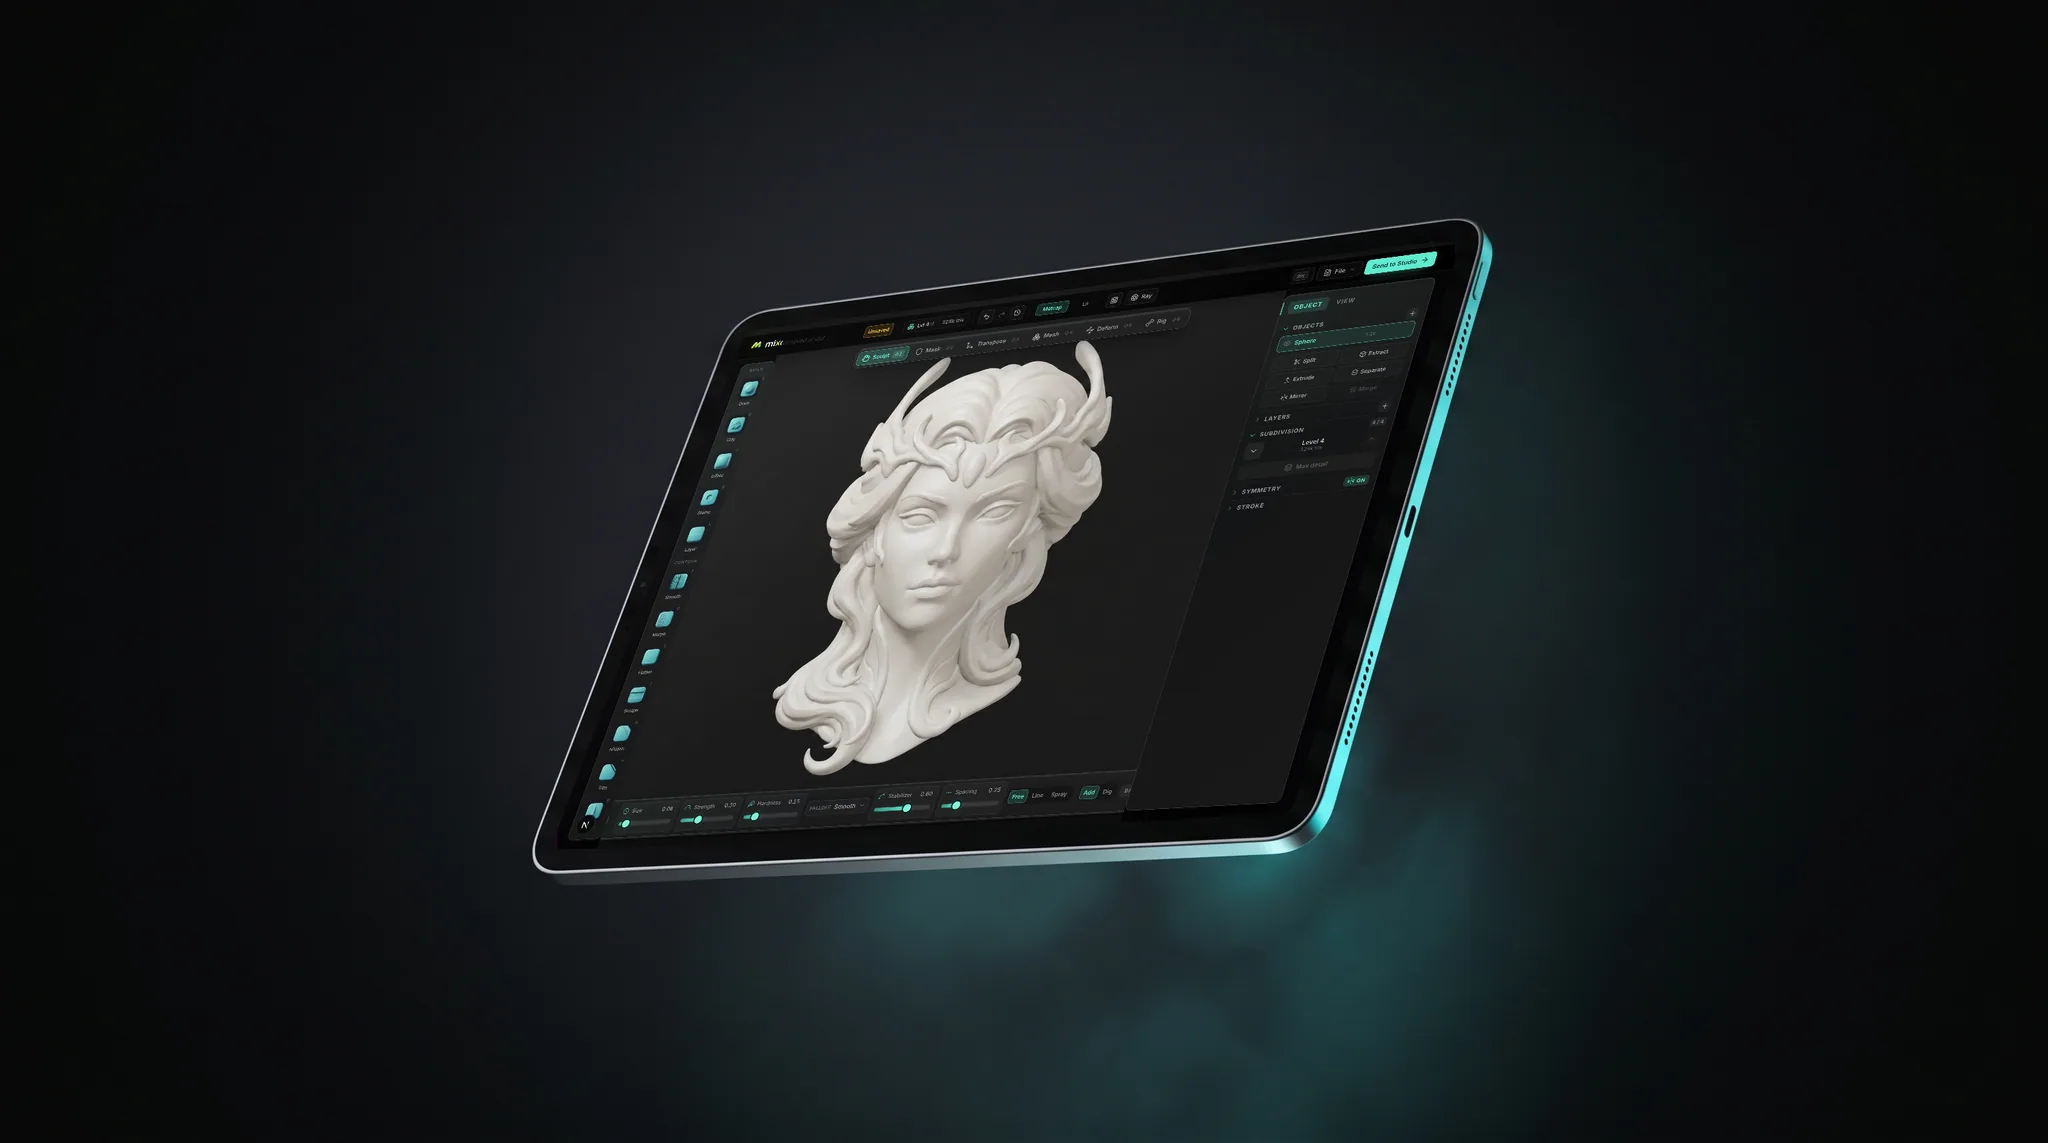
Mirror across an axis while you block out, so a face stays a face rather than drifting. Turn it off for the asymmetric pass — a scar, a broken horn, weight on one hip — without losing what came before.
Block the silhouette at a low level, add detail higher up, then drop back down to fix proportion without losing the detail above it. This is the single habit that separates a character that reads from one that doesn't.
Pull a shape somewhere the mesh has no polygons and it adds them as you go. Extremities are where a fixed cage tears, so this is what lets a creature keep growing instead of forcing you to plan it in advance.
One click unwraps the character and opens it in a layered PBR painter in the same browser. Or remesh it watertight and export STL for a resin printer.
Why Mixos
Character sculpting is mostly a fight with proportion, and the tools that help are the ones that let you keep changing your mind. The reliable method is to work coarse before fine: establish the big masses first — cranium, jaw, brow, the line of the neck — and only then add the things people notice consciously, like eyelids and lips. A tool supports that method if you can move between levels of detail freely, and gets in the way if committing to detail means committing to proportion.
That is what multiresolution subdivision is for. Each level keeps its own displacement, so you can drop to a coarse level, push the whole jaw back because the profile was wrong, and climb back up to find the pore-level work still sitting where it was. Without it, fixing a proportion error late means either living with the error or redoing the detail — which is why so many first characters end up with beautifully detailed, subtly wrong faces.
The second recurring problem is topology at extremities. A character is rarely a closed blob: it has horns, ears, fingers, tails, things that stretch far from the original volume. A fixed polygon cage stretches and tears when you pull those out. Dynamic topology adds geometry under the brush as you pull, so the shape leads and the mesh follows. The usual working pattern is dynamic topology while the form is still moving, then a remesh to an even surface, then subdivision for detail.
Symmetry deserves the same care. Mirroring is the fastest way to block out a face, and leaving it on to the end is the fastest way to get a character that looks synthetic — real faces and bodies are not symmetric. Block out mirrored, then turn it off and break it deliberately: shift the weight, tilt the head, damage one horn. Mold keeps symmetry as a toggle rather than a mode you have to commit to, so switching costs nothing.
ZBrush is the industry standard, Blender is the common free desktop option, and Nomad Sculpt is the usual choice on a tablet. Mold covers the same core sculpting workflow — symmetry, multiresolution subdivision, dynamic topology, remeshing, masking — in a browser tab, with nothing to install, which makes it the low-friction way to start.
Yes, and a head is the usual first project because it teaches proportion faster than anything else. Expect the first few to be wrong in ways you can see but not yet fix — that is the normal path, not a sign you picked the wrong tool. Working coarse before fine and using reference from the start are what shorten it.
Not to start, but it is what eventually separates a character that reads from one that doesn't. The practical order is to sculpt first and learn the anatomy that explains what went wrong afterwards — the skull, the major masses of the face, then the muscle groups that show through.
Turn symmetry on and it mirrors every stroke across the axis while you block out. Turn it off for the final pass and break it deliberately, because a perfectly symmetric character looks manufactured. It is a toggle, so you can go back and forth as you work.
Yes. Remesh it so the surface is a single watertight shell, thicken anything too fragile to survive the build — horns and fingers are the usual casualties — and export STL for your slicer. Sculpting and remeshing are free; exporting the mesh is part of a paid plan.
Yes. One click unwraps the sculpt and opens it in the layered PBR painter in the same browser, where you can paint skin, scales, cloth and metal as editable layers and export the map set for Blender, Unreal or Unity.
Keep exploring
3D sculpting software
Sculpting for beginners
ZBrush alternative
Sculpting for 3D printing
Symmetry on, subdivision low, block out the big masses. It's the fastest way to learn what a character needs.