Separate architectural materials
Give walls, roof, beams and foundations distinct roles. A coordinated palette helps a small building read as a designed object.
AI autotexture for buildings
Describe plaster, timber, roofing and stone as one architectural palette. Auto generates a surface direction on your building asset; Paint gives you control over seams, material scale and the final wear.
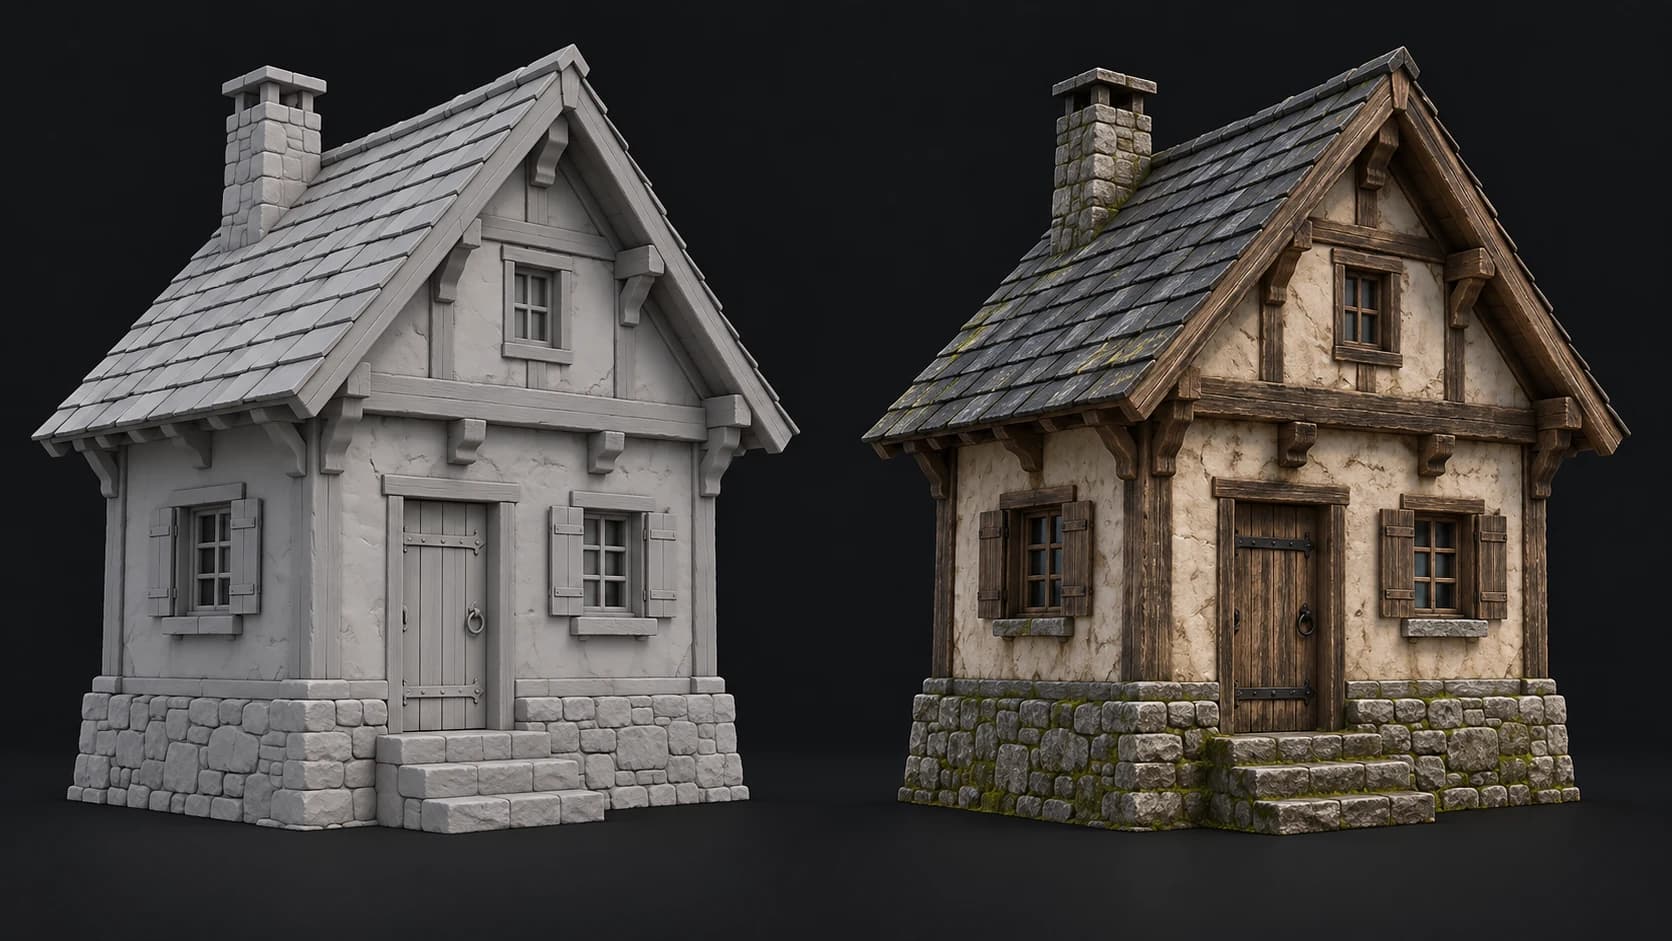
Give walls, roof, beams and foundations distinct roles. A coordinated palette helps a small building read as a designed object.
Check side walls, the rear facade, roof planes and the underside of overhangs. One attractive facade is not enough for an asset used in a 3D scene.
Use Auto for a whole-object surface concept. For a modular kit built around repeating materials or trim sheets, preserve that structure in a dedicated material workflow.
Why Mixos
Architecture makes scale errors easy to spot. Brick courses, timber grain and roof tiles have familiar dimensions, and a surface that looks plausible in a close-up can become oversized when placed beside a door. Describe the material character in the prompt, then judge scale against the modeled features.
A compact building prop is a different problem from an entire architectural scene. For a small workshop or stylized house, a generated atlas can establish the overall finish quickly. A modular facade kit with shared tiling materials, repeated windows or a trim-sheet budget needs a more controlled material plan.
Keep edges and openings honest during review. Window frames, chimney caps and eaves can be partly hidden from the generated views. Inspect those regions, refine them in Paint and avoid treating painted window detail as actual geometry or transparency. Auto textures the mesh; it does not add usable rooms or construction detail.
Start with a manageable building or architectural prop. Check the roof, openings and underside before generating.
Specify the wall finish, roof material, timber and foundation. Keep weathering related to exposure and contact with the ground.
Rotate through every elevation. Refine material boundaries and review the export beside other assets in your scene.
Small alpine workshop with warm off-white plaster walls, aged walnut timber beams, a charcoal slate roof and rough stone foundations. Light moss near the ground, weathering under the eaves, no signs or lettering.
For predictable review, begin with a building asset or separate props. Large scenes with interiors and many occluded surfaces need a more deliberate material setup than a whole-object projection pass.
This workflow textures an existing mesh into an atlas. If you need a repeating wall or roof material to reuse across many buildings, use the material-generation workflow instead.
Do not assume that painted glass creates a correct transparent material. Check the glass region and set up transparency and reflections deliberately in your destination renderer.
Auto may replace stacked or tiled UVs during preparation. Keep your source layout and choose a manual material or rebaking workflow when exact trim-sheet compatibility is required.
Read next
The whole pass, from import to exported maps.
The maps a modern material is made of, and what each one does.
Why the same texture reads bigger on one model than another.
Drop the files in and see the material lit, in the browser.
Keep exploring
AI autotexture for props
AI texture generator
AI autotexture for OBJ
AI autotexture for furniture

Generate a coherent surface direction, then inspect the details that make the building believable.