Logo keychain

Your logo, on a keyring.

Branded keyrings are the cheapest physical thing you can hand somebody, and the slowest to get made if you have to go through a supplier. Turn the mark into a printable solid in the browser, set how thick and how rounded it should be, and send the file to a printer — yours or a print service.

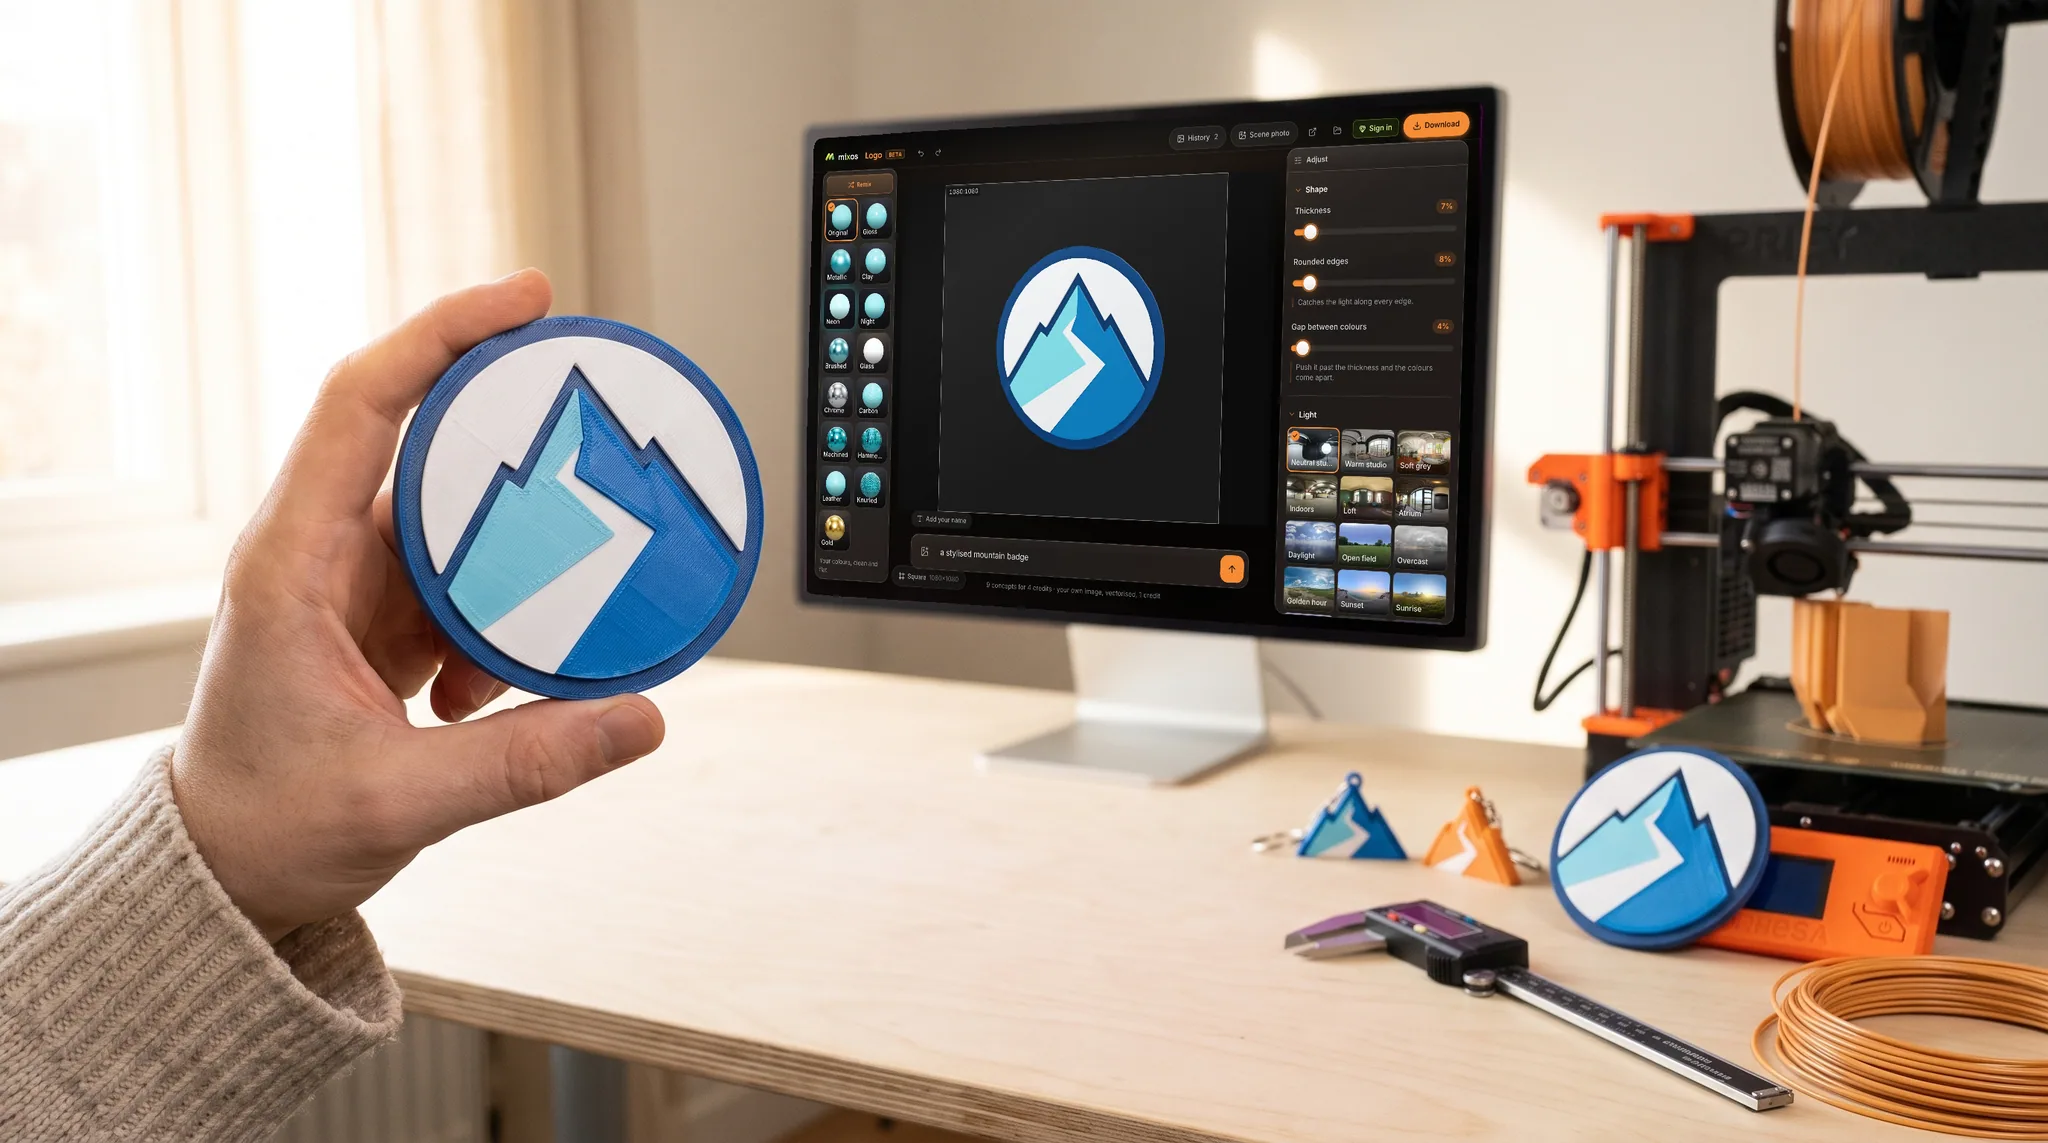
mixos Logo open on a desktop screen showing a geometric mountain mark extruded into layered 3D, on a desk behind a hand holding up a 3D print of the same mark.

Comes out as one piece

The colour layers overlap in depth by default, so the model is a single connected solid rather than a pile of parts that separate on the plate. Push the gap between colours past the thickness and they will come apart — that is the one setting that ruins a keyring, and the app warns you where you set it.

Thick enough to survive a pocket

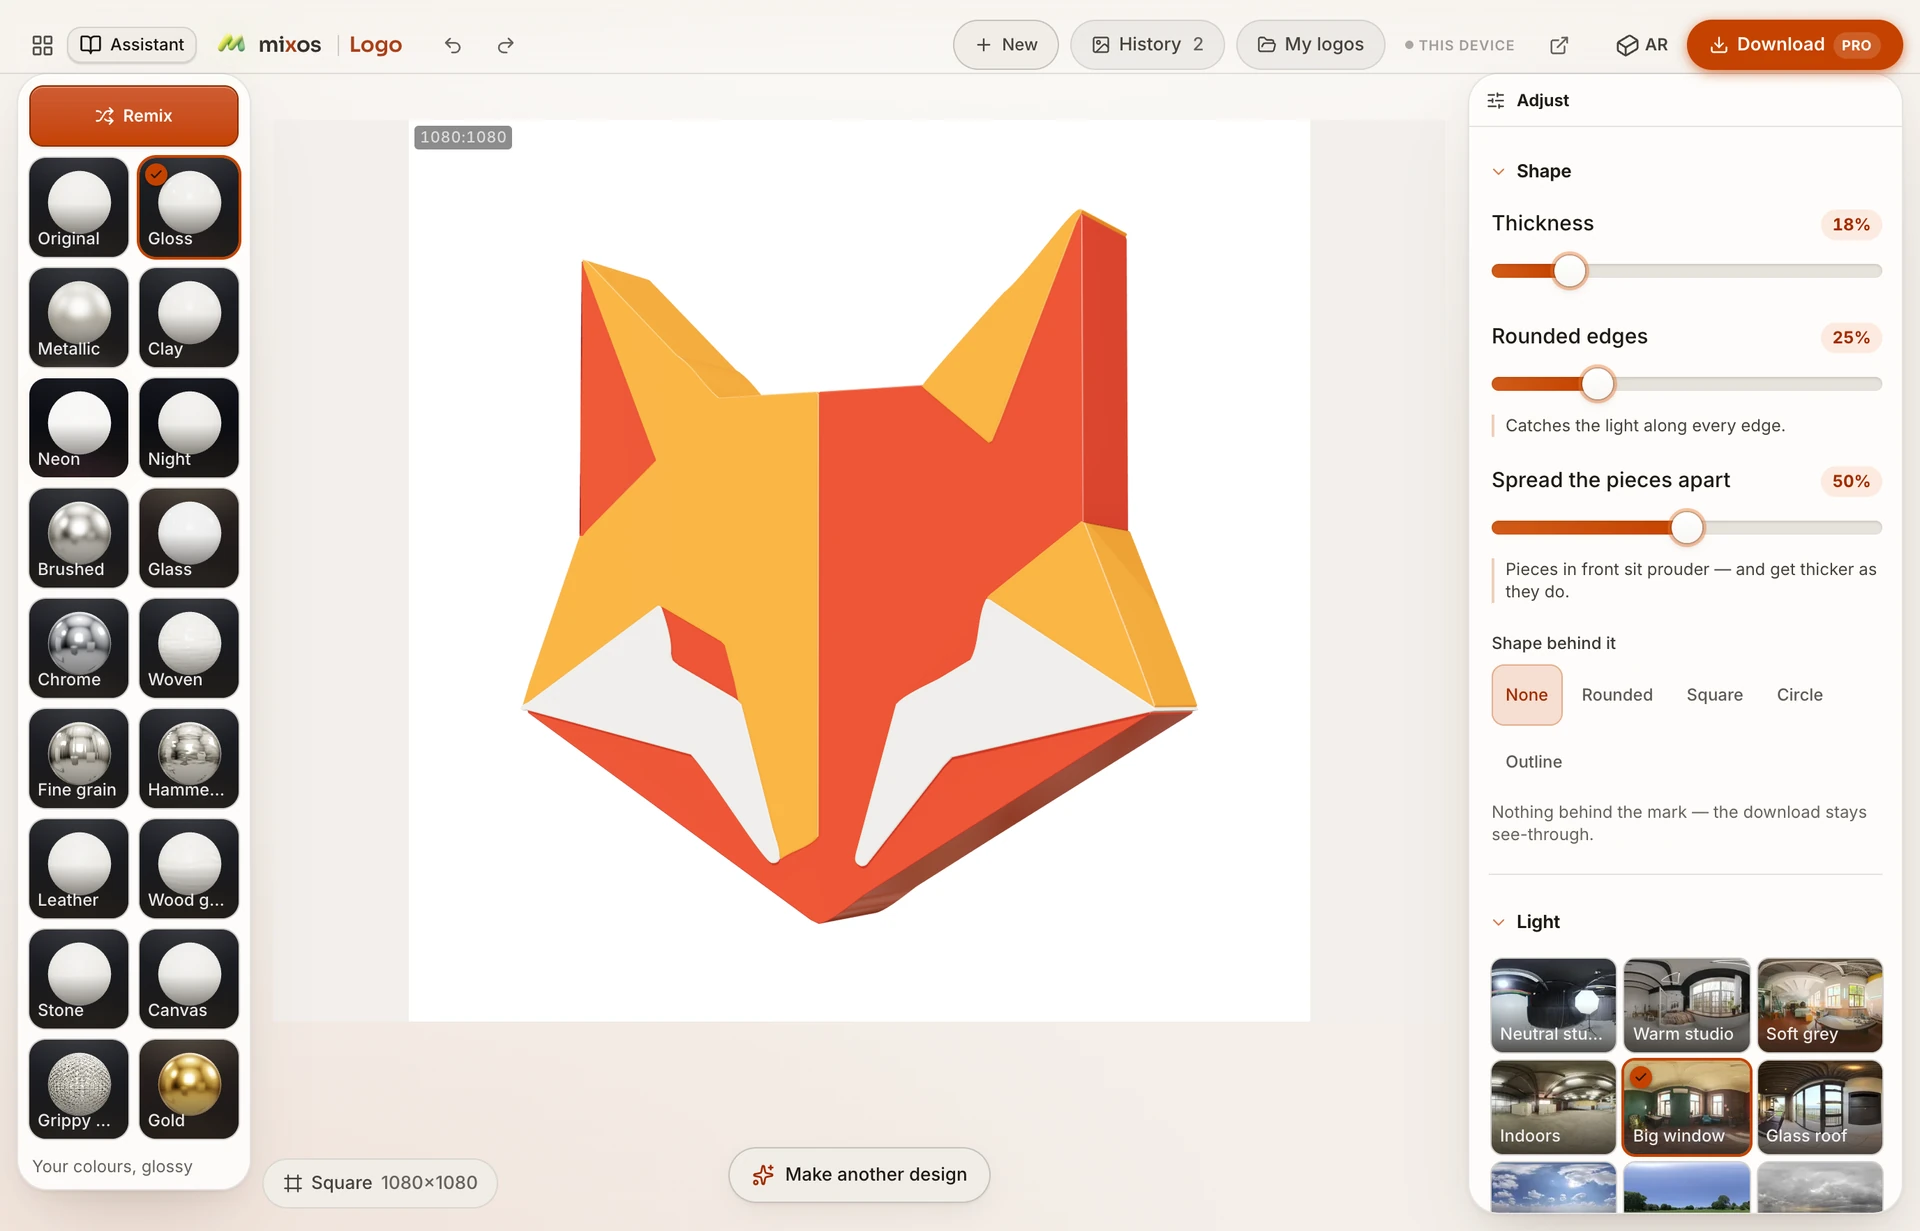
A keyring lives on a set of keys, so it needs more depth than a logo you would put on a shelf. Thickness is a live slider and the model rebuilds as you drag it — push it further than looks right on screen, because a thin one snaps.

Rounded edges that actually print

The edge rounding is a real bevel on the geometry, not a shading trick, so it survives the slicer and shows up in the plastic. It is also what stops a printed keyring feeling sharp in a pocket.

One colour or several

The STL is a single merged solid for an ordinary printer — swap filament by height if you want a two-tone one. If you have a multi-material setup, export the model instead: every colour layer arrives as its own mesh with its own material, which is what an AMS needs to assign filaments.

Why Mixos

From a logo file to something on your keys

A branded keyring is a small job with a slow supply chain. Minimum orders, setup fees, a proof to approve and two weeks of waiting, all for an object that costs pennies in material. If there is a 3D printer anywhere near you — your own, a library's, a friend's, or a print service that takes an uploaded file — the whole thing collapses into an afternoon.

What stands in the way is the file. A logo arrives as a picture or a vector, and a slicer needs a closed solid with real thickness. Producing that by hand means redrawing the outline in CAD and extruding it, which is a genuine skill and a large install for a keyring. Here the artwork is separated into flat colour regions in the browser and each region is extruded to a depth you choose.

Two settings decide whether the result is any good. Thickness has to be generous — a keyring gets sat on, dropped and dragged across things, and the version that looks elegantly thin on screen is the version that snaps in a week. The gap between colours has to stay below the thickness, or the layers stop overlapping and the model arrives as loose pieces.

One thing the app deliberately does not do is set a size in millimetres. The model exports at the proportions you designed and you scale it in your slicer, where you can see it against the actual build plate — which is the only honest place to decide how big a keyring should be. Leave room for the hole, and print a first one before you print twenty.
Frequently asked questions

Is it free?

Designing the keyring is free and needs no account — you can build it, adjust it and turn it around before deciding anything. Downloading the printable file needs a paid plan.

How do I add the hole for the ring?

Add it in your slicer or a modelling tool before printing, or design it into the artwork you start from — a mark with a hole already in the shape comes through as a hole in the solid. There is no dedicated hole tool here.

How big will it be?

Whatever you scale it to in your slicer. The file exports at the proportions you designed rather than a fixed size, so the build plate is where you choose — which is also where you can see it against something real.

Can I print it in two colours?

On a single-extruder printer, swap filament at the layer height where the colour changes. On a multi-material setup, export the model rather than the STL — each colour layer is a separate mesh with its own material, which is what lets an AMS assign filaments to them.

What if I don't have a printer?

Upload the file to any print service — they take the same format. It is worth checking their minimum wall thickness before you commit, since a keyring is exactly the kind of small part that gets rejected for being too thin.

Mixos

Open a tab. Start texturing.

No download, no setup, nothing to license. Auto-texture your first model and build real PBR materials in minutes.