Make distortion visible
Use the same checker image on two versions of a simple model. Students can identify stretched or unevenly sized squares before artistic detail hides the problem.
UV mapping classroom activity
Help students connect a flat texture to a 3D surface with a suggested 50-minute lesson. Compare checker patterns, locate seams, and explain stretching before moving on to detailed material work. Use a supplied model so geometry creation does not take over the lesson.
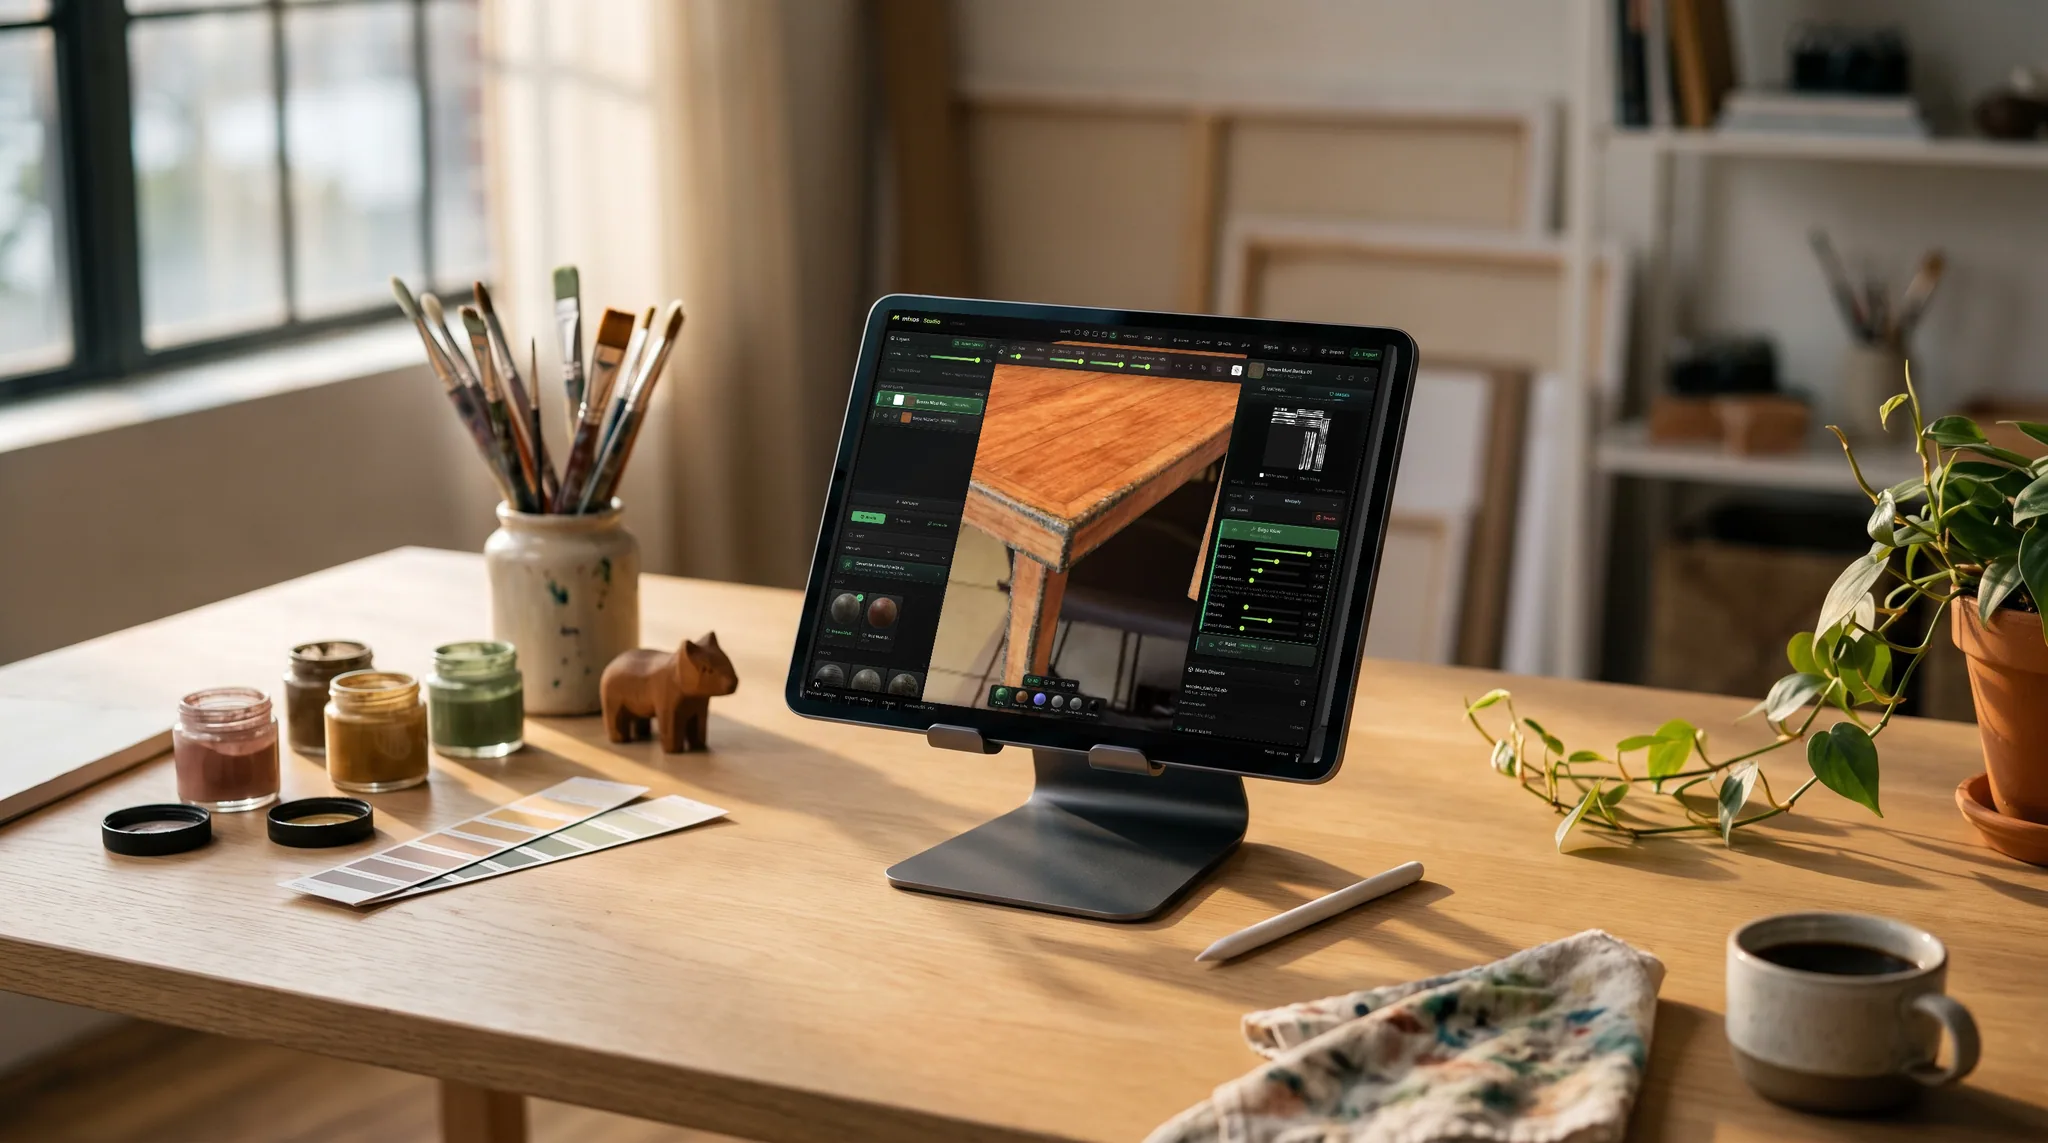
Use the same checker image on two versions of a simple model. Students can identify stretched or unevenly sized squares before artistic detail hides the problem.
Ask students where a surface could be cut and flattened, and which cuts would be least distracting on the finished prop. The goal is a reasoned choice, not a seam count.
Finish with a small painted mark across a chosen area. Compare its appearance in the flat image and on the model, then explain what the mapping changes.
Why Mixos
UV coordinates tell a textured mesh which part of an image belongs on each face. A UV island is a connected region in that flat layout; a seam separates regions. Students often encounter those terms while following a painting tutorial without understanding why a mark stretches or why neighboring faces sample different parts of the image. This activity makes the relationship the subject of the lesson.
Before class, prepare a low-complexity box or cylinder, a checker image, and two copies of the mesh. Give one copy a usable UV layout and the other a deliberately distorted region or noticeably inconsistent island scale. Keep the geometry and texture image the same so students can isolate mapping as the cause. Prepare the layouts in the UV editor you already teach, such as Blender, and test the exported meshes in the texturing workspace.
Use a checker material that follows the mesh's UV coordinates. A world-space or triplanar checker would conceal the mapping problem this exercise is meant to reveal. Keep lighting simple, and inspect equivalent surfaces on both copies. Checker size can vary intentionally, but for this starter activity ask students to compare similarly sized surface areas and aim for a consistent level of image detail.
This is a mapping diagnosis and explanation lesson, rather than a complete guide to every unwrap tool. Beginners can annotate the supplied examples without changing geometry. If students already know a UV editor, extend the task by moving a seam or correcting one island there, exporting the revised mesh, and checking the same pattern again. Do this before detailed painting: changing a UV layout can change where existing image pixels appear on the surface.
Mixos can be the surface-authoring and hand-in workspace after you test the starter files. Approved classroom grants add a shared library, assignment tools, and 4K watermark-free export for the term. Test the lesson on actual school devices with WebGPU support. The provided examples and timings are instructor suggestions, not an accredited curriculum or downloadable starter pack.
Show the supplied box or cylinder next to its UV layout. Trace one face to its image region and identify an island boundary. Ask students to predict where a colored mark in the flat image will appear on the object.
Inspect both prepared versions from matching angles. Students locate one stretched region and one change in checker size, recording the surface location and what they see. Separate distortion from an intentional difference in texture scale.
Students explain a seam location or an island adjustment that could improve the weaker layout. Beginners use an annotated view; experienced students make one change in the course's UV editor and recheck the exported mesh. Apply a small painted mark to connect the diagnosis to texturing.
Collect the inspected or revised model through the agreed class workflow, with a short explanation through your course's supporting-document system. Ask each student to name one mapping issue, one proposed or completed change, and one remaining tradeoff.
Compare the two supplied versions of the same prop using the UV-mapped checker. Identify one stretched region and one difference in checker size. Explain where you would place a seam or adjust an island, and why. Include an annotated view or a checked revision through our course hand-in system. Submit the assessable 3D work in Mixos if required by the assignment.
No. Supply the same simple mesh and prepared layouts to everyone. That keeps this lesson focused on understanding image placement rather than learning modeling and UVs at the same time.
No. This activity studies UV coordinates, seams, stretching, and image scale. The texturing lessons begin with prepared UVs and concentrate on material contrast, masks, and wear. Use this lesson first when students need the mapping foundation.
No. It is a diagnostic aid. You still need to consider seam placement, intentional overlaps, island spacing, texture resolution, and the final viewing distance. For beginners, assess the explanation and the visible problem they were asked to address.
No. The page supplies a suggested schedule, preparation checklist, and copyable brief. The instructor prepares the meshes and checker image using owned or appropriately licensed assets.
Invited Mixos Google Classroom pilot classes can publish a Mixos-created assignment link. Students submit in Mixos and turn in manually in Google Classroom. Other classes can use Mixos hand-in and CSV grade export without connecting the pilot.
Read next
The whole pass, from import to exported maps.
The maps a modern material is made of, and what each one does.
Why the same texture reads bigger on one model than another.
Drop the files in and see the material lit, in the browser.
Keep exploring
Lesson resources for instructors
Assessment resources
Student game art project briefs
Google Classroom integration · pilot