Separate shape from appearance
Inspect the untextured geometry first. Decide whether the issue is a material choice, baked lighting or a modeling defect before generating again.
AI autotexture for generated meshes
An AI-generated model can have a useful shape and an unconvincing surface. Bring the mesh into Auto, describe a clearer material direction and refine the result in a proper texture workspace.
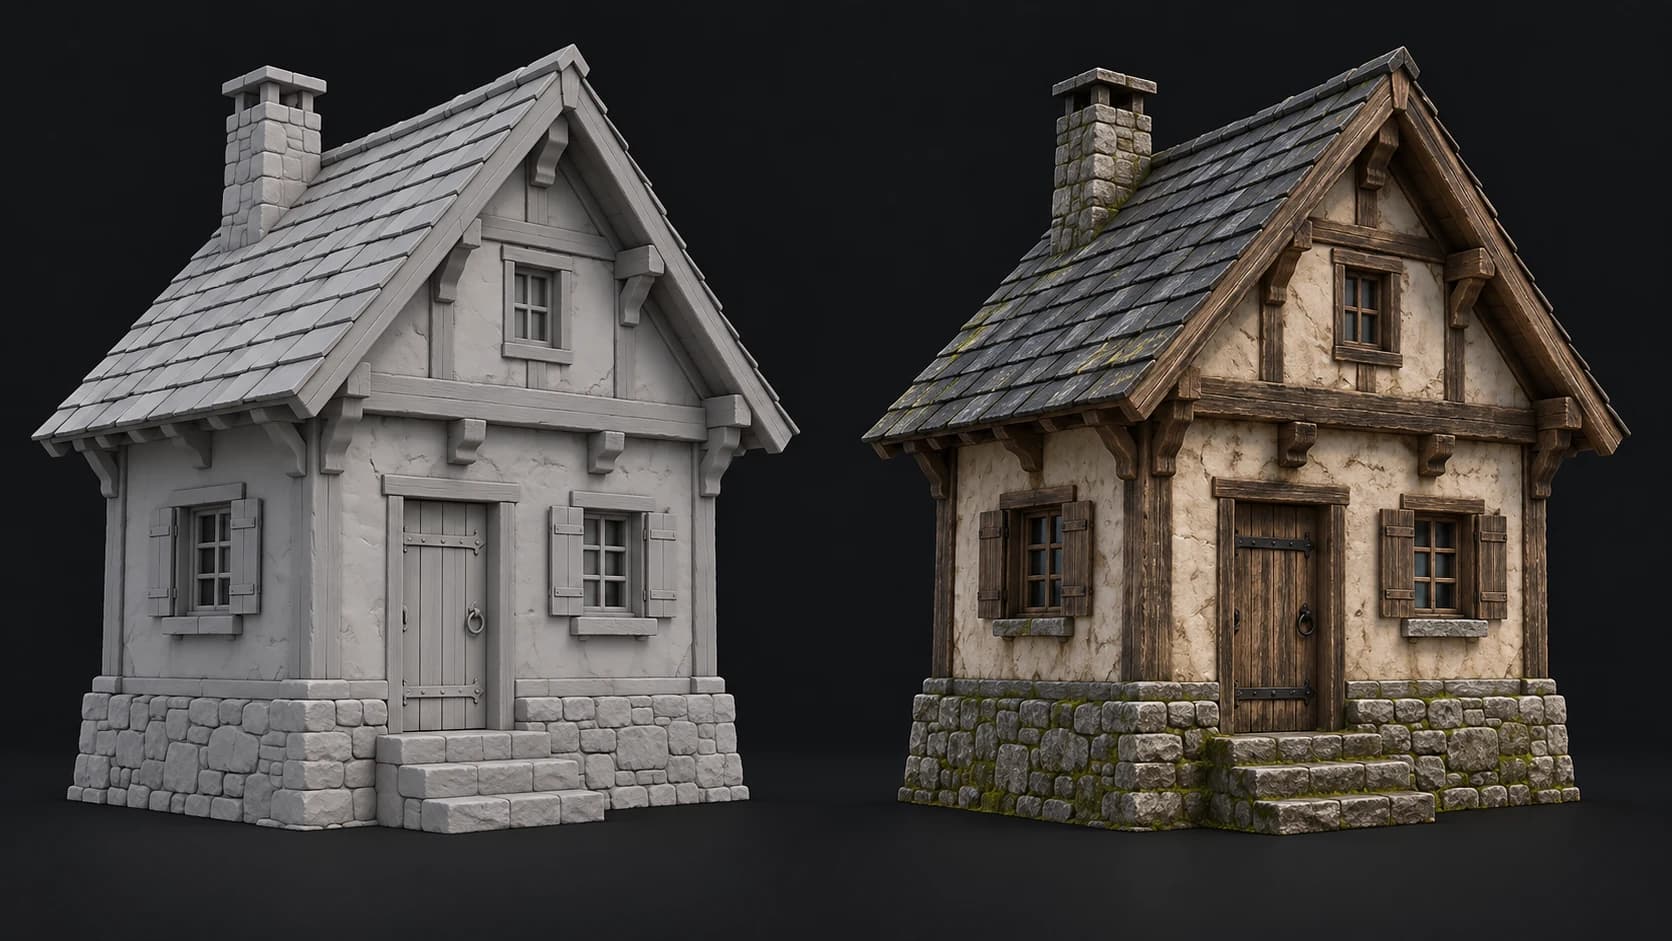
Inspect the untextured geometry first. Decide whether the issue is a material choice, baked lighting or a modeling defect before generating again.
Describe the intended materials and their placement. Replace a vague inherited look with a direction that suits the asset and its scene.
Open Paint to refine the result with layers and masks. Keep the source and verify your final mesh, UVs and material setup in the target tool.
Why Mixos
Image-to-3D and text-to-3D models can mix geometry problems with texture problems. A dark patch might be painted shading, a hole, an inverted face or an unwanted recess. Viewing the mesh without its original texture helps separate those causes before you spend another generation on the wrong fix.
When the shape is usable, retexturing is a way to explore a more coherent palette and clearer material groups. Name the physical surfaces rather than asking for a general improvement. A small workshop needs separate instructions for plaster, timber, slate and stone; one material phrase rarely explains the whole object.
Keep expectations specific. A new texture cannot restore missing geometry, guarantee topology suitable for animation or make every hidden surface accurate. Preparation can change UVs and simplify very large meshes, so retain the source and validate the result against the needs of the project rather than the appeal of a single preview.
Look for missing parts, incorrect silhouettes and surface noise. Repair geometry issues in your modeling tool before asking for a new finish.
Describe material groups, palette and restrained wear. Use a reference when you need to move the asset toward an existing art direction.
Inspect every side, refine texture issues in Paint and check the export in your actual scene or engine.
Small alpine workshop, warm plaster walls, walnut timber beams, charcoal slate roof and rough stone base. Clear material separation, subtle age, light moss at ground level, no painted shadows or signage.
Yes, if you can export a model in a supported format such as GLB, glTF, OBJ or FBX and have the rights to use it. Inspect the imported geometry before generation.
A fresh generated surface may replace some unwanted shading, but it can introduce lighting of its own. Review the result under neutral illumination and correct the material where necessary.
No. Texturing changes appearance, not the underlying shape. Repair missing geometry and major surface defects in a modeling workflow first.
Keep the source file and validate the return path. Auto may combine parts, replace unsuitable UVs or simplify dense meshes. Exact production compatibility may require rebaking or manual transfer.
Read next
Vertices, edges and faces — the box-modelling fundamentals.
Which of the two approaches fits the thing you're making.
Which format keeps materials and which throws them away.
Why the same texture reads bigger on one model than another.
Keep exploring
AI autotexture for GLB
AI autotexture for buildings
AI autotexture for robots
Reference-guided AI autotexturing

Start from the model you already have and build a material direction you can inspect and refine.