Start from your character mesh
Auto-Texture renders several views of the imported model and projects one visual direction back across it, so the result follows your silhouette instead of replacing the design.
3D character texturing
Import your character, describe the material direction, and generate one coordinated first pass across skin, clothing and hard-surface parts. Then repair, repaint and export the maps you actually need.
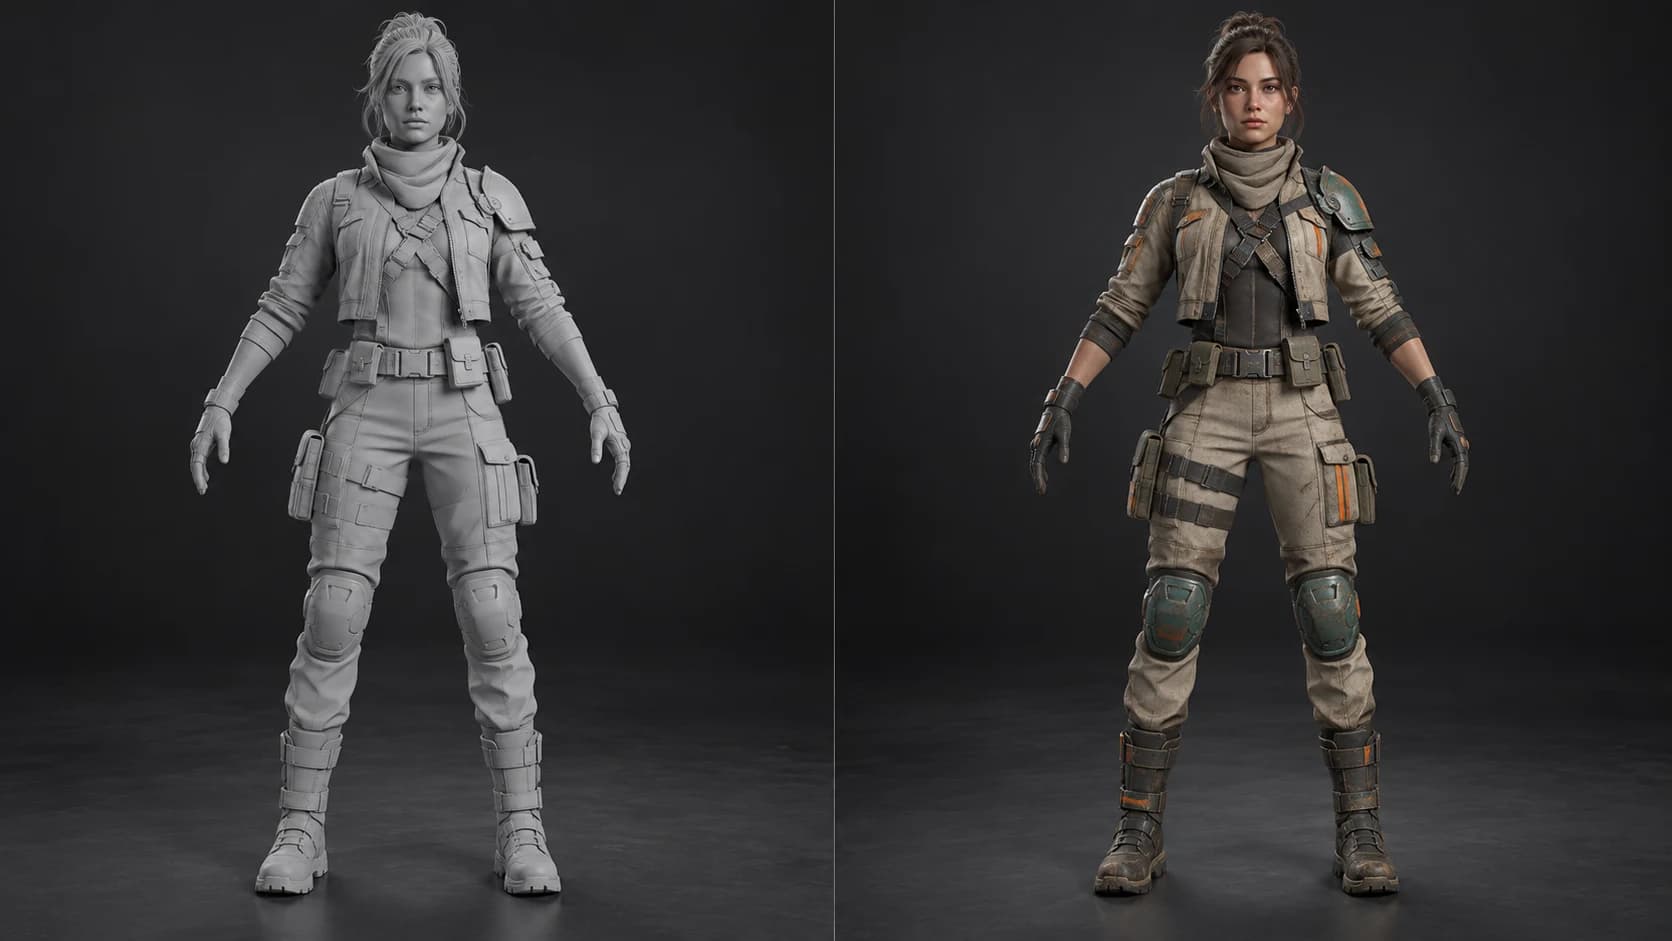
Auto-Texture renders several views of the imported model and projects one visual direction back across it, so the result follows your silhouette instead of replacing the design.
Use paint, masks and material layers to distinguish skin, fabric, leather, painted metal and rubber after the generated pass establishes the overall palette.
Generated output stays editable. Repaint facial features, clean projection seams and sharpen costume details where the camera will spend its time.
Export the texture set, then reconnect it to the original production character when preserving its skeleton, blend shapes and material assignments matters.
Why Mixos
Character texturing is a hierarchy problem. The face and hands need restraint, costume materials need to separate at a glance, and small wear only matters after the large value groups read. A generated first pass can establish that hierarchy quickly, while the layer stack gives you a place to correct the areas that need human judgment.
Auto-Texture works on visible surfaces from several rendered views. Hidden folds, tight gaps, eyelashes and overlapping accessories can still need cleanup. It can also combine multipart geometry or generate a new UV atlas when the source UVs are missing, stacked or tiled. Keep the original rigged file and inspect the output before treating it as a direct replacement.
For an animated production character, the safest handoff is often the texture maps rather than the newly exported mesh. Bring those maps back to the source scene, reconnect them to the existing materials and test expressions, deformations, mip levels and lighting there. Mixos accelerates the surface pass; it does not certify the rig or character setup.
Yes. Import supported mesh geometry, generate a first pass from a prompt and refine it with ordinary paint, mask and material layers before exporting maps.
Do not rely on the generated mesh as a rig-preserving round trip. Export the finished maps and reconnect them to the original rigged character when bones, blend shapes and animation must stay intact.
It can establish a coordinated pass across the visible model. Use masks and layers afterward to separate the material response and give faces or costume details the precision they need.
It uses workable UVs when possible, but can re-unwrap missing, stacked or tiled layouts. Inspect the result and rebake to the production UVs when exact compatibility matters.
Read next
The whole pass, from import to exported maps.
The maps a modern material is made of, and what each one does.
Why the same texture reads bigger on one model than another.
Drop the files in and see the material lit, in the browser.
Keep exploring
AI texture generator
Online texture painter
Character sculpting
AI game asset texturing

Generate the broad pass, then refine the face, costume and surfaces where the character earns attention.