Generate on the actual volume
See the painted direction wrap around your model from several views, which exposes projection problems a single front-facing concept cannot show.
Hand-painted 3D texturing
Import a prop, describe the palette and painted-light style, and generate a direction across the model. Refine the brushwork, edge accents and color rhythm in layers instead of settling for a flat concept image.
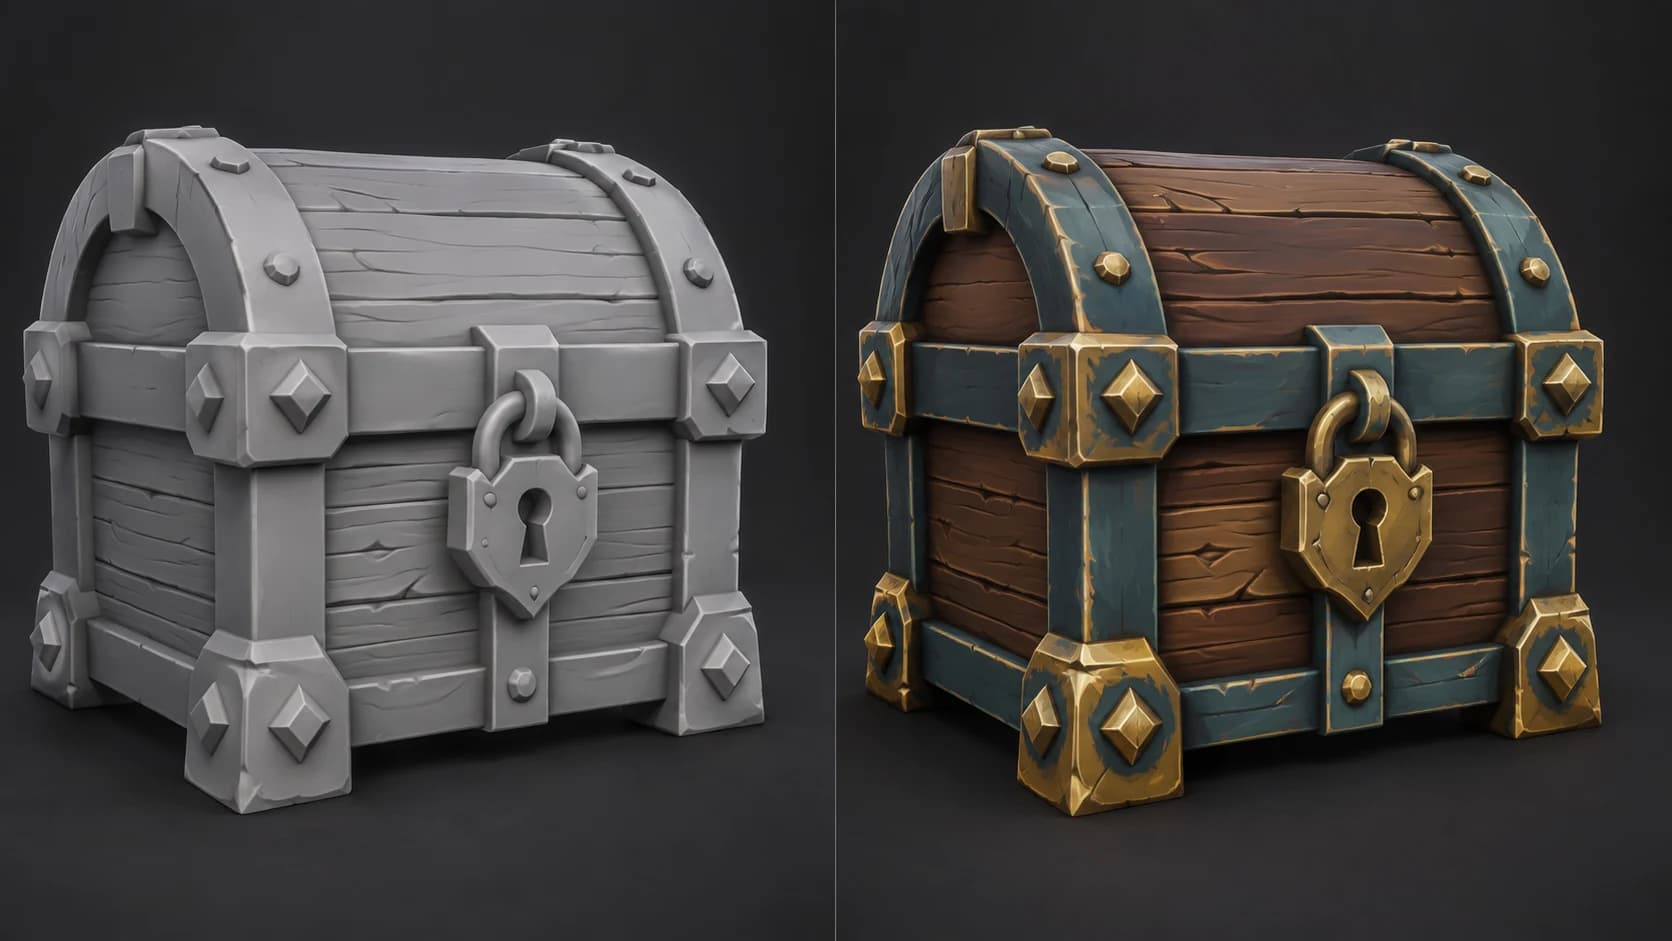
See the painted direction wrap around your model from several views, which exposes projection problems a single front-facing concept cannot show.
Separate wood, metal, cloth or stone with masks and layers, then tune the colors until the asset fits the set it belongs to.
Strengthen chosen edge highlights and shadows, remove inconsistent baked-light cues and place brush detail where it supports the form.
Export base color for a simpler painted shader or carry roughness, metalness and normal detail when the target style still uses physically based lighting.
Why Mixos
Hand-painted texturing is less about simulating a real surface and more about deciding what the viewer should notice. Highlights can be exaggerated, shadows can be placed into the color and materials can be separated with hue rather than microscopic roughness. Generation is useful for proposing that treatment across the model, but consistency comes from the editing pass.
Remove lighting cues that disagree from one side to another. Consolidate brush sizes, repeat a small family of edge colors and keep the busiest marks near the focal area. If the asset belongs to a larger set, compare it against neighboring props while you work; an attractive isolated result can still fail when its saturation or contrast breaks the scene.
Auto-Texture can re-atlas stacked or tiled UVs and merge multipart geometry for projection. Check the new layout before detailed cleanup, especially when the original asset uses mirrored painting or a shared trim sheet. Reuse the production mapping through a rebake when that structure must survive.
It can create a useful style and palette pass. A consistent production result still benefits from repainting seams, consolidating brushwork and matching the contrast of the surrounding asset set.
Yes. The result opens in the painting workspace, where you can paint, erase, mask and layer additional color or material changes.
That depends on the renderer and art direction. Some styles rely mainly on base color; others keep roughness, metalness and normal maps while using painted color and lighting accents.
Auto-Texture may replace stacked, tiled or otherwise unsuitable UVs. Preserve the source layout and plan a rebake if the finished asset must continue using a mirror or trim-sheet workflow.
Read next
The whole pass, from import to exported maps.
The maps a modern material is made of, and what each one does.
Why the same texture reads bigger on one model than another.
Drop the files in and see the material lit, in the browser.
Keep exploring
Low-poly asset texturing
AI game asset texturing
Online texture painter
AI texture generator

Generate on the model, unify the brushwork and carry one deliberate palette across the finished asset.