Texture a whole character
Auto-Texture works from several rendered views of the model, so the prompt can shape a coordinated outfit and material direction across the visible character.
Roblox avatar texturing
Import a character, describe the look, and generate a coordinated first pass across the model. Refine the result with paint and material layers, then export maps named for Roblox SurfaceAppearance.
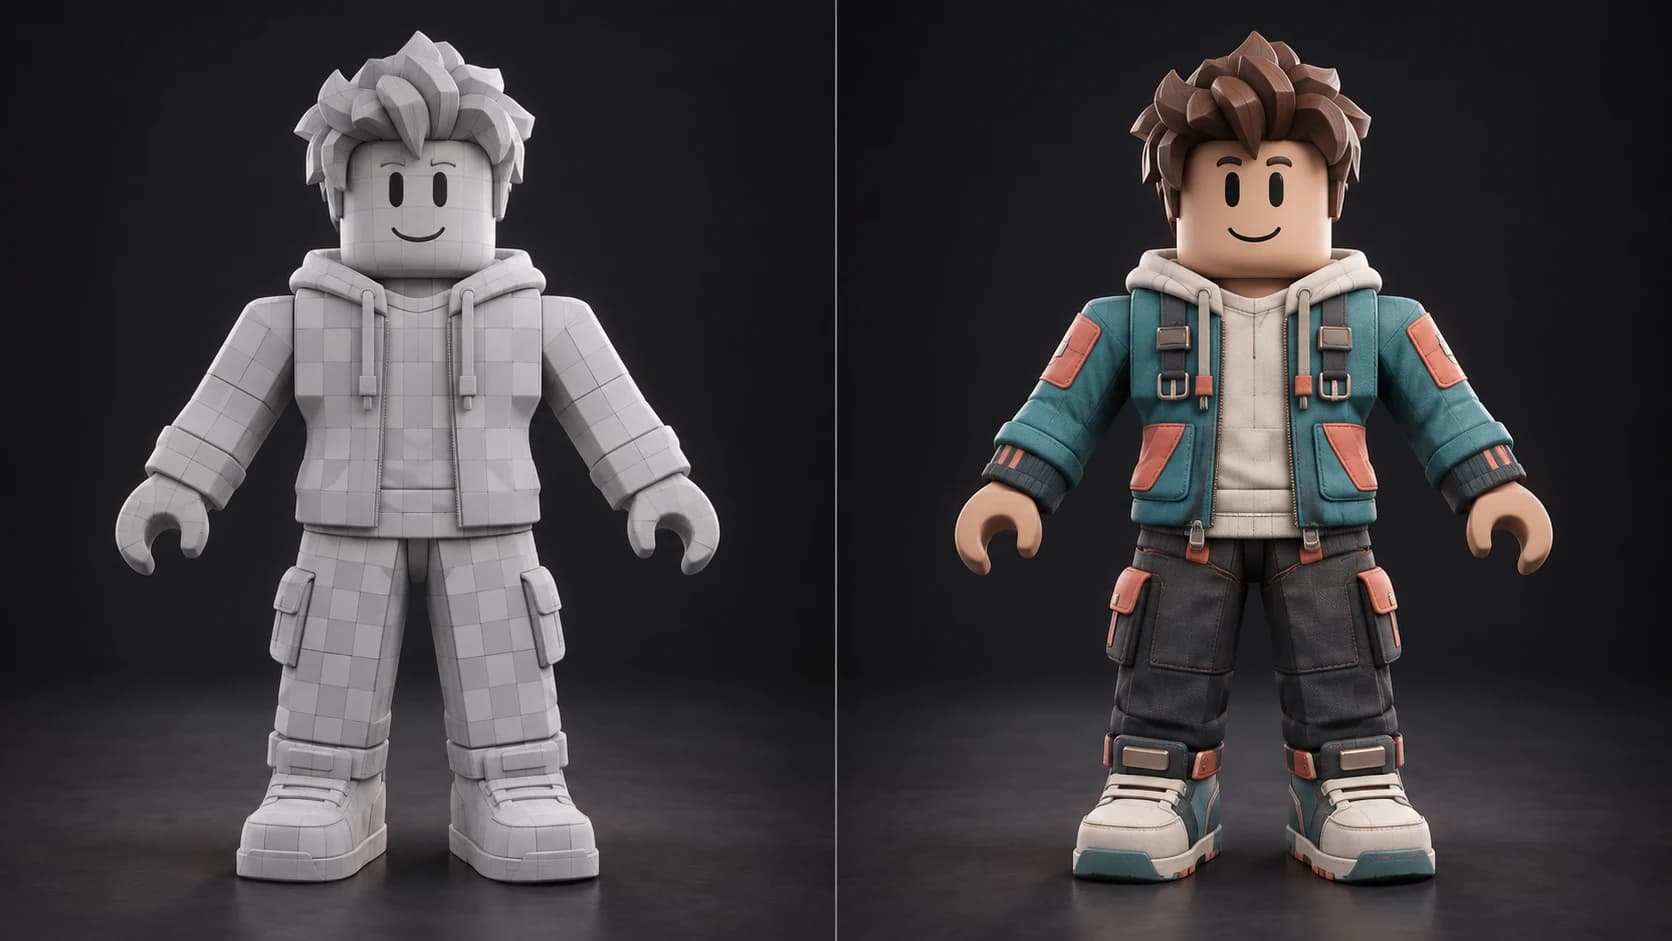
Auto-Texture works from several rendered views of the model, so the prompt can shape a coordinated outfit and material direction across the visible character.
The generated pass is a starting point in a full painting workspace. Repair seams, repaint details, add masks and tune individual materials before you export.
Choose the Roblox export preset for ColorMap, RoughnessMap, MetalnessMap and OpenGL NormalMap names, plus a README that shows where each file goes.
Mixos focuses on surface creation. Keep Roblox body-part names, cages, attachments, bones and publishing checks in the DCC and Studio workflow built for them.
Why Mixos
Avatar work is more than a good render. A Roblox character body has a defined multipart structure, naming rules, rig hierarchy, attachment points and geometry budgets. Mixos does not replace those requirements. It helps with the surface pass: finding a visual direction, creating material variation and giving you editable texture layers to refine.
There is one workflow decision to make before generation. Auto-Texture can combine multipart meshes into one surface and can generate a new UV atlas when the existing layout is missing, stacked or tiled. That makes projection reliable, but a merged mesh is not automatically a valid Roblox avatar body. For a production avatar, verify that the texture can be assigned back to the original parts or rebake it to the layout your Studio import expects.
The Roblox export preset names base color, roughness, metalness and OpenGL normal maps for SurfaceAppearance and recommends a 1K working export. SurfaceAppearance has no height input, so height remains an editing aid rather than a Roblox map. EmissiveMask is also outside the current preset. Test the exported maps on the actual character in Studio before treating the look as complete.
No. Mixos generates and edits textures. Roblox avatar bodies still need the required parts, names, rig, attachments, cages and import validation in your modeling and Studio workflow.
The Roblox preset names ColorMap, RoughnessMap, MetalnessMap and OpenGL NormalMap files for SurfaceAppearance. Height is not included because SurfaceAppearance has no height input, and the current preset does not create an EmissiveMask slot.
Do not assume that. Auto-Texture can combine multipart models into a unified texture surface. Verify the output against your original avatar structure and rebake to the production layout when needed.
Yes for texture generation and painting, provided you validate the resulting UVs and maps on the target asset. Accessory fitting, cages, attachment setup and Marketplace checks remain separate steps.
No. Mixos is an independent 3D texturing tool. Roblox Studio and its avatar publishing requirements are provided by Roblox, whose current documentation controls compatibility.
Read next
The whole pass, from import to exported maps.
The maps a modern material is made of, and what each one does.
Why the same texture reads bigger on one model than another.
Drop the files in and see the material lit, in the browser.
Bring a character mesh, generate a direction and refine the maps before the Studio handoff.