Coordinate the whole vehicle
Describe the paint palette and secondary materials together so wheels, trim and bodywork support the same art direction.
AI autotexture for vehicles
Give a car or truck model a material direction in one brief. Separate painted panels, rubber, glass and exposed metal, then rotate the result and refine the details that sell its history.
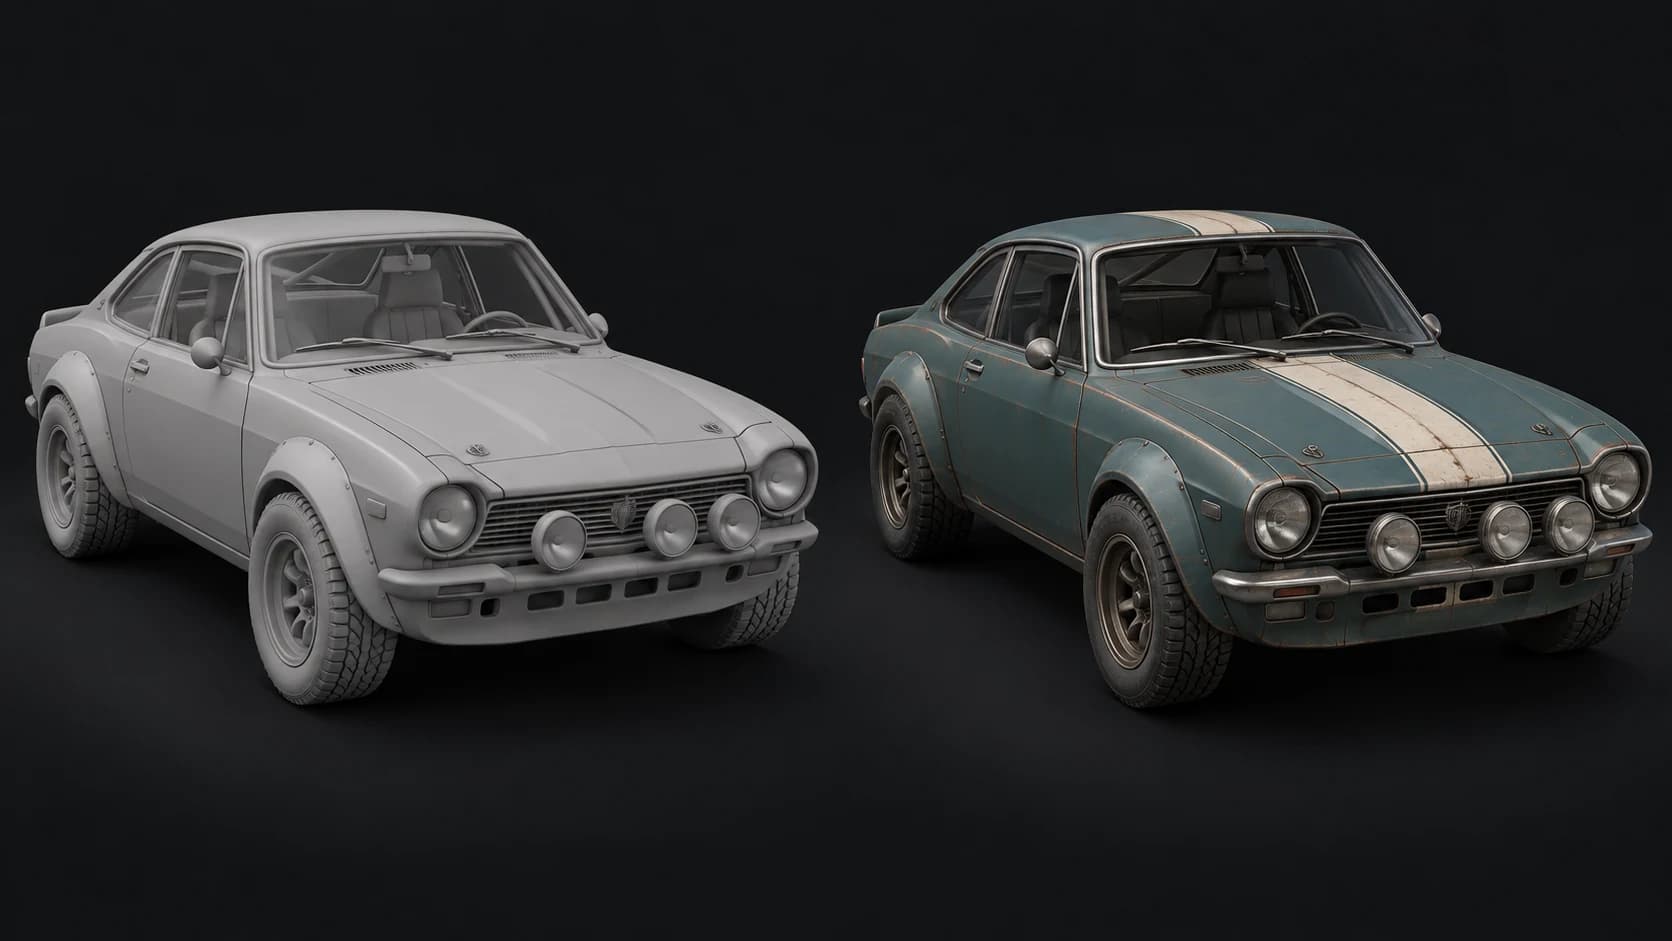
Describe the paint palette and secondary materials together so wheels, trim and bodywork support the same art direction.
Name rubber tires, metal rims and light housings separately. Rotate the result to inspect mirrors, narrow trim and small details before the final polish.
Generate the broad finish first. Use paint layers or decals for controlled graphics, and tune roughness separately for glass, tires and body panels.
Why Mixos
A vehicle reads through its material contrasts: reflective painted metal, darker rubber, glass and worn trim. A prompt that turns everything into rusty metal loses those distinctions. Name the major material groups and where the wear belongs before adding a period, mood or color palette.
Use generated weathering as a first pass rather than a substitute for mechanical logic. Tire wear, dirt around wheel arches and small chips near panel edges should support how the vehicle has been used. Large random scratches, repeated markings and shifted headlights can undermine an otherwise convincing surface.
Exact liveries need deliberate placement. Add readable numbers, logos you have rights to use and aligned stripes with manual tools after the base pass. Auto may change unsuitable UVs during preparation, so verify the exported layout before pairing new textures with a fixed vehicle template.
Identify body panels, trim, tires and glass. Decide whether a single whole-model pass or separate parts better fits the asset.
Start with a small palette and a clear age or use case. Inspect the wheels, rear, underside and light housings after generation.
Refine seams and material channels in Paint. Place exact graphics manually, then check the downloaded maps in the target renderer.
Well-used vintage rally coupe. Faded teal painted panels, a broad ivory hood stripe, black rubber tires, brushed metal bumpers and dark glass. Fine chips near panel edges, light road dust, no decals or lettering.
It can generate a broad color and finish concept. For exact sponsor graphics, readable numbers or stripes that must align across panels, add controlled decals or paint after the generated pass.
Give tires, rims and lights distinct material instructions. Inspect them from several angles after generation, then correct stretched detail and material boundaries in Paint. Fine parts can need manual attention even when broad body panels look good.
Check it after preparation. Auto may replace stacked or tiled UVs, so a generated atlas is not automatically compatible with an unchanged modding or production template.
Yes, continue in Paint with layers and masks to refine the different material regions. Evaluate the finish under more than one lighting setup before export.
Read next
The whole pass, from import to exported maps.
The maps a modern material is made of, and what each one does.
Why the same texture reads bigger on one model than another.
Drop the files in and see the material lit, in the browser.
Keep exploring
AI autotexture for FBX
AI autotexture for GLB
Reference-guided AI autotexturing
AI game asset texturing

Start with your vehicle mesh and a material brief, then finish the details in Paint.