Explore a material pairing
Describe the frame and upholstery separately. A small palette of complementary materials is easier to evaluate than several competing patterns.
AI autotexture for furniture
Explore walnut, leather, painted metal or woven fabric on a furniture mesh. Generate the initial material direction in Auto, then refine grain, wear and surface response in Paint.
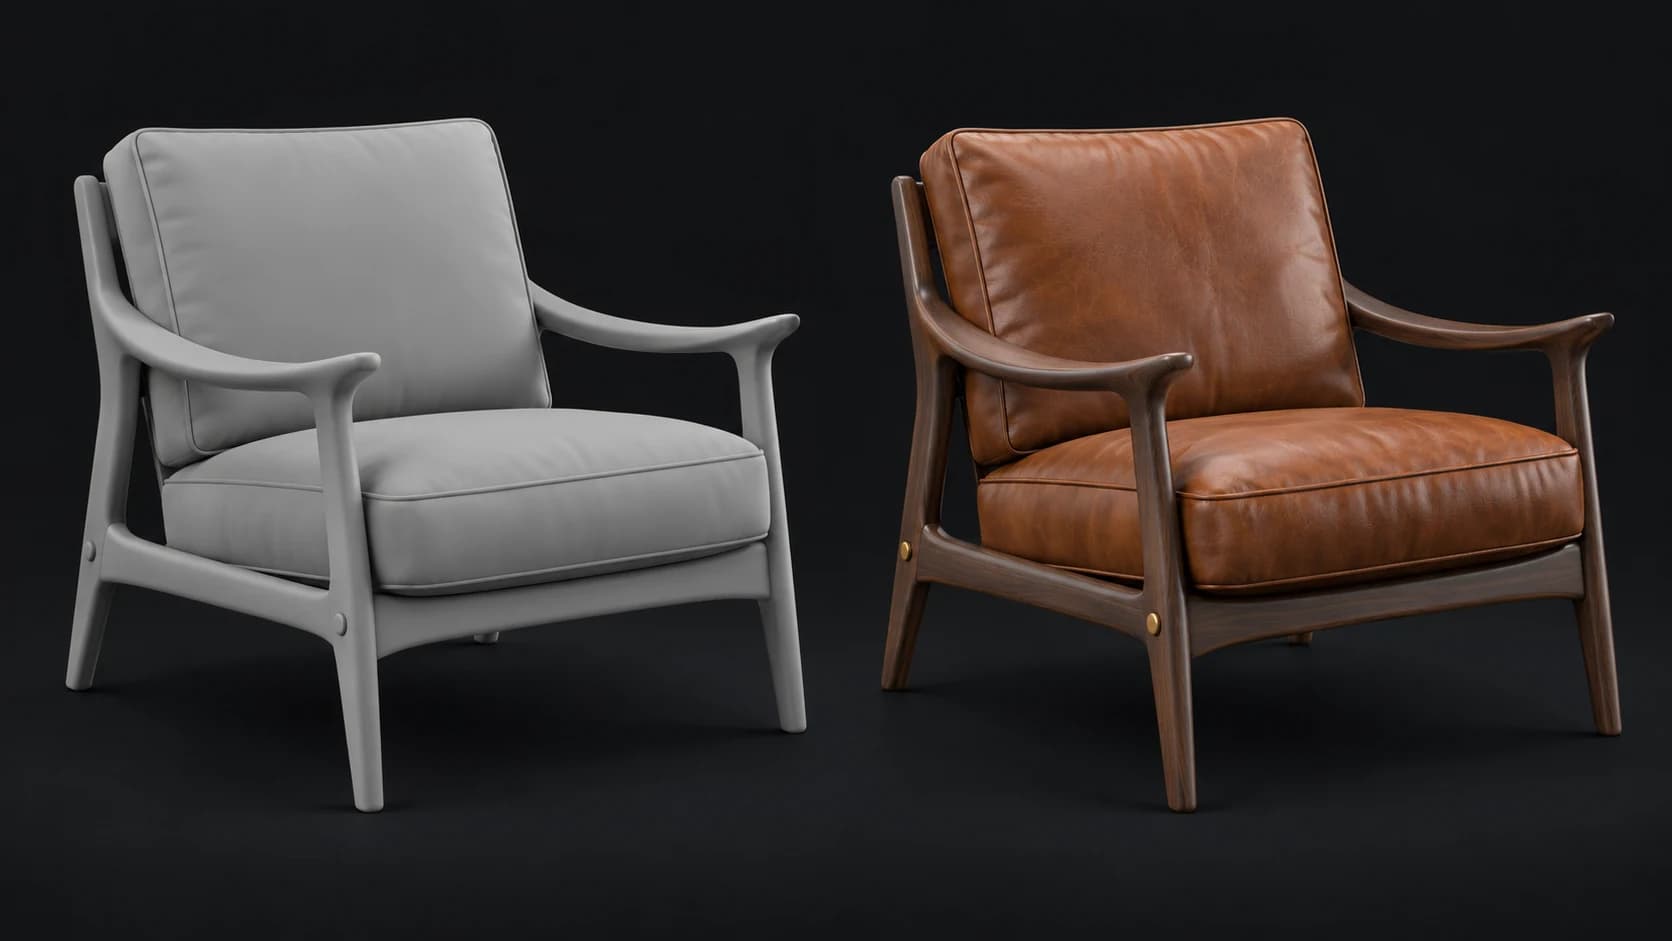
Describe the frame and upholstery separately. A small palette of complementary materials is easier to evaluate than several competing patterns.
Inspect cushion seams, armrests, underside rails and feet. Material boundaries should follow the modeled construction.
Refine roughness and metalness after generation so wood, leather, fabric and fasteners behave differently under lighting.
Why Mixos
A chair with walnut and cognac leather communicates something different from the same form in painted steel and woven fabric. AI texturing is useful for exploring that direction before spending time on fine brushwork. Begin with a readable material pairing, then judge whether it suits the silhouette.
Grain direction and upholstery scale deserve particular attention. Wood grain should support the length of a rail or arm, and fabric should not become a pattern of implausibly large fibers. A reference image can communicate color and finish, but generation does not guarantee exact pattern alignment or a measured material match.
Treat the result as a visual concept rather than a product specification. Review seams around cushions, hidden underside surfaces and thin legs, then refine in Paint. For a product catalog or manufacturing decision, compare against the actual material sample under controlled lighting instead of relying on a generated color alone.
Identify which modeled regions should read as wood, metal, fabric or leather. Choose a palette before adding wear.
Describe finish, grain and restrained aging. Add a clean reference image if you want to steer the palette.
Check the back, underside and joints. Adjust the material channels in Paint before downloading on a paid plan.
Mid-century lounge chair with a dark walnut frame, cognac leather cushions and small brass fasteners. Fine grain along the wooden arms, subtle cushion creases, lightly polished contact areas, no heavy damage.
Yes. Save your source and explore separate prompts or references for different directions. Each generation uses credits, and exact color consistency between runs is not guaranteed.
Not automatically. Tell the model where grain should run, inspect the result and correct important regions in Paint or your regular material workflow.
A reference image can guide appearance. It is not a measured color or reflectance match, so verify against the physical sample for product visualization that requires accuracy.
No. Auto changes the surface appearance of an existing model. Cushion shape, stitching geometry and joinery still depend on the mesh you bring.
Read next
The whole pass, from import to exported maps.
The maps a modern material is made of, and what each one does.
Why the same texture reads bigger on one model than another.
Drop the files in and see the material lit, in the browser.
Keep exploring
Reference-guided AI autotexturing
AI autotexture for buildings
AI autotexture for OBJ
PBR material editor

Start with a furniture mesh and a material pairing, then refine the surface until it reads under light.