Separate shell and mechanism
Describe painted body panels, exposed metal and flexible joints as different materials. This helps the mechanical structure remain readable.
AI autotexture for robots
Set the visual character of a robot through its panels, joints and accents. Auto generates the first surface pass; Paint lets you refine the mechanical boundaries and precise details.
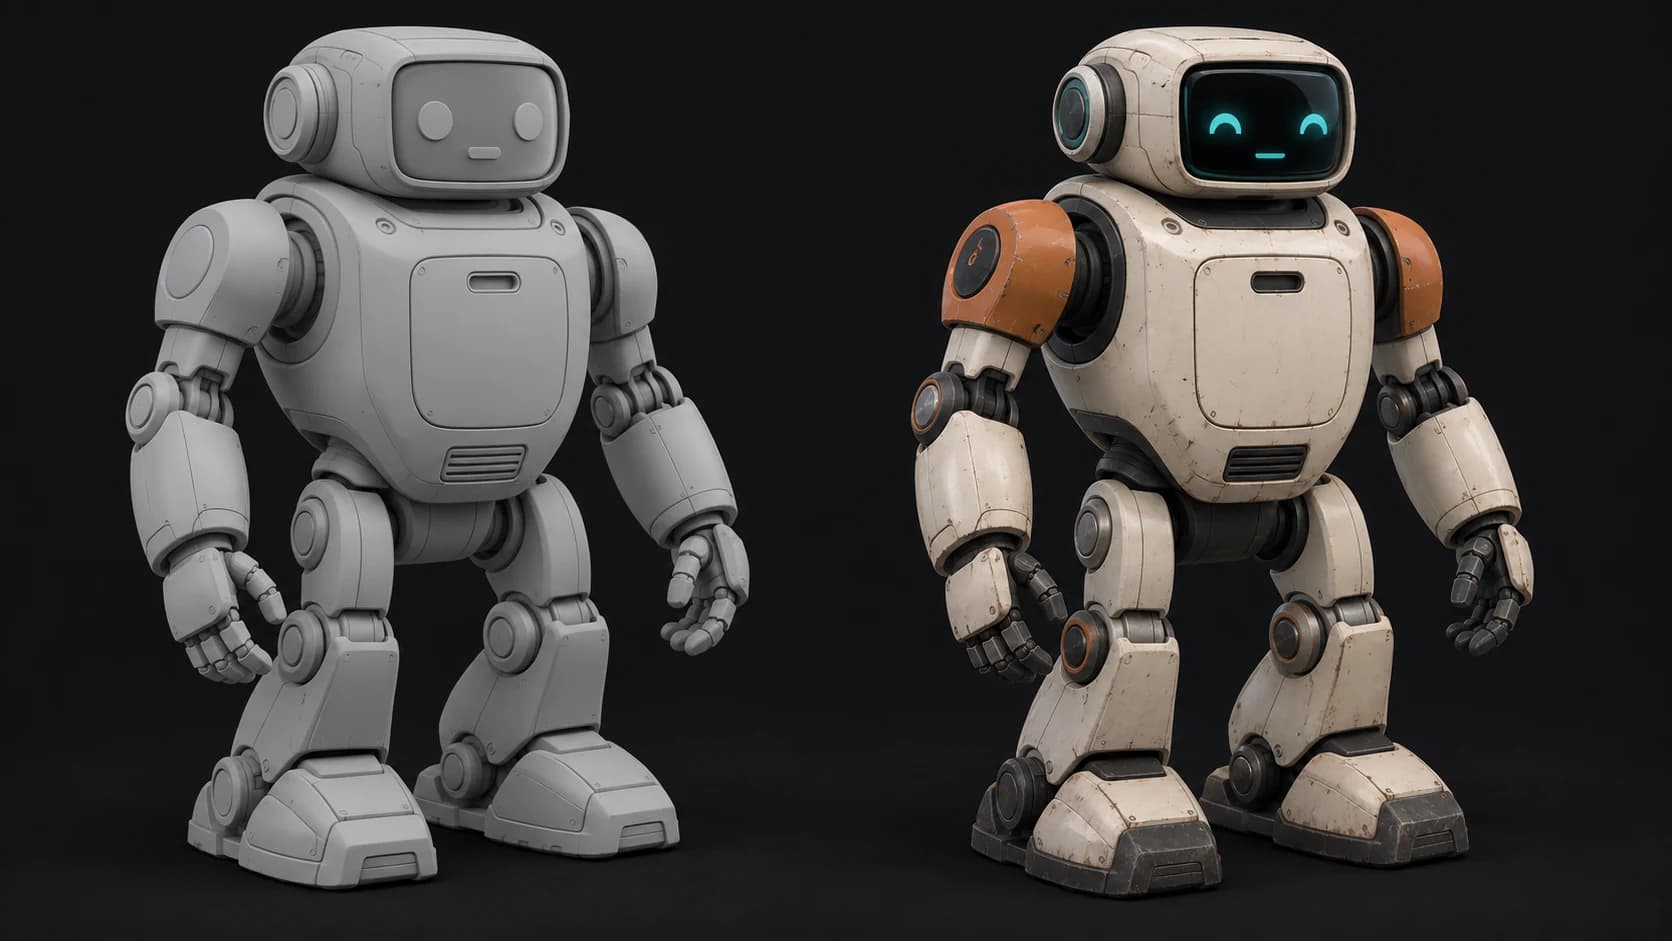
Describe painted body panels, exposed metal and flexible joints as different materials. This helps the mechanical structure remain readable.
Choose one shell color, a small accent and a dark joint material. Use more saturated colors where the design needs attention.
Add exact panel markings, displays and decals after the base pass. Inspect them at the distance the robot will be seen.
Why Mixos
Hard-surface characters are defined by boundaries. Painted armor ends where a rubber joint begins; metal fittings and glass displays interrupt the shell. Naming those roles gives the generated texture a useful structure and gives you clear criteria for deciding what needs correction.
Wear should reinforce the robot's purpose. A clean service robot might show handling scuffs and dust at seams, while a workshop machine needs different aging. Avoid filling every panel with random labels or warning stripes. Reserve readable symbols and deliberate graphics for a controlled layer or decal pass.
Mechanical joints create difficult views. Rotate arms, feet and recessed parts into view when preparing the working mesh, then inspect the result from below and behind. Auto textures the surfaces it receives; it does not build a rig, preserve an animation pipeline automatically or repair missing mechanical geometry.
Separate shell, joints, fasteners and display surfaces. Use a pose that exposes the regions you need to inspect.
Describe the main paint, accent panels and dark flexible materials. Keep display graphics and tiny text out of the first brief.
Check elbows, ankles and undersides in 3D. Refine boundaries and add exact markings in Paint before export.
Compact friendly service robot. Ivory painted shell, burnt orange shoulder panels, graphite rubber joints, brushed metal fasteners and a teal glass face panel. Fine dust at seams, light scuffs, no labels or text.
Use a static working copy or a pose suitable for texturing. Keep the original rig and verify any transfer back to it; preparation may combine parts or change the UV layout.
A bright painted region is not the same as a correctly configured emissive shader. Set up the intended glow and its intensity in the material workflow used by your final renderer.
For exact symbols and readable text, use decals or manual layers after the generated base. Image generation is useful for direction, but it is not a reliable typesetting or placement tool.
Check material boundaries at joints, small fittings, recessed parts and the back of the model. Fine mechanical detail can be limited by occlusion or texture resolution even when the broad body panels look convincing.
Read next
The whole pass, from import to exported maps.
The maps a modern material is made of, and what each one does.
Why the same texture reads bigger on one model than another.
Drop the files in and see the material lit, in the browser.
Keep exploring
AI autotexture for GLB
AI autotexture for props
Reference-guided AI autotexturing
AI autotexture for generated meshes

Give the robot a clear material palette, then refine the details that make its construction believable.