Communicate a look visually
A clean material or art-direction reference can be clearer than a long list of adjectives. Choose an image that emphasizes the finish you want.
Reference-guided AI autotexturing
Bring a model, a reference image and a short material brief. Use the image to communicate palette and surface character while your words explain how that look belongs on the mesh.
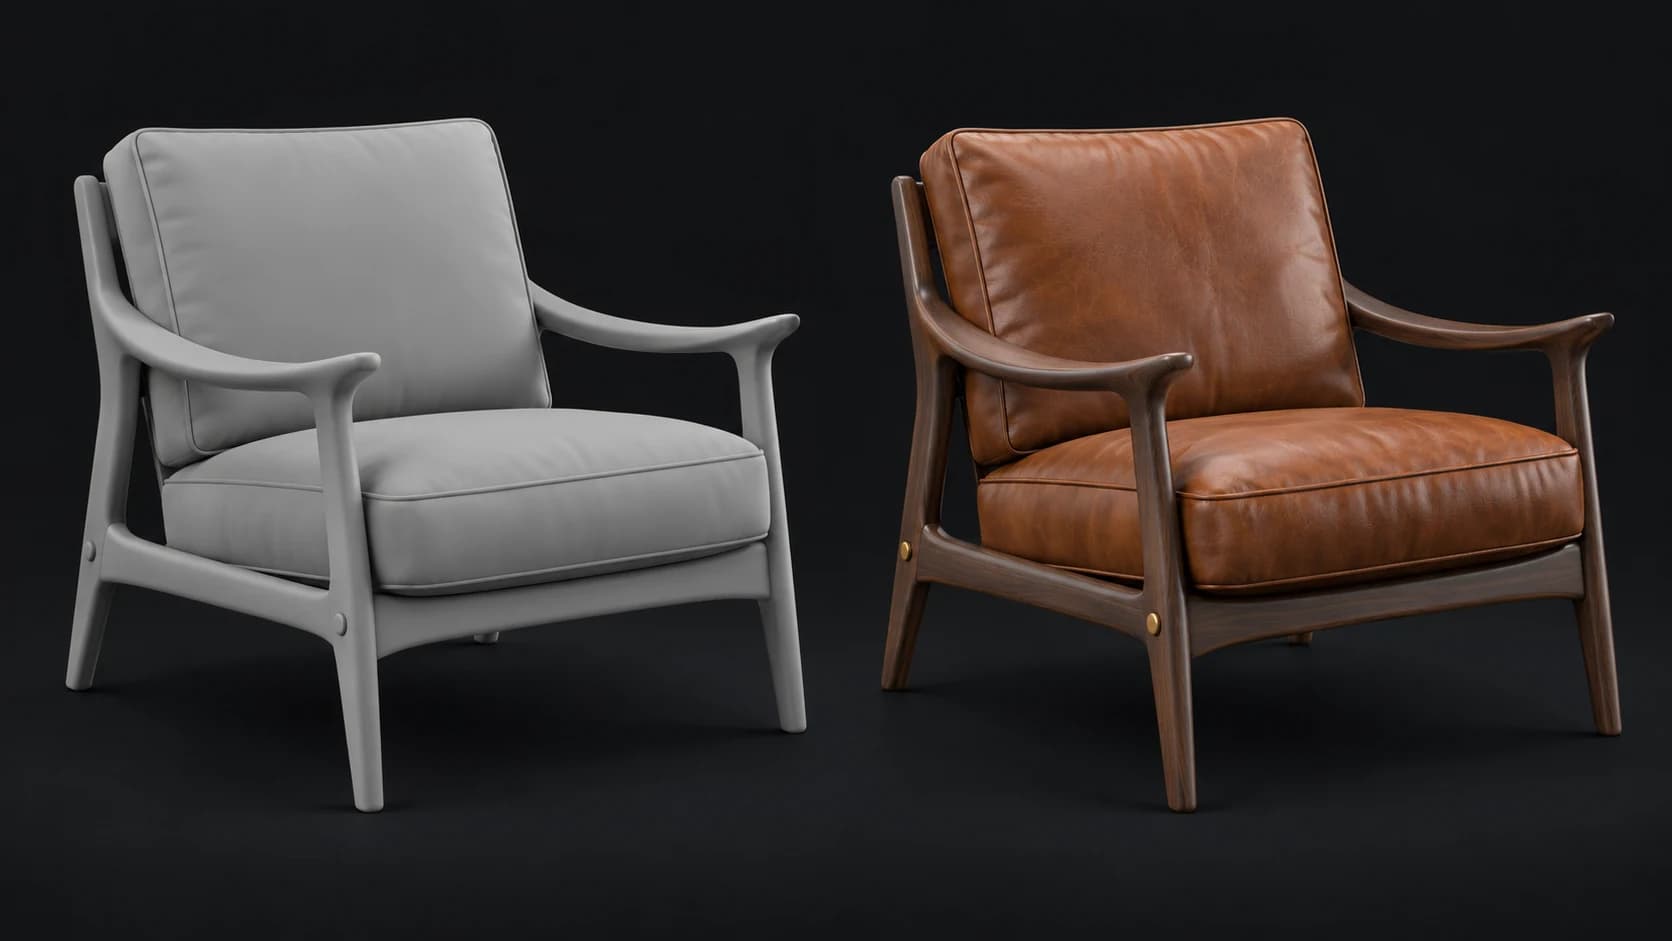
A clean material or art-direction reference can be clearer than a long list of adjectives. Choose an image that emphasizes the finish you want.
Tell Auto which parts should use the reference and which need a contrasting material. A photograph alone cannot explain every hidden surface.
Compare the result on the actual mesh. Refine colors and material boundaries in Paint when the generated interpretation needs adjustment.
Why Mixos
Reference-guided texturing connects a visual idea to an existing model. The image may show a leather finish, a paint palette or a level of wear. It can communicate surface character quickly, but its lighting, object shape and background can also distract from the part you intended to borrow.
Use a reference you own or have permission to use, with a clear view of the relevant material. In the prompt, explain what matters: warm leather color, fine pores and restrained creasing, for example. Also describe the other regions of the model, such as a wooden frame or metal fittings.
This workflow is guided generation, not calibrated photo projection or a measured material capture. Do not expect pixel-perfect pattern placement, exact color matching or hidden surfaces reconstructed from one photograph. Rotate the result, compare its material groups and make deliberate corrections before export.
Use a clear material reference with limited background clutter. Avoid making exact logos, text or harsh lighting the central cue.
Add the image in Auto's prompt controls. Explain which surface qualities to borrow and where they should appear on the model.
Check palette, pattern scale and material boundaries. Refine in Paint and validate the downloaded result in your destination tool.
Use the reference for the warm cognac leather color and fine surface grain on the seat and back cushions. Keep the chair frame dark walnut and the fasteners brass. Subtle creases, no logos, no printed pattern.
No. You can describe a finish with text alone. Add an image when it communicates an important palette, material character or style more clearly.
No. The reference guides an AI-generated texture pass. It does not establish a calibrated relationship between each photograph pixel and the model's surface.
Do not rely on generation for exact pattern scale, lettering or logo placement. Use manual texture or decal tools when those details need precise control.
The Auto workflow passes your reference to each image-edit sheet and uses the first generated sheet to guide the later sheet's style. You should still inspect the result for cross-view differences.
Read next
The whole pass, from import to exported maps.
The maps a modern material is made of, and what each one does.
Why the same texture reads bigger on one model than another.
Drop the files in and see the material lit, in the browser.
Keep exploring
AI autotexture for furniture
AI autotexture for vehicles
AI autotexture for props
AI autotexture for GLB

Pair your reference with a clear material brief, then judge the result from every angle.